• Skip to main content
  • Skip to primary sidebar
Keep calm and eat ice cream
menu icon
go to homepage
  • Recipes
  • Ice cream
  • Popsicles
  • Desserts
  • About Me
  • Cheesecakes
  • Collections
  • Reviews
  • Australian food bloggers
    • Facebook
    • Instagram
    • Pinterest
    • Tumblr
    • Twitter
  • search icon
    Homepage link
    • Recipes
    • Ice cream
    • Popsicles
    • Desserts
    • About Me
    • Cheesecakes
    • Collections
    • Reviews
    • Australian food bloggers
    • Facebook
    • Instagram
    • Pinterest
    • Tumblr
    • Twitter
  • ×
    You are here: Home / Desserts / Basic meringues

    Basic meringues

    Published: Jun 11, 2020 · Modified: Aug 1, 2020 by Sarah Brooks

    Sharing is caring!

    274 shares
    • Share255
    • Yummly
    • Tweet
    • Mix
    • Email
    Jump to Recipe Print Recipe

    These light fluffy basic meringues are the perfect way to use up left over egg whites after making custard based ice cream or other treats.

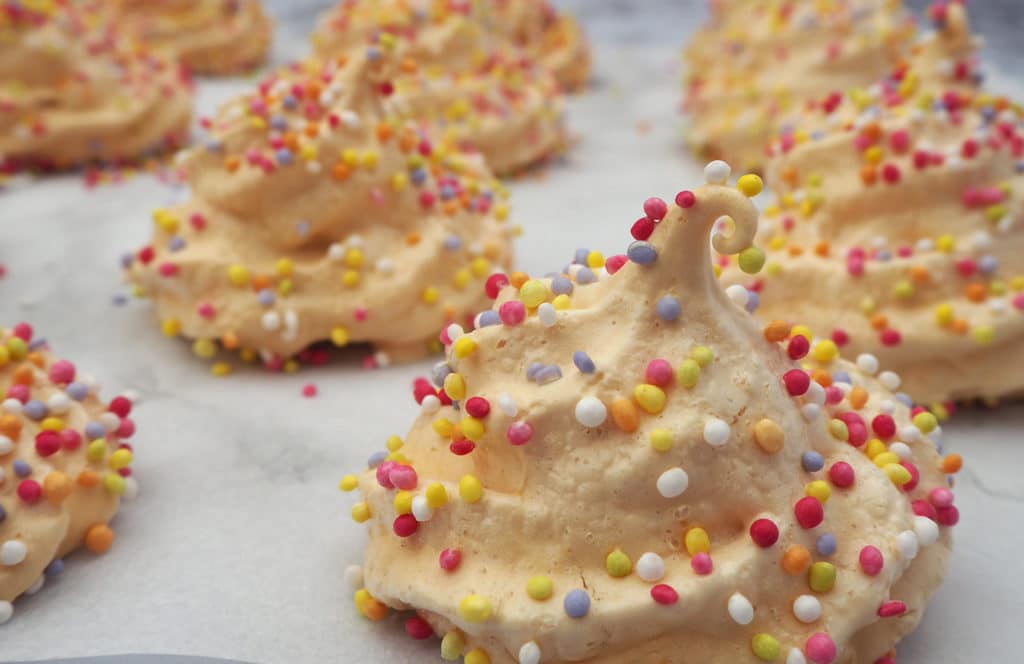
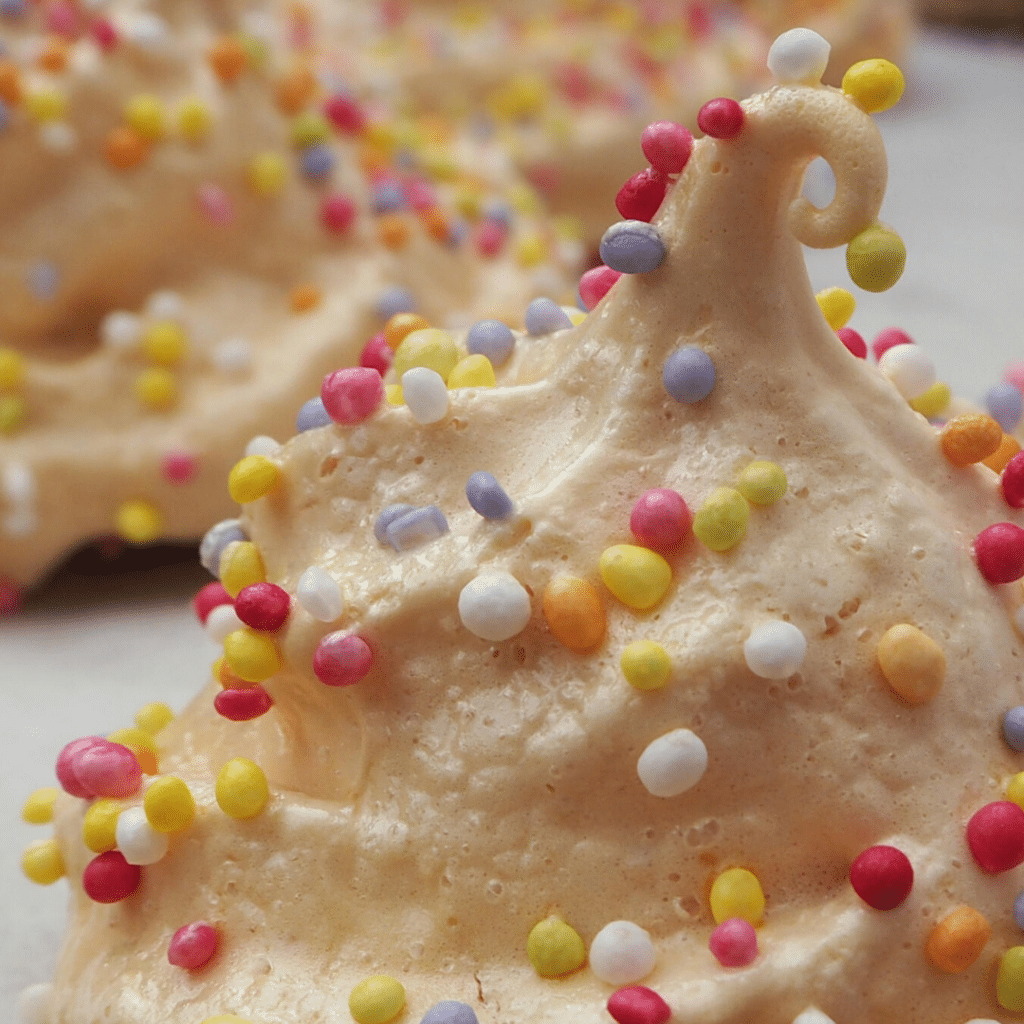
    Close up rainbow meringues
    Jump to:
    • To make the basic meringues
    • Looking for more yummy desert recipes?
    • 📋 Recipe
    • 💬 Comments

    Meringues are often classified as a hard recipe to make on recipe sites but they are actually quite easy to make if you follow my tips and tricks 🙂

    Tip and trick for making good meringues

    • Make sure there is no yoke in your egg whites. They will prevent the egg whites whipping properly.
    • Make sure your bowl and mixing tools are really clean. Some have even suggested rubbing half a lemon over the mixing bowl before using to ensure any greasy residue is removed.
    • All the sugar slowly, little bit by little bit. Do not be tempted to dump it all in at once. A few table spoons at a time is fine. Make sure you beat the egg whites well between each addition.
    • Low and slow is the way to go when it comes to cooking these basic meringues. Good meringues take time. Use your lowest oven setting, (mine is 212°F (100°C)) but go lower for longer if you can.

    To make the basic meringues

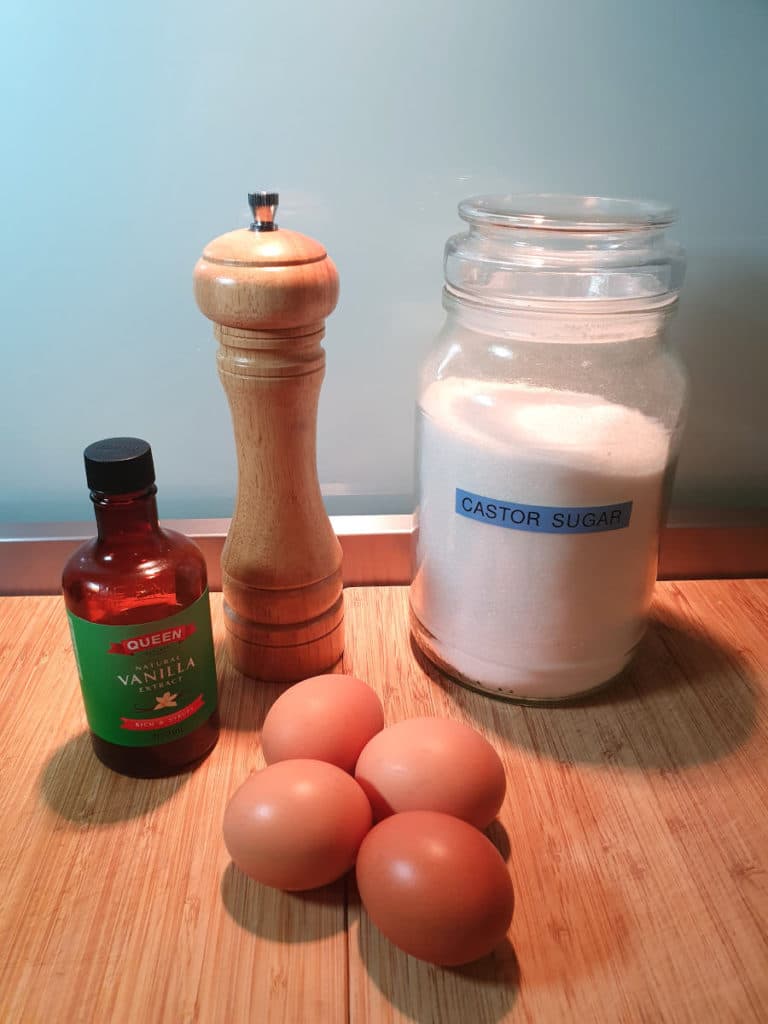
    meringue ingredients

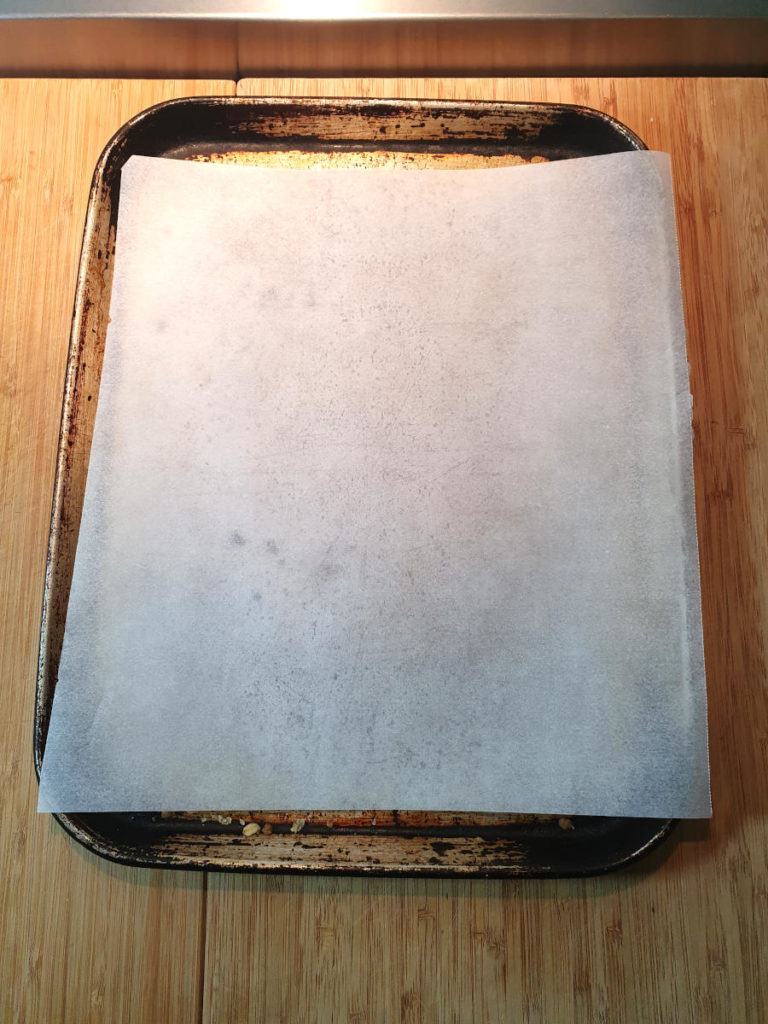
    To start with put the oven onto preheat at 212°F (100°C) or lower if you can. Line two baking trays with baking paper.

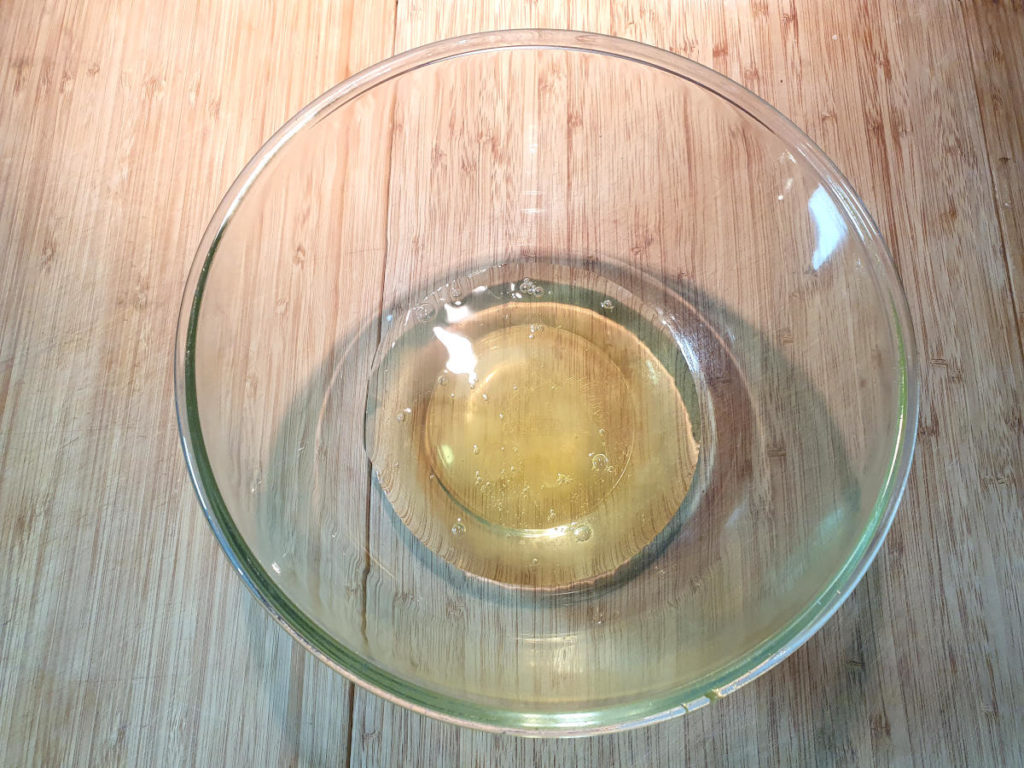
    Make sure your bowl is very clean. You don't want any grease or residue in the bowl or it will stop you getting lovely firm, soft peaks. Separate the eggs and put the egg yokes aside for another recipe, such as my Strawberry Ice cream

    • lined baking tray
    • egg whites ready to be whipped

    Hot tip: Crack the eggs one at a time into a small seperate bowl. That way if one yoke breaks, you can put the egg aside for something else and try again. Do not add any yokes to your eggs whites or they will not whip properly.

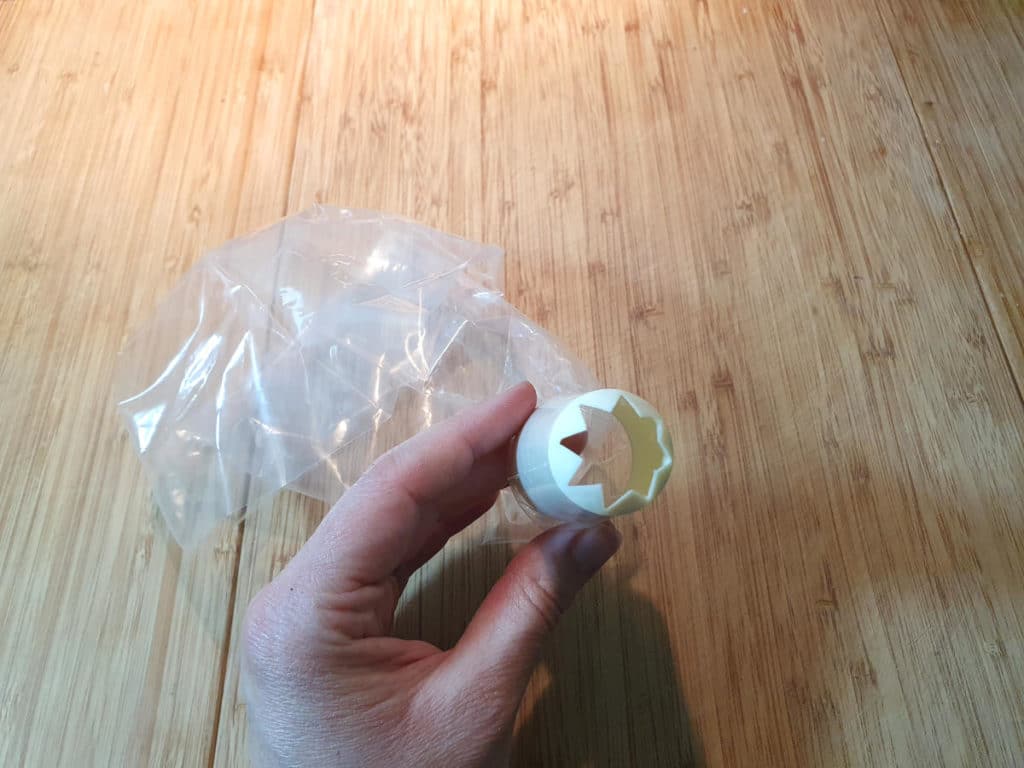
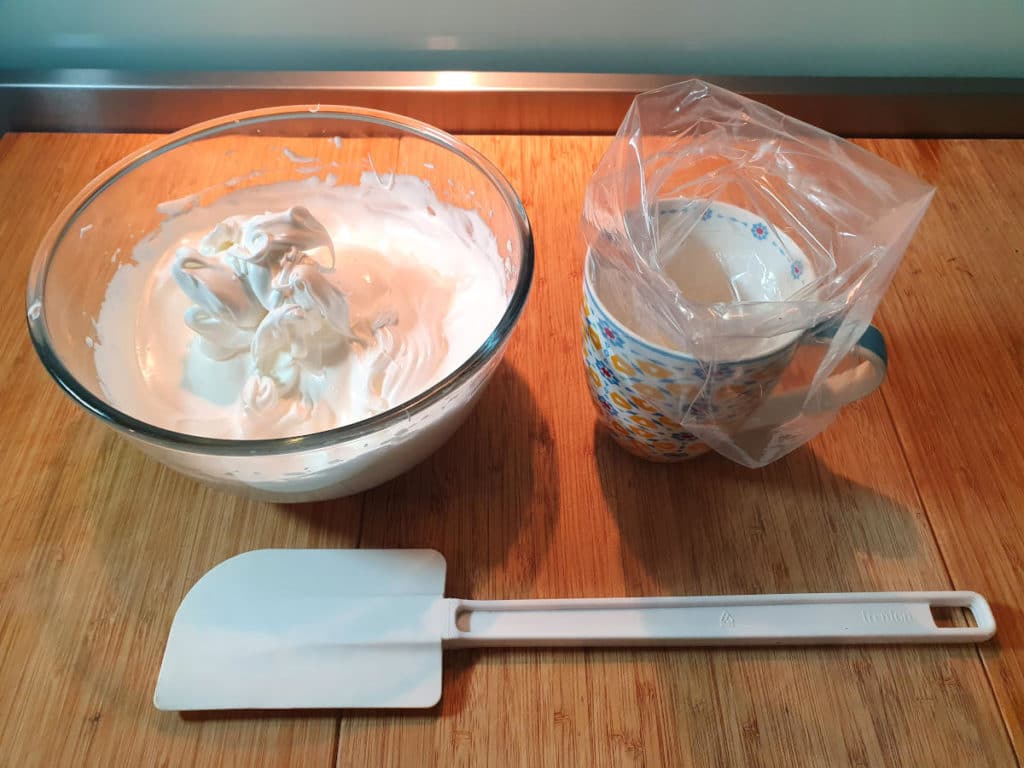
    Measure our your sugar and have it near the mixing bow. Prepare your piping bag with a fluted or smooth nozzle, if using. It helps to have the edges folded back and it propped up in a mug to make filling easier.

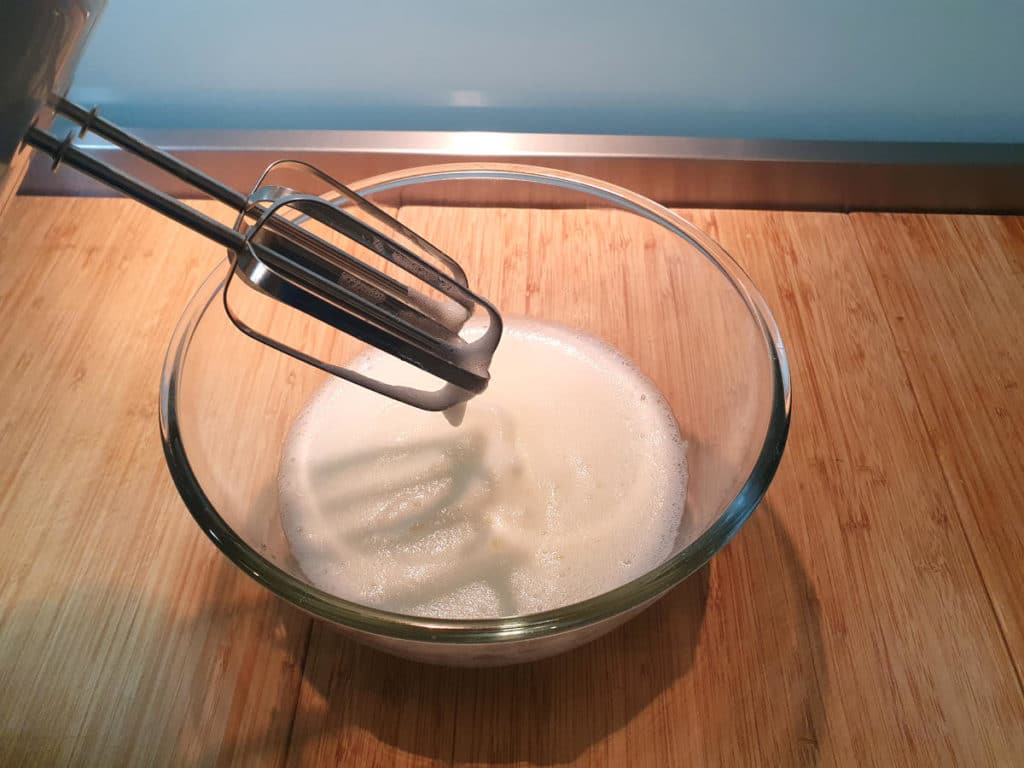
    • Starting to peak egg whites
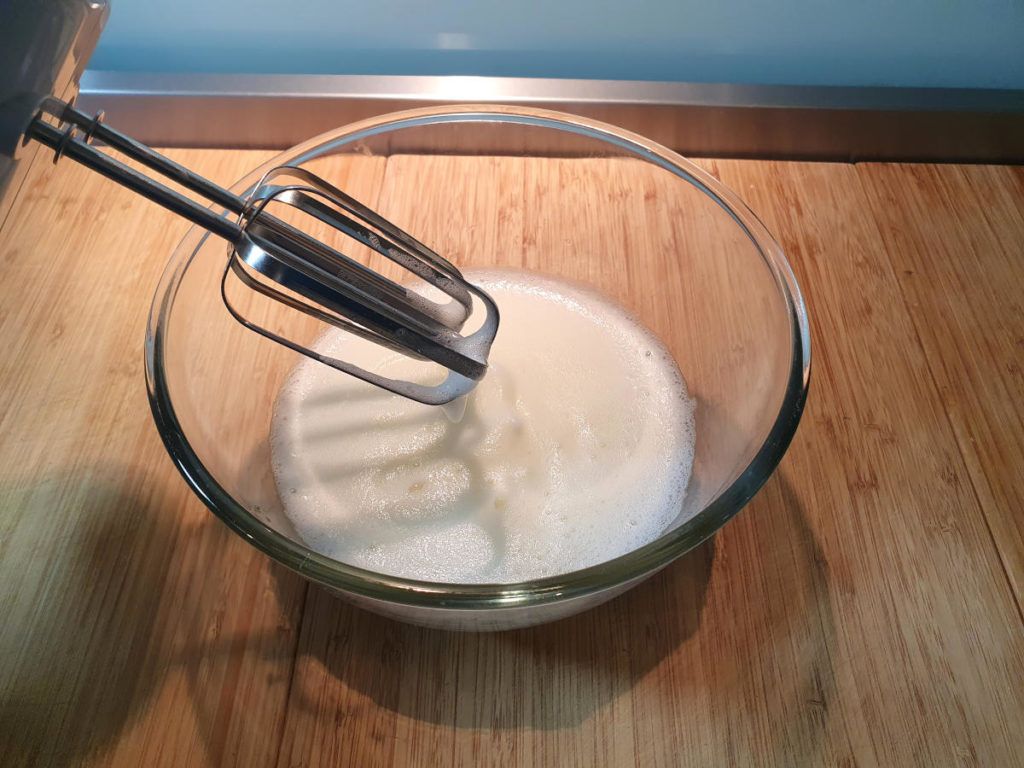
    • Starting to whip egg whites
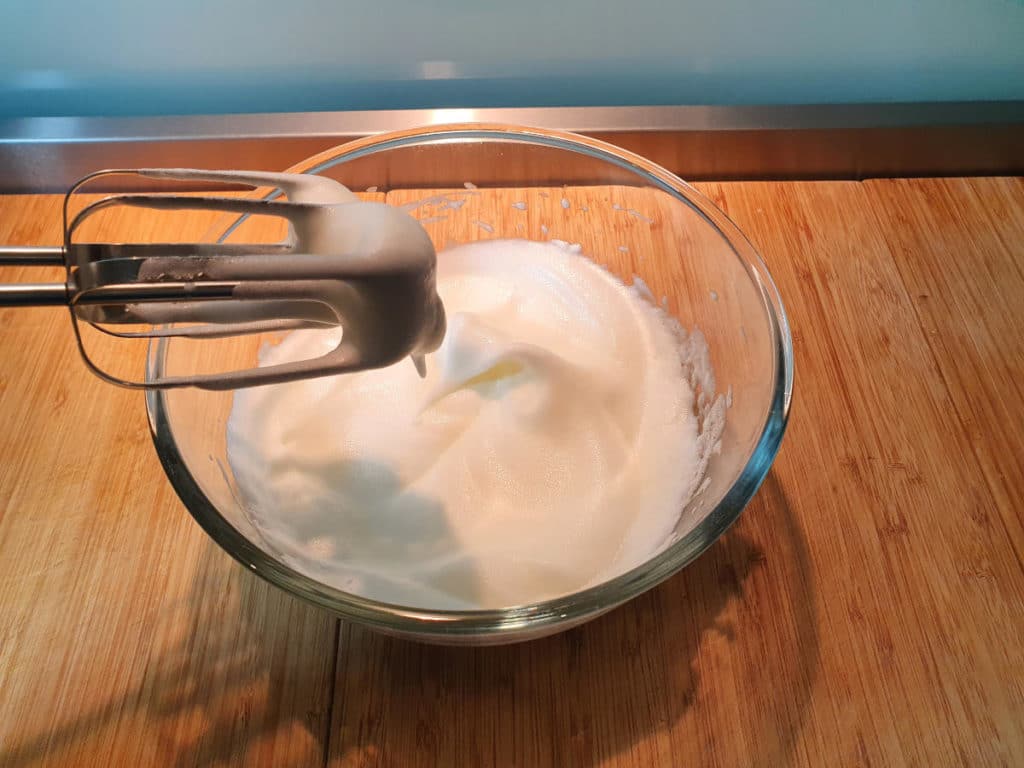
    • Whipped egg whites with soft peaks

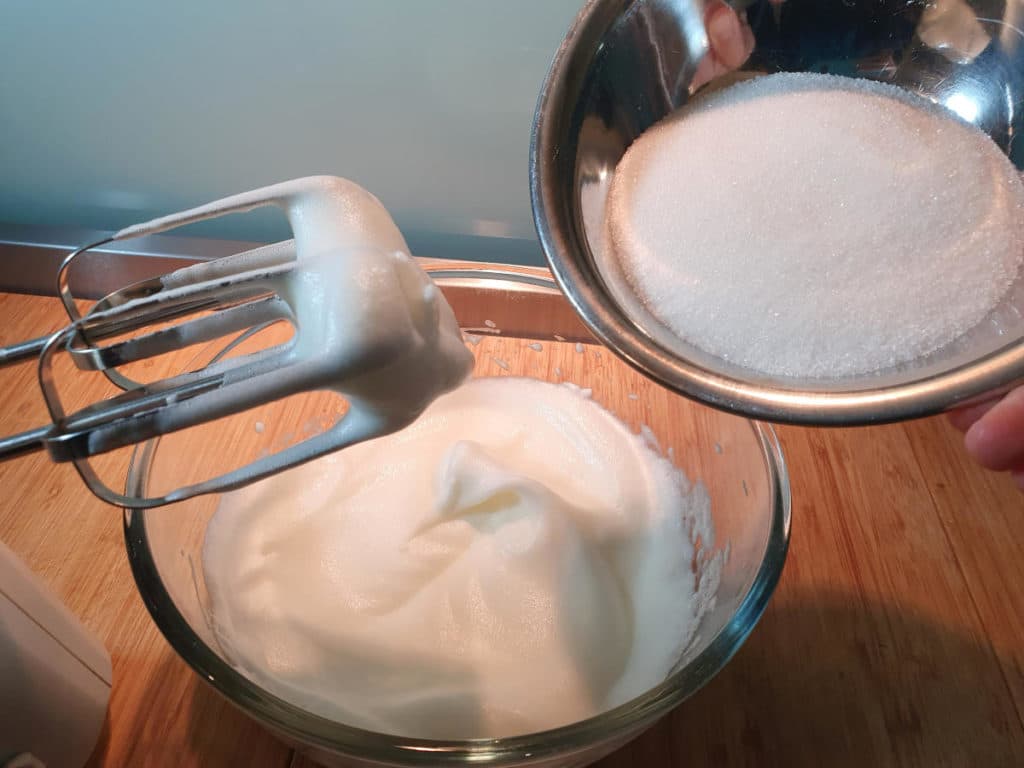
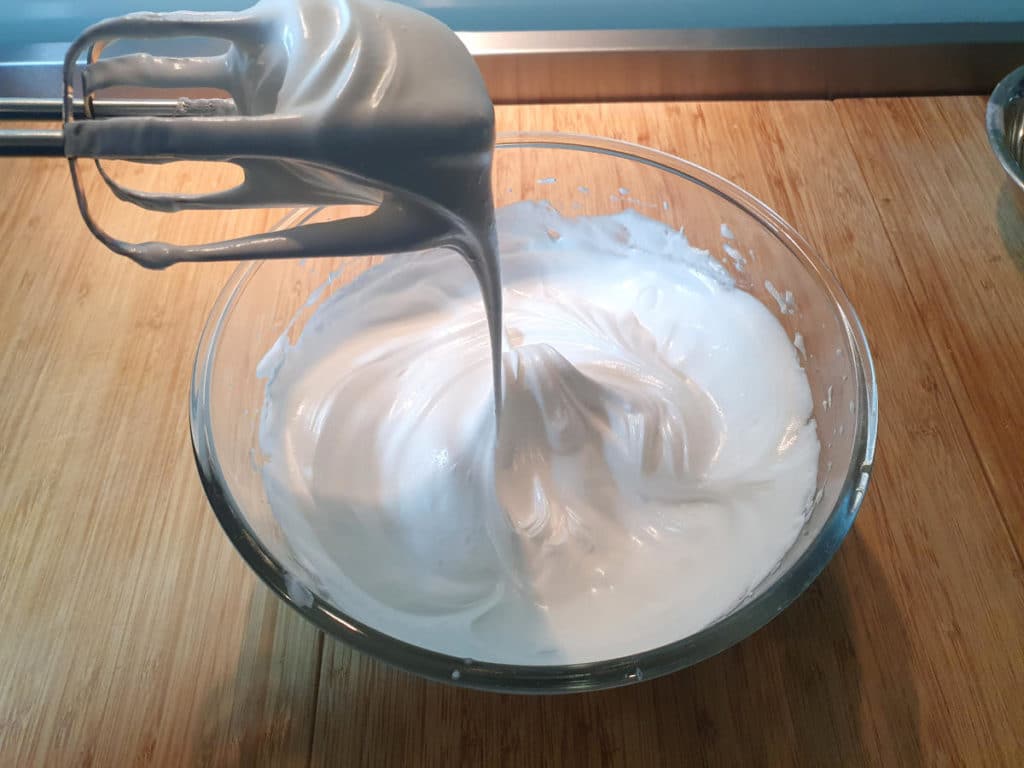
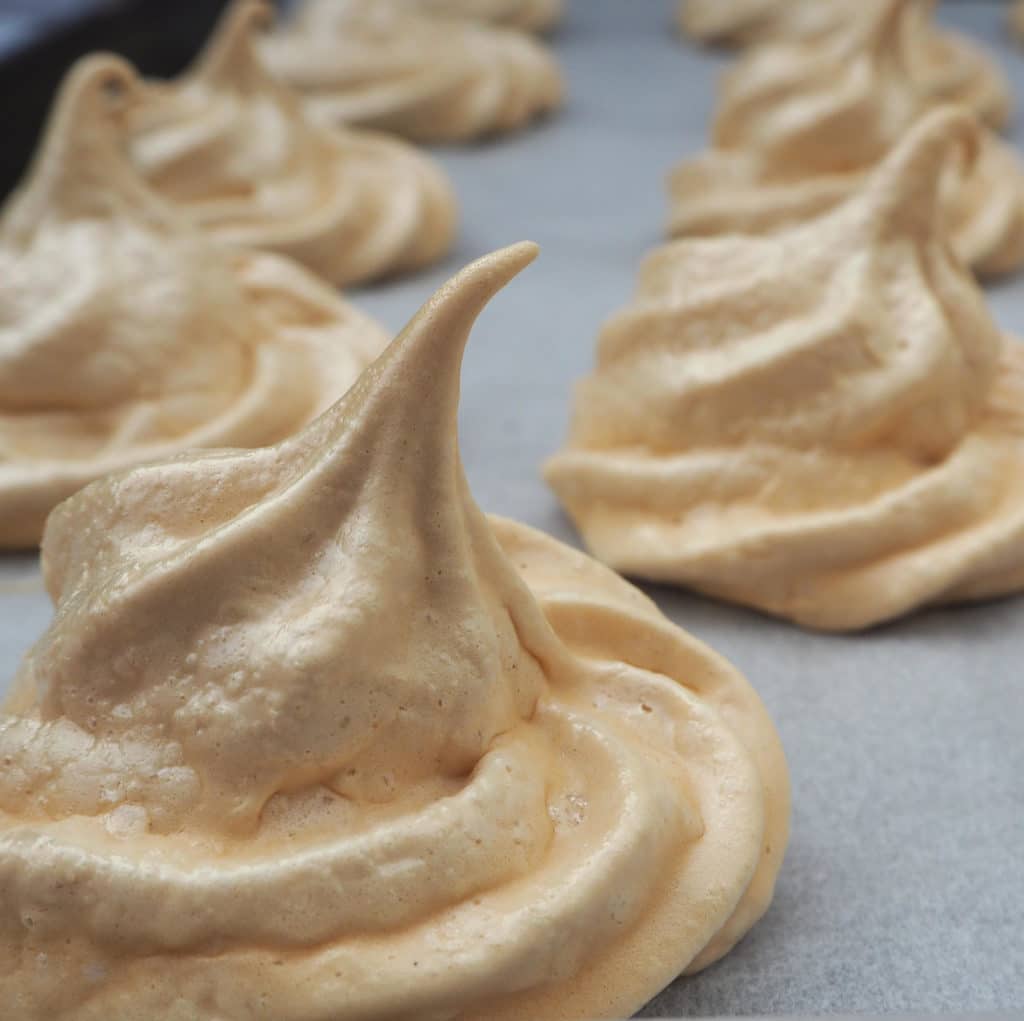
    Beat egg whites using a hand held electric mixer or stand mixer until opaque, stiff white peaks start to form. Gradually add the sugar, a table spoon or two at a time, beating in well between additions. You want to beat in a much air as possible and get a nice smooth, glossy meringue that forms stiff, opaque white peaks when you lift the beaters out.

    • Adding sugar to whipped egg whites
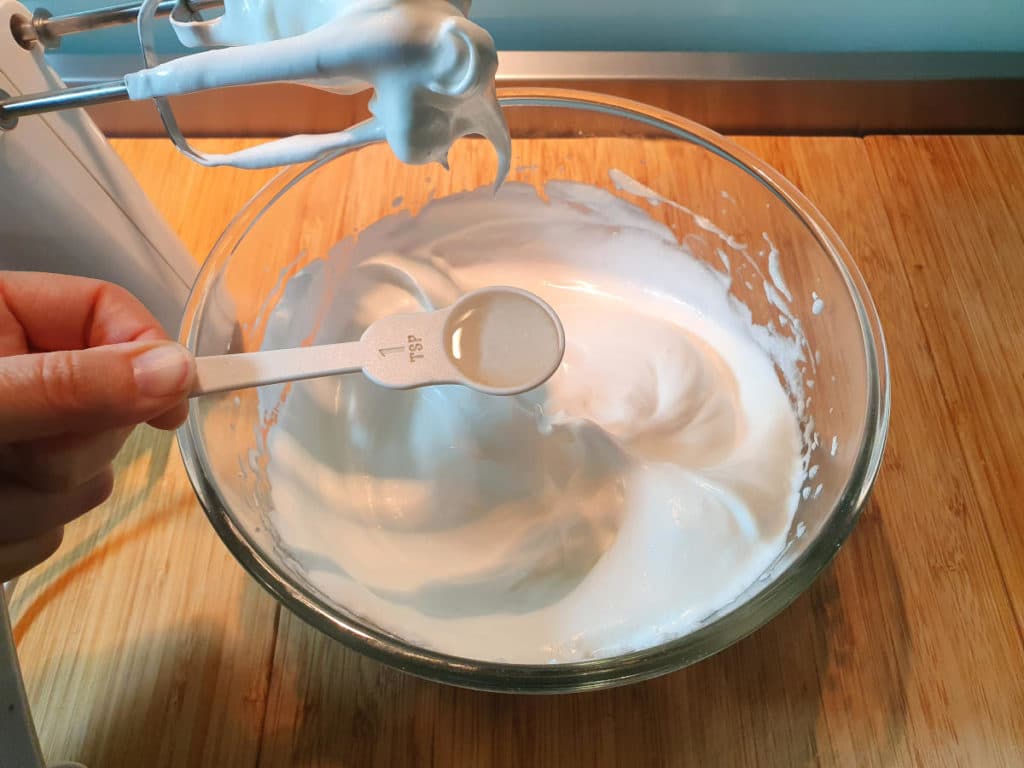
    • Adding vinegar to meringue mix
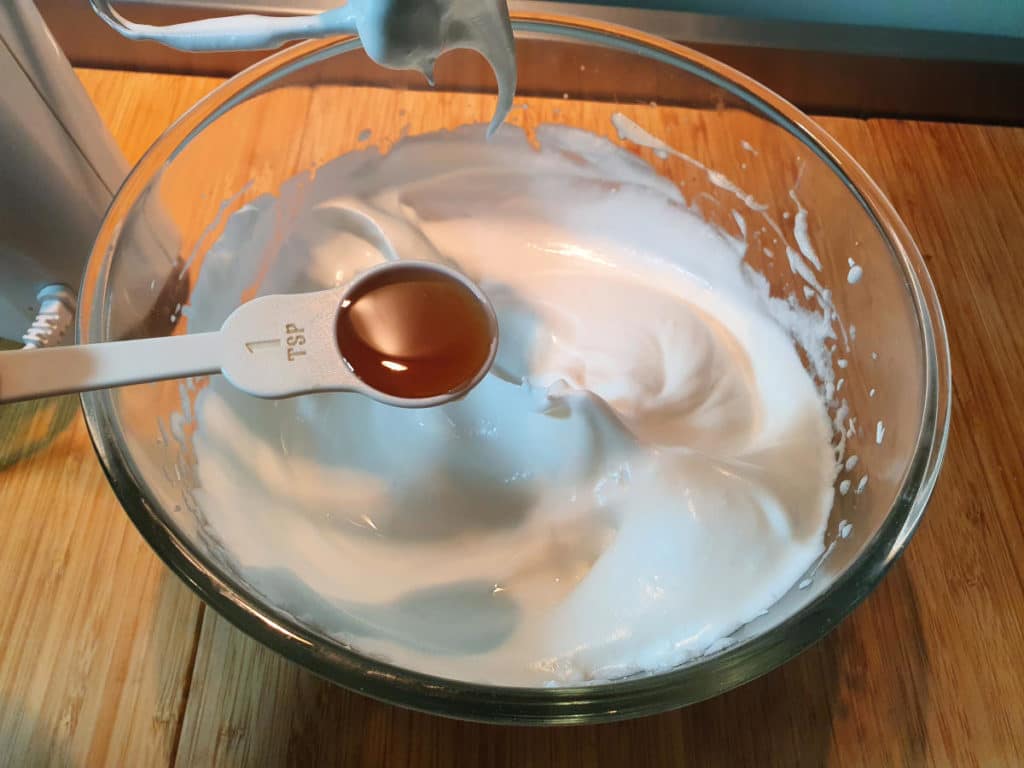
    • Adding vanilla to meringue mix
    Ready to pipe meringue mix

    Continue to add sugar until it is all mixed in. Add the salt, vinegar and vanilla essence and beat well. The mix should be thick, glossy and form beautiful large peaks and stick to the beaters.

    Hot tip: to remove the extra meringue from the beaters, tap them against each other. Don't tap them on the edge of the bowl or you will knock out some of all that fluffy air you have worked so hard to beat in!

    • Piping bag with fluted nozzle
    • Ready to put mix into pipping bag
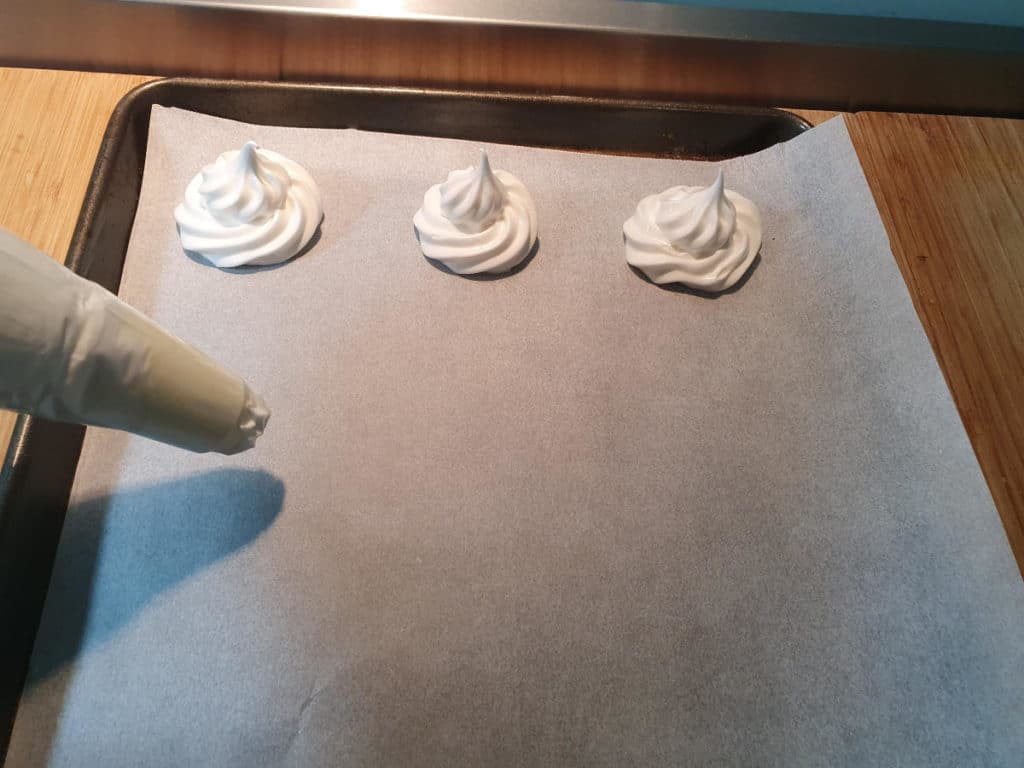
    • Pipping meringues onto baking tray
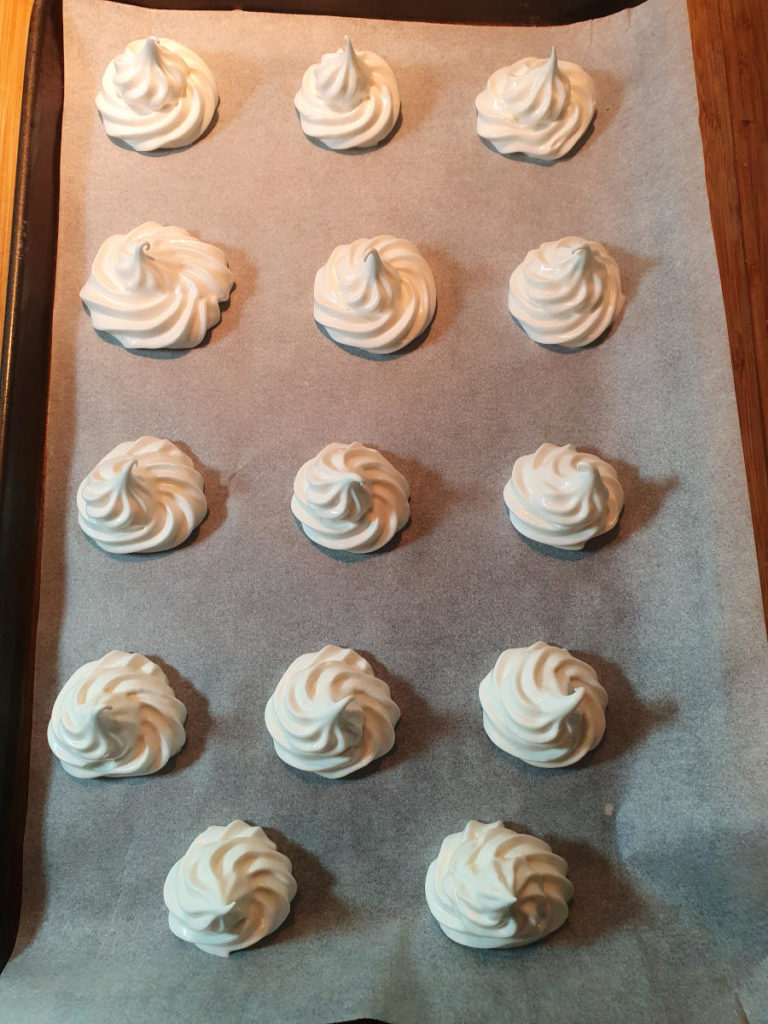
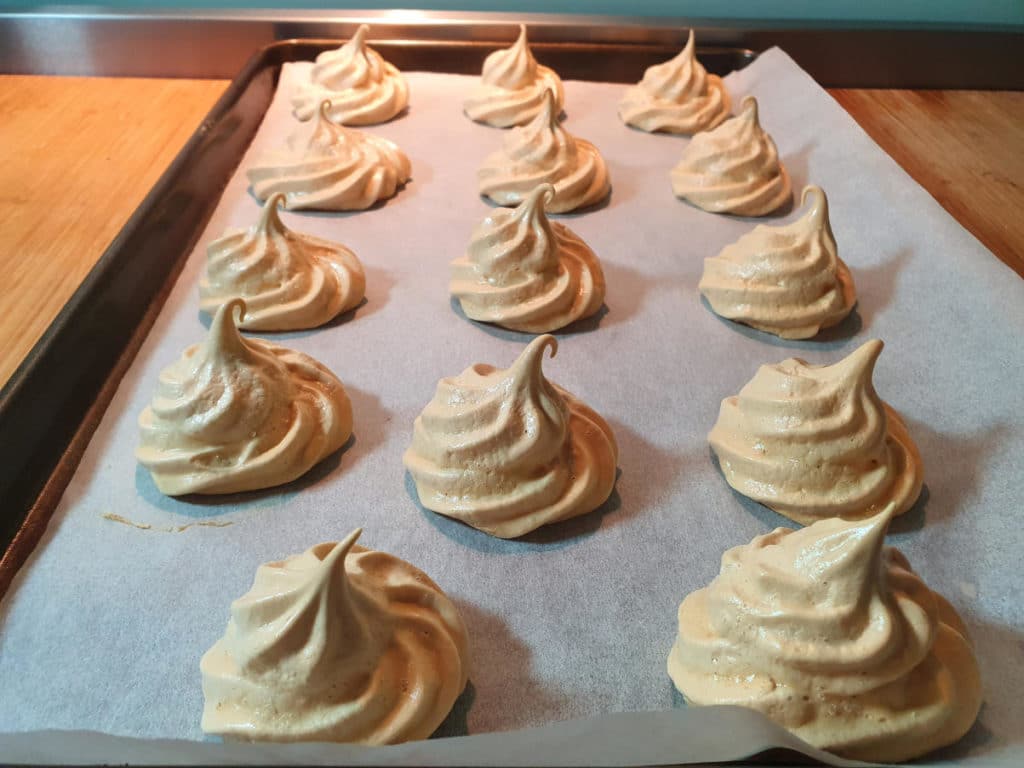
    • Meringues on baking tray ready to bake

    Transfer mix to a piping bag if using and pipe meringue onto baking paper in two inch (five cm) swirls, about one inch (2.5cms) apart.

    Hot tip: if you don't have a piping bag you can spoon the meringues onto the baking paper instead. They will still taste delicious.

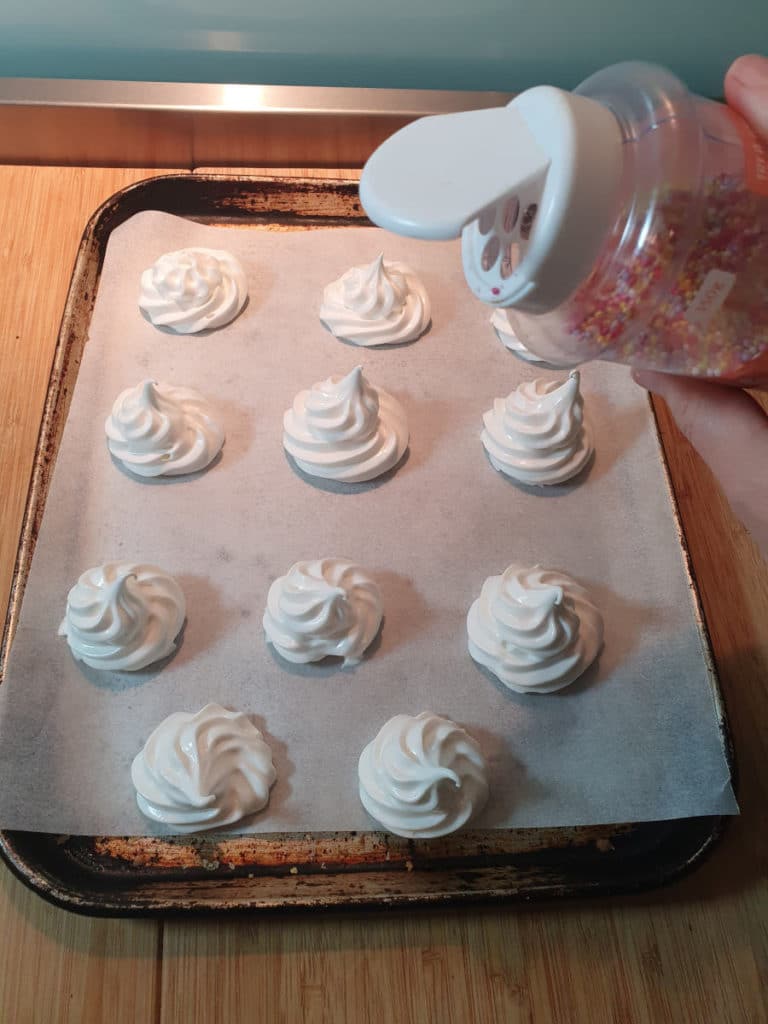
    • Adding sprinkles to meringues before baking
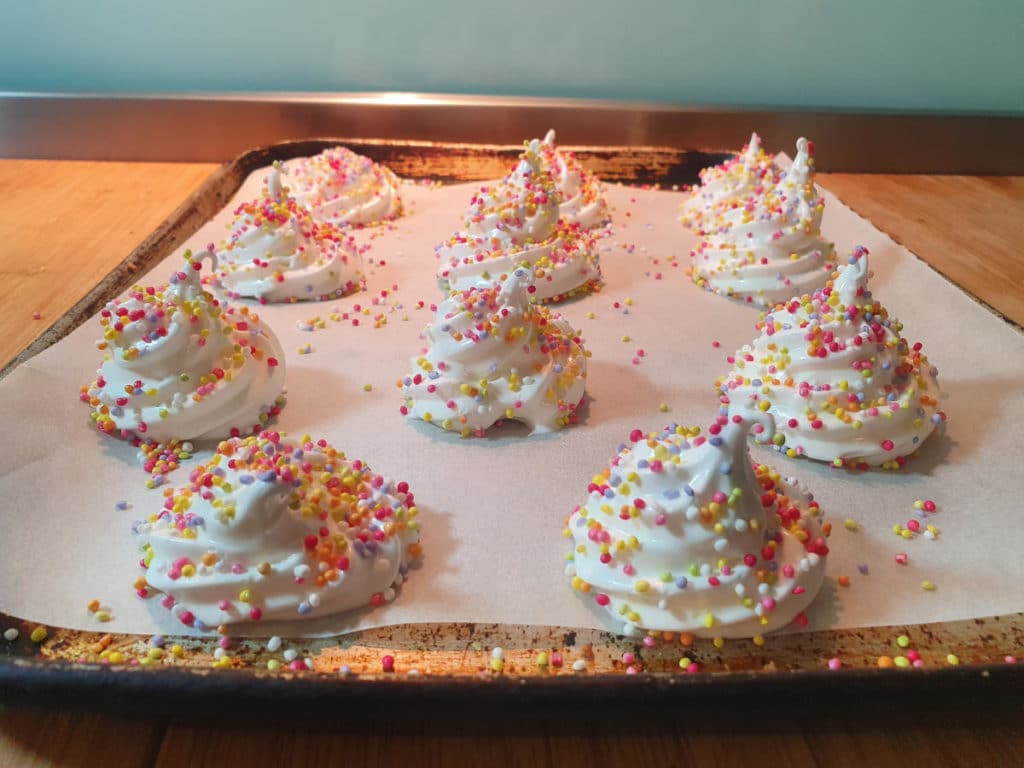
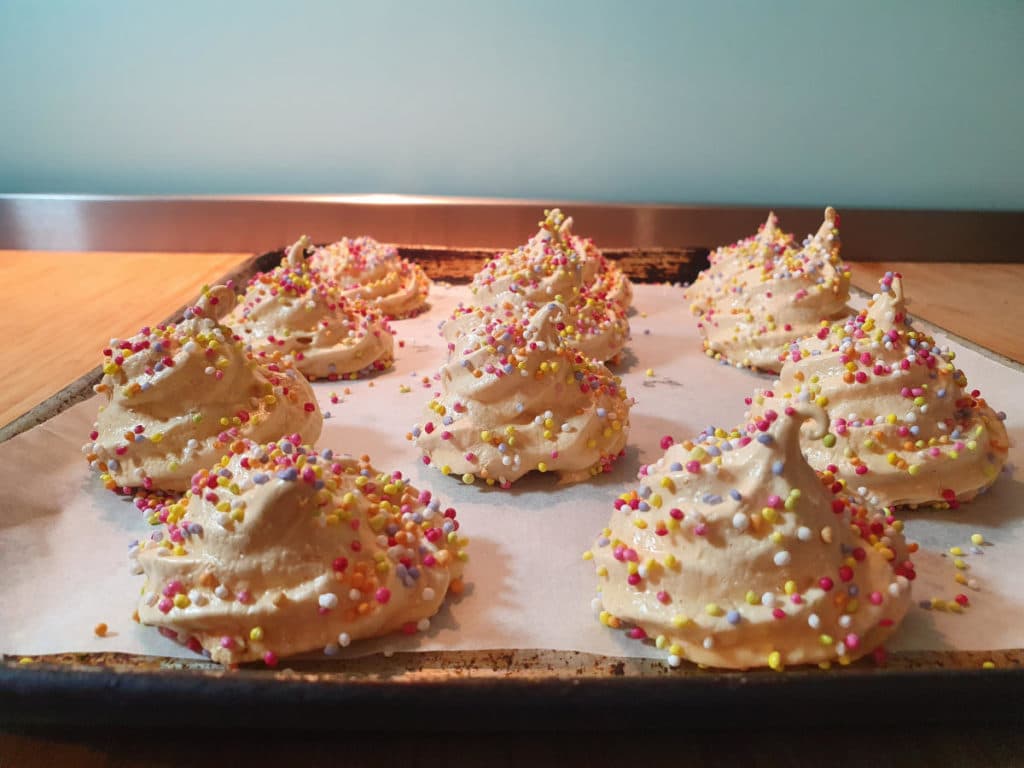
    • Meringues with sprinkles ready to bake

    For fun rainbow meringues sprinkle with 100's and 1000's or your edible sprinkles of choice.

    Bake meringues for 1.5 hours, longer if using a lower oven temperature. To check they are done tap the bottom of the meringues, they should make a hollow sound.

    • Baked meringues
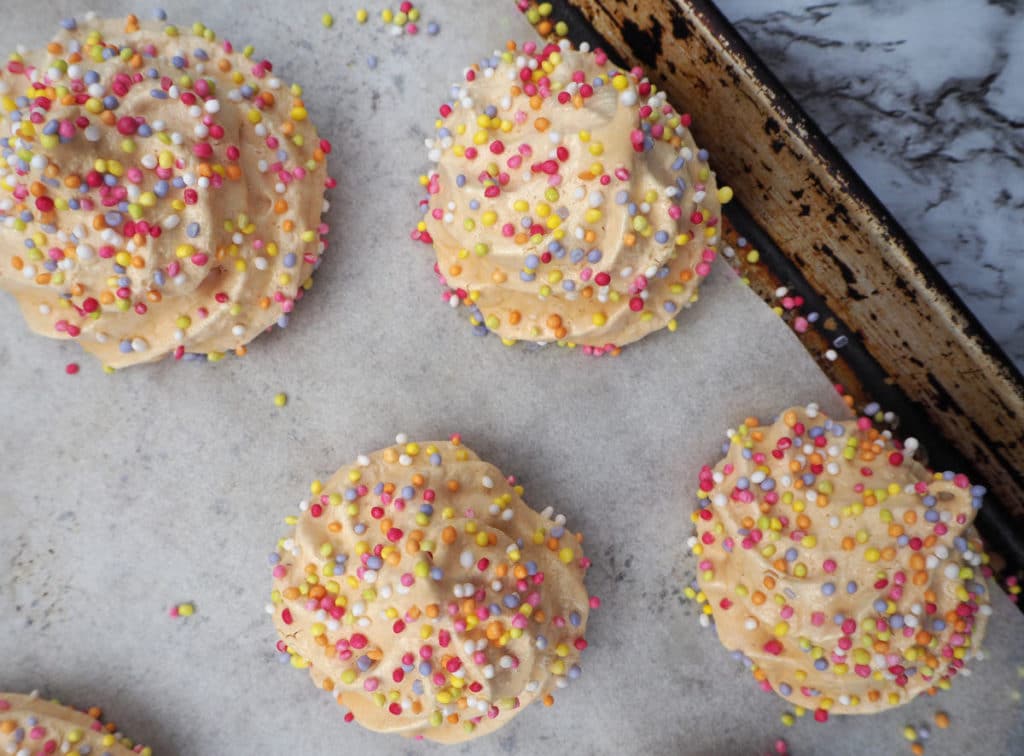
    • Baked meringues with sprinkles

    Leave trays in oven, turn off and allow to cool completely.

    Delicious on their own, with some home made ice cream or whipped cream and fresh berries.

    Rainbow meringues on tray

    Storage

    These basic meringues are best eaten on the day they are made for maximum crispness. You can store them in an air tight container lined with baking paper for up to a week, but they will start to loose their crunch over time and go sticky and chewy.

    Looking for more yummy desert recipes?

    Why not try making

    • Cakesicles
    • Cinnamon sugar pita chips
    • Caramel popcorn
    • Eggless brownies
    • Eton mess

    Have you made this recipe? Tell me how it when in the comment below and tag me on socials so I can see your delicious creations! @KCAEIC or #KCAEIC

    Basic meringues

    📋 Recipe

    Close up rainbow meringues
    Print Recipe
    5 from 3 votes

    Basic meringues

    These light fluffy basic meringues are the perfect way to use up left over egg whites after making ice cream or other treats.
    Prep Time20 mins
    Cook Time1 hr 30 mins
    Course: Dessert, Snack
    Cuisine: Australian
    Keyword: basic meringues, easy meringues, egg whites, kids meringues, kids party food, rainbow meringues, simple meringues

    Equipment

    • Electric hand beaters or a stand mixer

    Ingredients

    • ¾ cup (160gms) caster sugar
    • 4 egg whites
    • 1 teaspoon vanilla essence
    • 1 pinch salt
    • 1 teaspoon white vinegar

    Instructions

    • Preheat your oven as low at it will go, ideally 212°F (100°C ) or less and line two baking trays with non stick baking paper.
    • Beat egg whites in a bowl using hand mixer or stand mixer until it starts to form stiff opaque white peaks
    • Slowly add sugar, a table spoon or two at a time, make sure sugar is well beaten in in between adding more sugar.
    • Add the salt, vanilla and vinegar and mix in well
    • Add mix to a clean pipping bag fitted with a fluted nozzle.
    • Pipe on to tray in small circles about 2 inches (5cm) diameter, spaced about 1 inch (2.5cm) apart.
    • Sprinkle with rainbow coloured sprinkles (optional)
    • Bake in oven for 1.5 hours or until crisp and hollow sounding when tapped.
    • Turn off oven and allow to cool completely.
    • Eat immediately or store in a air tight container for up to a week
    • Delicious on their own or served with ice cream, fresh cream or fresh fruit!
    Rainbow basic meringues

    Sharing is caring!

    274 shares
    • Share255
    • Yummly
    • Tweet
    • Mix
    • Email

    Reader Interactions

    Comments

    1. Alex

      June 28, 2020 at 5:31 am

      5 stars
      I absolutely love meringues - they're one of my favourite sweet treats. Thanks for including all of your tips to achieving the perfect ones!

      Reply
    2. Sylvie

      June 29, 2020 at 1:18 am

      5 stars
      Thanks for all the great tips and tricks to make meringues! They are definitely a great treat to make with leftover egg whites 🙂

      Reply
    3. Robyn

      June 30, 2020 at 8:09 am

      5 stars
      The 100s and 1000s add such a pretty and colourful touch! And thanks for all the tips, I struggle to make meringues so will follow your advice next time! 🙂

      Reply

    Leave a Reply Cancel reply

    Your email address will not be published. Required fields are marked *

    Recipe Rating


    Primary Sidebar

    Sarah and Damian eating ice cream

    Ice cream from my favourite ice cream shop on our wedding - we even gave the guests gift vouchers for ice cream!

    • Facebook
    • Twitter
    • Pinterest
    • Instagram

    Hi I’m Sarah and welcome to Keep Calm and Eat Ice-cream.

    I’ll be sharing all the things I love about ice-cream, eating it, making it, reviewing it, bathing it in (kidding) and all the things in between. So sit back, grab a scoop and come on a delicious journey with me

    Subscribe for new recipes


    Recipe of the month
    Biscoff Cheesecake

    Cheesecake on a serving board with serving wear, jar of Biscoff and Biscoff cookies and slice of cake in background.

    Featured ice cream recipes

    Close up two scoops of ice cream with space sprinkles in a bowl with a spoon.

    Galaxy Ice Cream

    Scoop of pear ice cream with spoon, fresh pears and fresh ginger on the side.

    Pear ice cream

    Ice cream bar with fresh strawberries and leaves.

    Strawberry Shortcake Ice Cream

    More ice cream recipes

    Featured popsicle recipes

    Close up popsicles surrounded by fresh pineapple, cherries and cherry leaves.

    Pineapple Cherry Popsicles

    Close up Popsicles surrounded by fresh cherries and mango.

    Cherry Mango Popsicles

    Close up of strawberry jello popsicle with mini strawberry jello molds.

    Jello popsicles

    More popsicle recipes

    Featured dessert recipes

    Close up tart on a plate with a fork.

    Peppermint Crisp Tart

    Close up mini cheesecake on a plate with a piece taken out with a fork, rest of cheesecakes in background.

    Mini Burnt Cheesecake

    Cheesecakes on a platter with fresh fruit.

    No Bake Mini Cheesecakes

    More dessert recipes

    Short on time? - Check out our recipes and collections as web stories.

    Web Stories

    Check out more tasty recipes

    Most shared posts

    Cheesecake on a serving board with serving wear, jar of Biscoff and Biscoff cookies and slice of cake in background.

    Biscoff Cheesecake

    Shares: 909

    Close up slice of caramilk cheesecake on a plate with a fork with rest of cake and caramilk chocolate in the background.

    Caramilk cheesecake

    Shares: 2146

    Close up eggless carrot cake decorated with lemon frosting and pecan, with fresh Dutch carrots in the background.

    Eggless carrot cake

    Shares: 617

    Passion fruit coulis in a glass jar with a vintage spoon in front and fresh, cut open passion fruit and passion fruit leaves on the side, on a wooden chopping board.

    Passion fruit coulis

    Shares: 674

    Lemon lime bitters popsicles

    Lemon, lime and bitters popsicles

    Shares: 794

    Subscribe for new recipes


    • Facebook
    • Instagram
    • Pinterest
    • Tumblr
    • Twitter

    Footer

    About

    • About
    • Contact us
    • Privacy Policy
    • Accessibility Policy
    • Affiliate Policy
    • Cookie Policy
    • Terms and Conditions

    Newsletter


    Social Media

    Follow me on your favorite social media and recipe sharing channels

    • Facebook
    • Instagram
    • Pinterest
    • Twitter

    Copyright © 2022 Sarah Brooks