These cakesicles are a cute and fun treat and are surprisingly easy to make. Perfect for birthdays or change them up to suit your special occasion.
Jump to:
What is a Cakesicle?
Cakesicles, also known as cake popsicles, cake pops, popsicle cakes or even popsicle cake pops, are cakes made into popsicle shapes that are covered in chocolate. There are two main methods, the mold or dipping method. For the mold method small popsicle molds are coated in chocolate, filled with cake mix and sealed with chocolate. For the dipping method the cake mix is first shaped into popsicle shapes then dipped in chocolate. The mold method generally produces cleaner-looking popsicle cakes and uses less chocolate compared with the dipping method.
Cakesicle ideas:
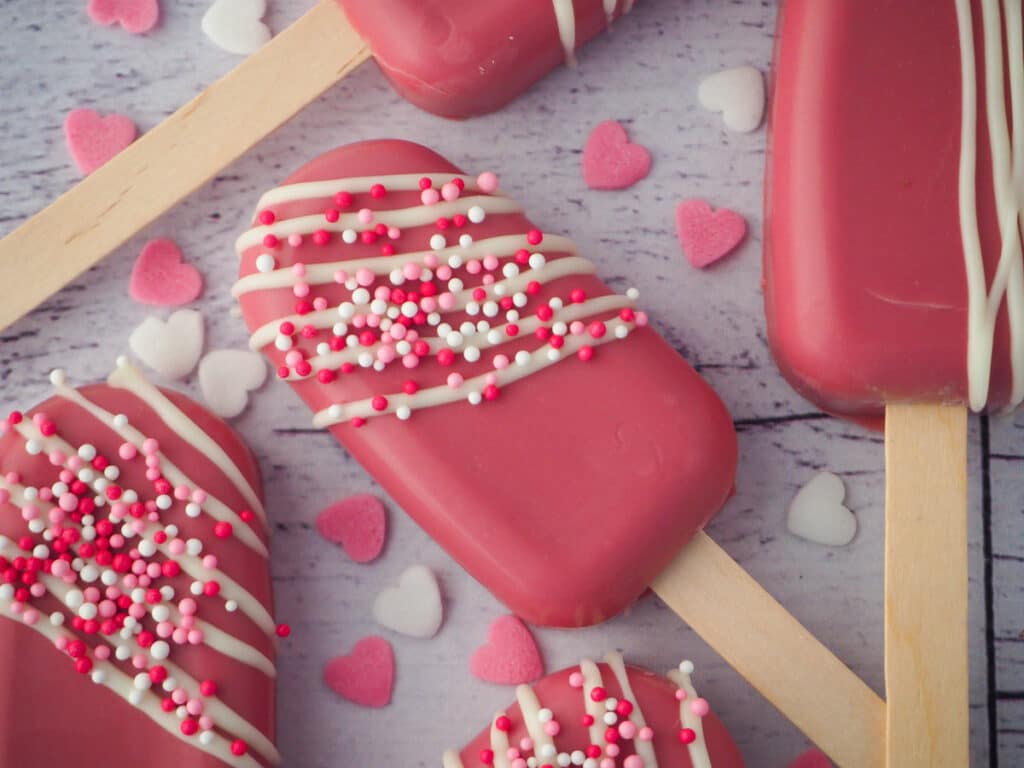
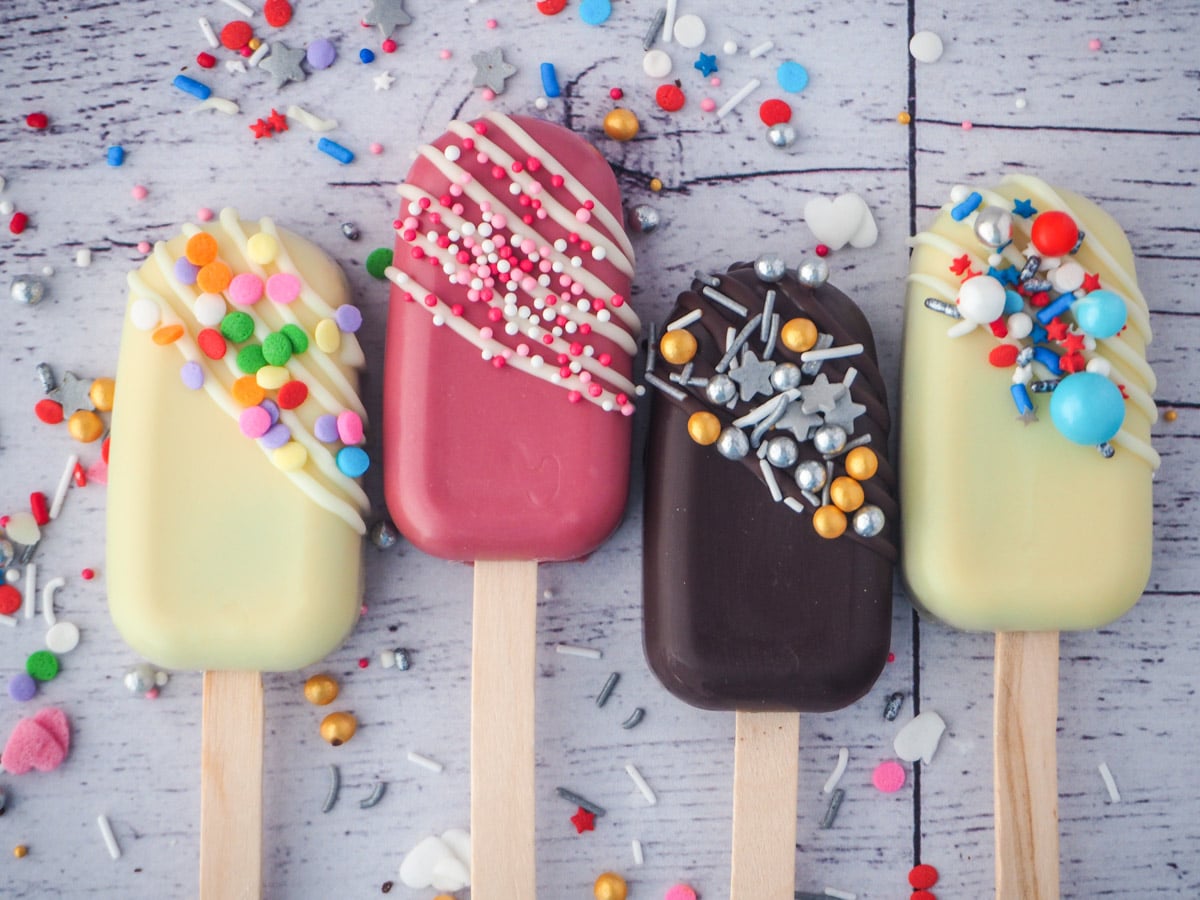
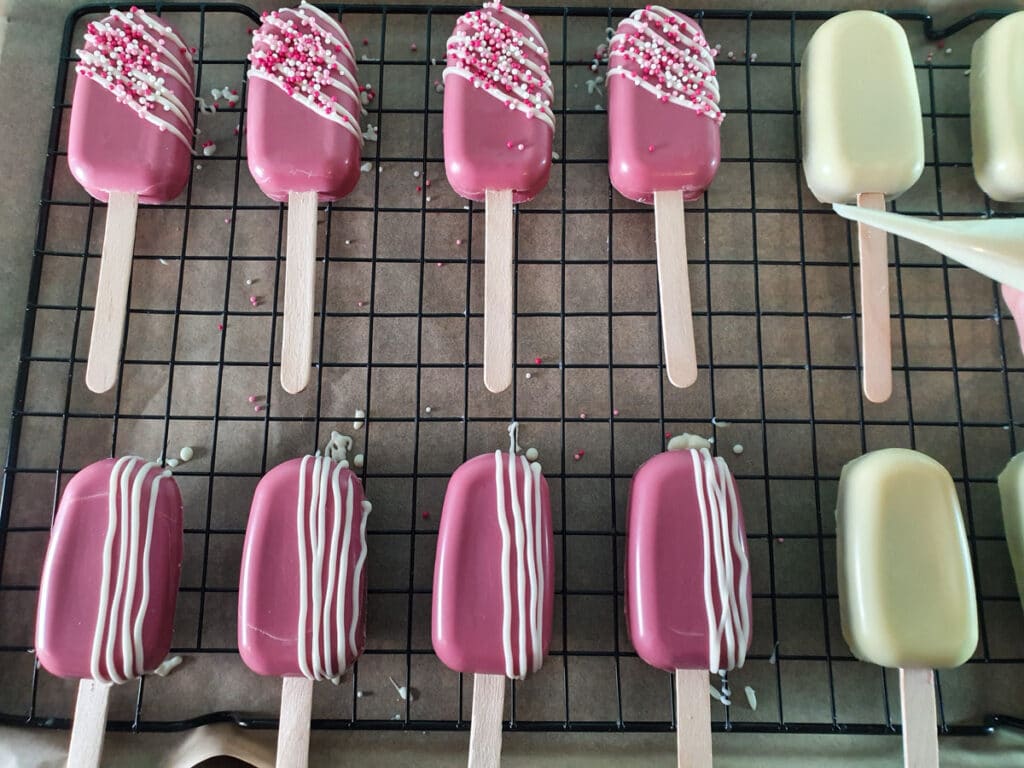
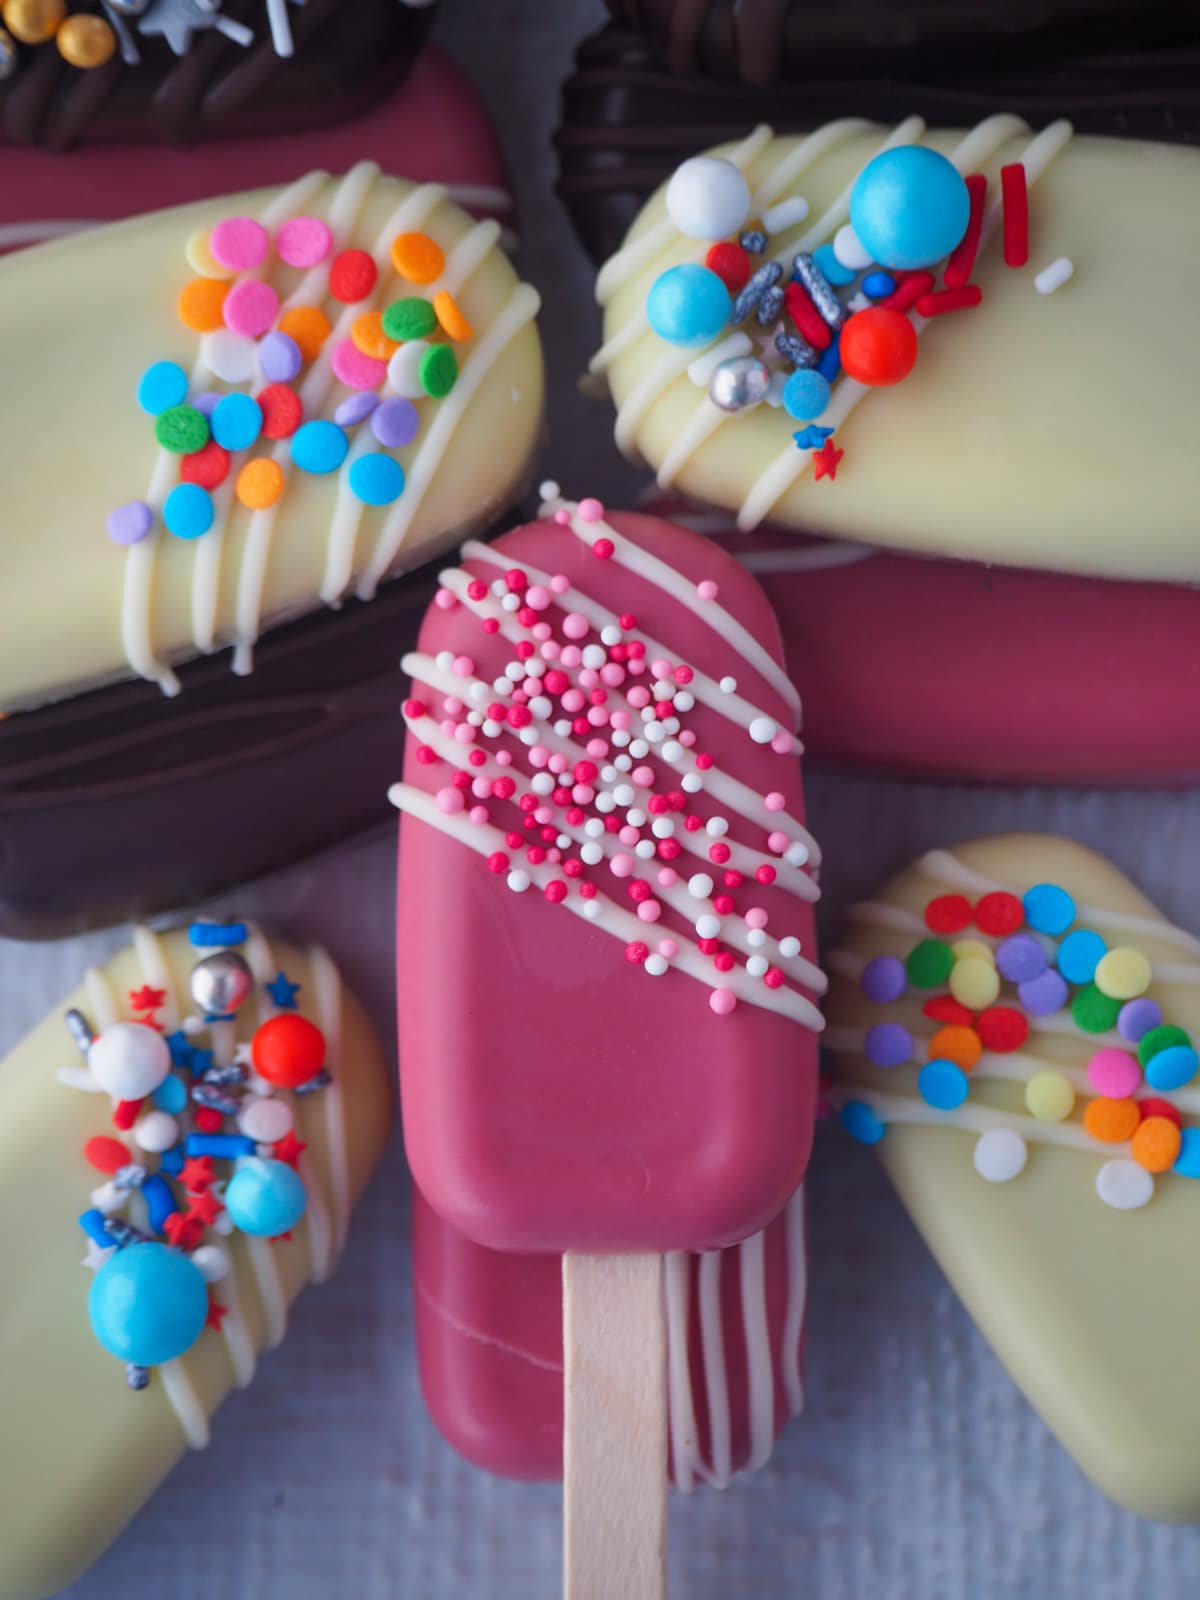
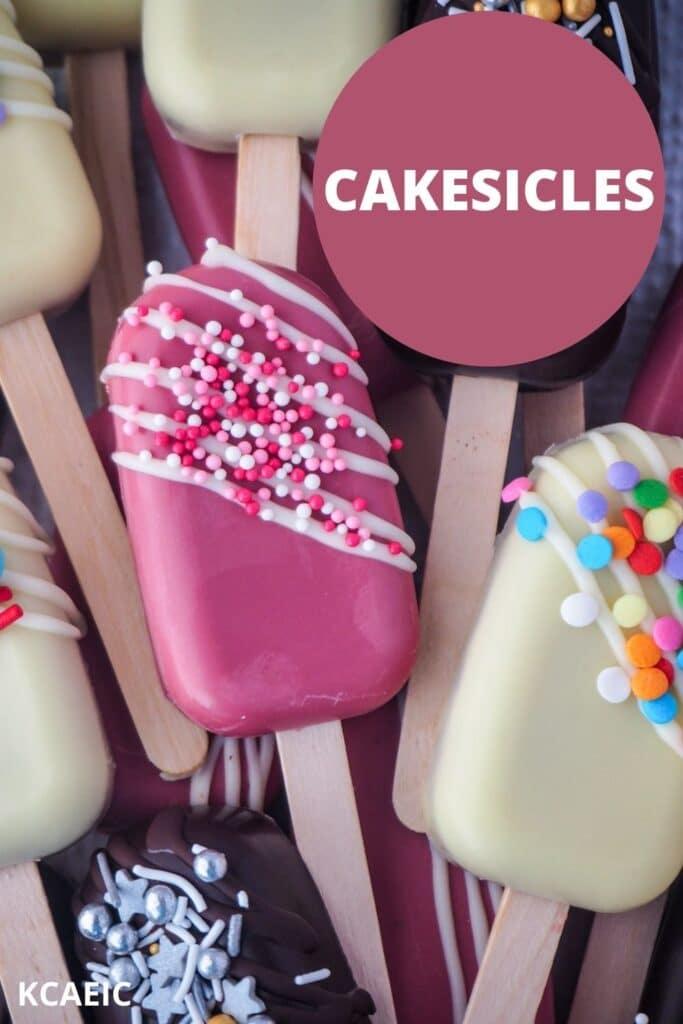
- Valentine's cakesicles - for a show-stopping Valentine's treat try coating them with ruby chocolate. Decorate with contrasting white chocolate and some red, white and pink sprinkles. Fill with vanilla cake for maximum contrast or maybe some chocolate or red velvet cake, yum! The pretty pink cake pops are great for Mother's Day too!
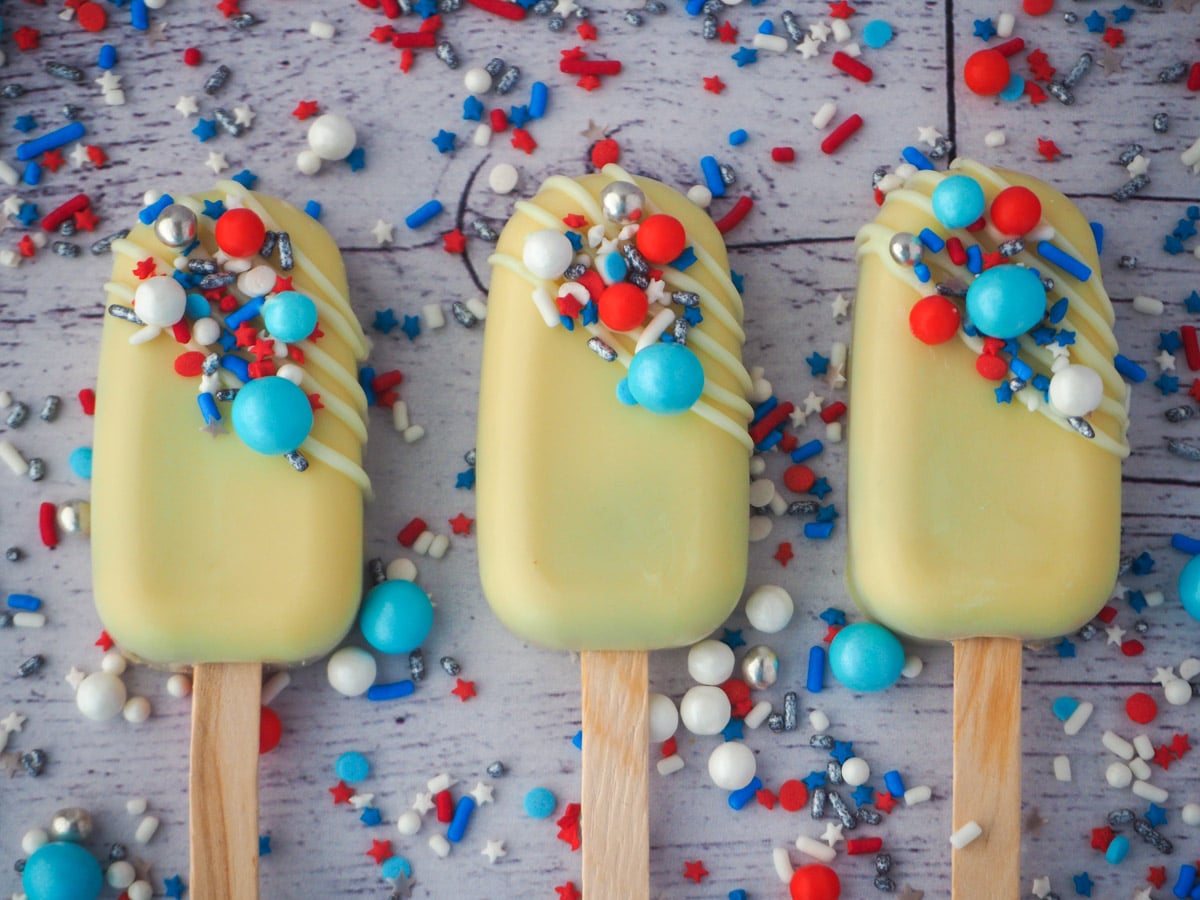
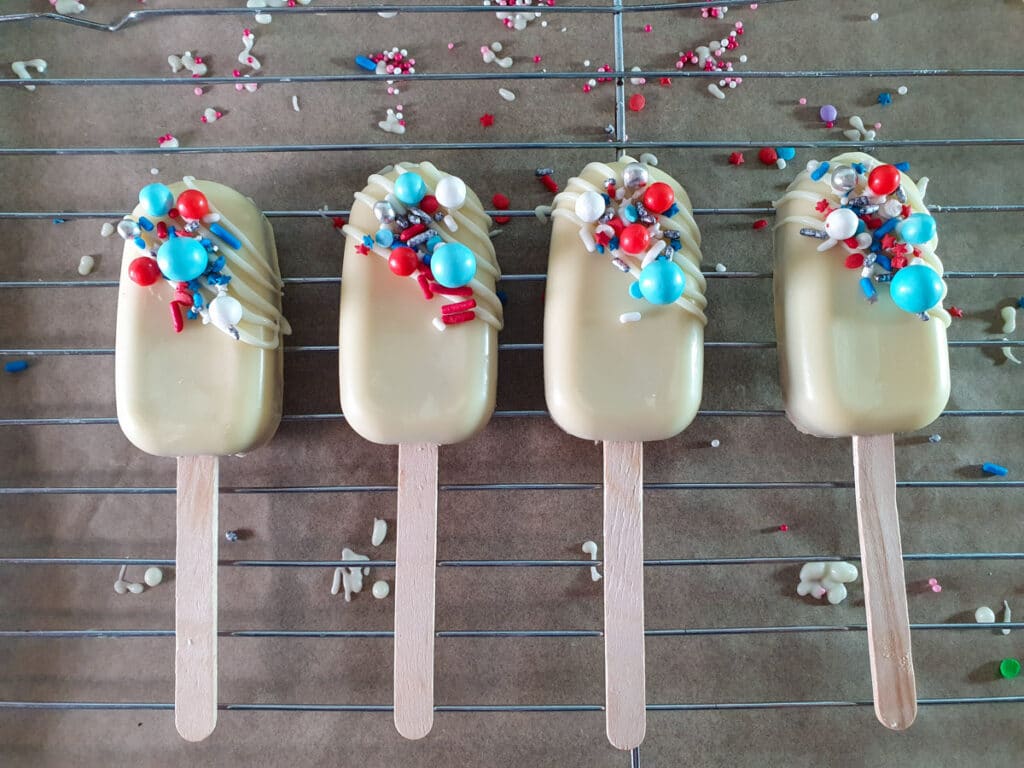
- Red, white and blue cakesicles- use a white chocolate shell and sprinkle with fun red, white and blue sprinkles and stars. Fill with red velvet or vanilla cake. Perfect for the 4th of July or a patriotic party!
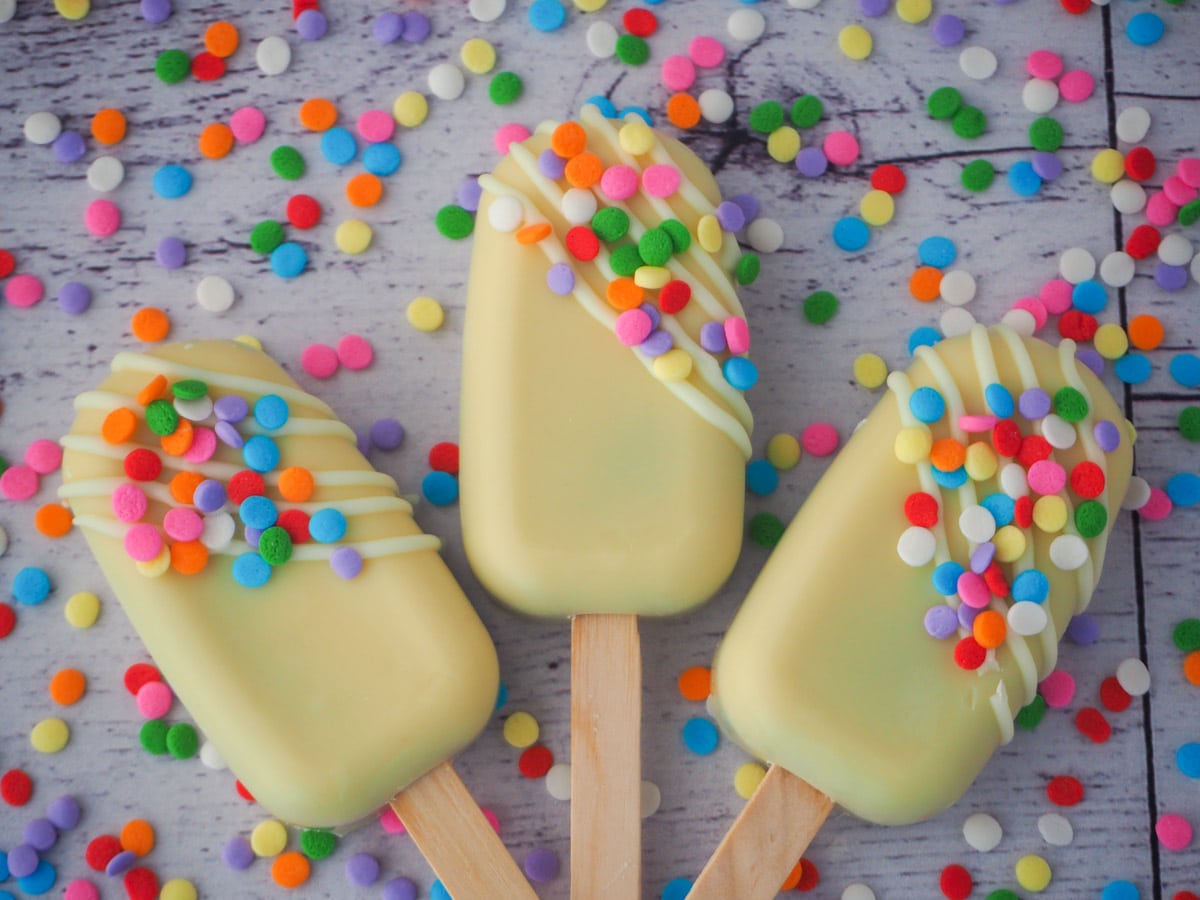
- Funfetti cakesicles - use a neutral white chocolate base and sprinkle with bright funfetti sprinkles for a fun and colorful look! Fill with funfetti cake, or go for maximum contrast with some delicious red velvet, yum!
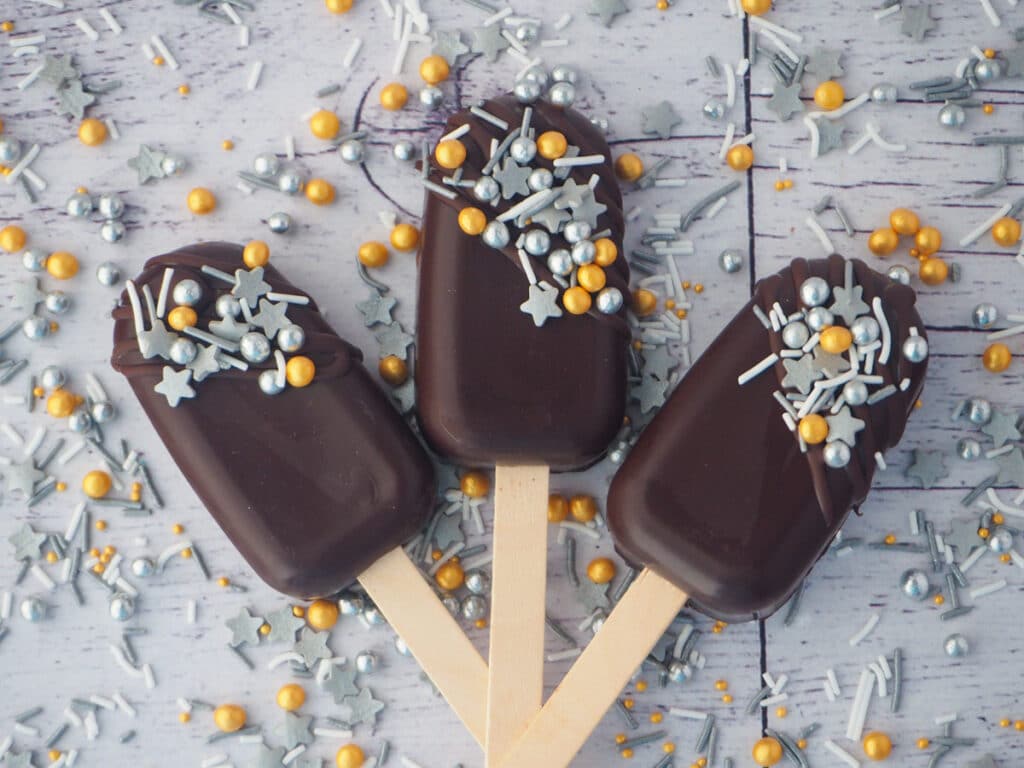
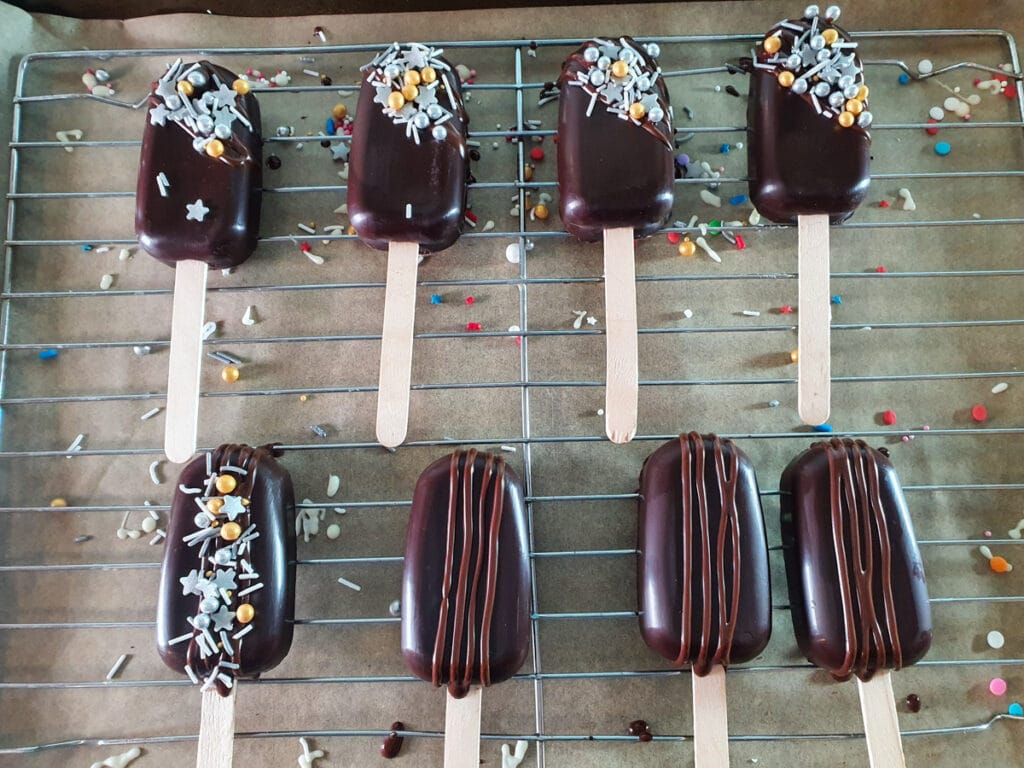
- Classic - add a touch of class by using dark chocolate. Drizzle with more dark chocolate and decorate with silver and gold sprinkles. Fill with chocolate cake mixed with chocolate frosting for a classy and indulgent dessert!
- Party - match your party's color scheme by coloring white chocolate with your party colors or the right colored candy melts. Decorate with coordinating sprinkles and drizzles of chocolate.
- Wedding - add a touch of class with white chocolate filled with the same flavor cake as your wedding cake. Sprinkle with silver or gold sprinkles or match your wedding colors.
- Oreo - mix crushed-up ores into vanilla cake mix and frosting. Coat with white or milk chocolate and decorate with crushed Oreo pieces.
- Baby shower - use pretty pink or blue candy melts or color white chocolate. Decorate with matching sprinkles. Make gender reveal popsicle cakes by adding pink or blue food coloring to your cake mix. Coat with chocolate and decorate with a mix of pink and white sprinkles. Your guests will see the color when they bite into the cake popsicles! If using white chocolate you may need to double-coat to prevent the color inside from being visible.
- Halloween - make scary Halloween cakesicles! See my post here for more ideas!
- Christmas - make pretty festive cake popsicles. See my post here for more ideas!
- Mix things up - with your favorite chocolates and cake flavor combinations. You can use white, milk, dark, or even ruby chocolate! You can use any unfilled cake you like so long as it has no large bits. Popular flavors include vanilla, chocolate or red velvet. I don't recommend using mud cake, very heavy cakes or one with large chunks of fruit in them as they will not stick together well and will fall off the sticks.
Tips and tricks
What cake flavors can I use?
You can use any regular unfilled cake flavor you like, so long as it's not too heavy, or oily and doesn't have any large bits in it. Popular flavors include chocolate, vanilla, red velvet, lemon, banana, cinnamon tea cake, coffee cake etc. The important thing is that it is not too heavy, so no mud cake etc. And not too many chunky bits. Both won't mix into the frosting properly and will make the cake popsicles too heavy and fall off the stick.
What sort of chocolate can I use?
You can any kind of chocolate you like, so long as it doesn't have too many bits in it. White, milk, dark and even ruby chocolate all work well. You can leave them their natural color, or color white chocolate with oil-based food coloring. Alternatively you can use candy melts in your chosen color, which is simpler.
Do I need to temper the chocolate?
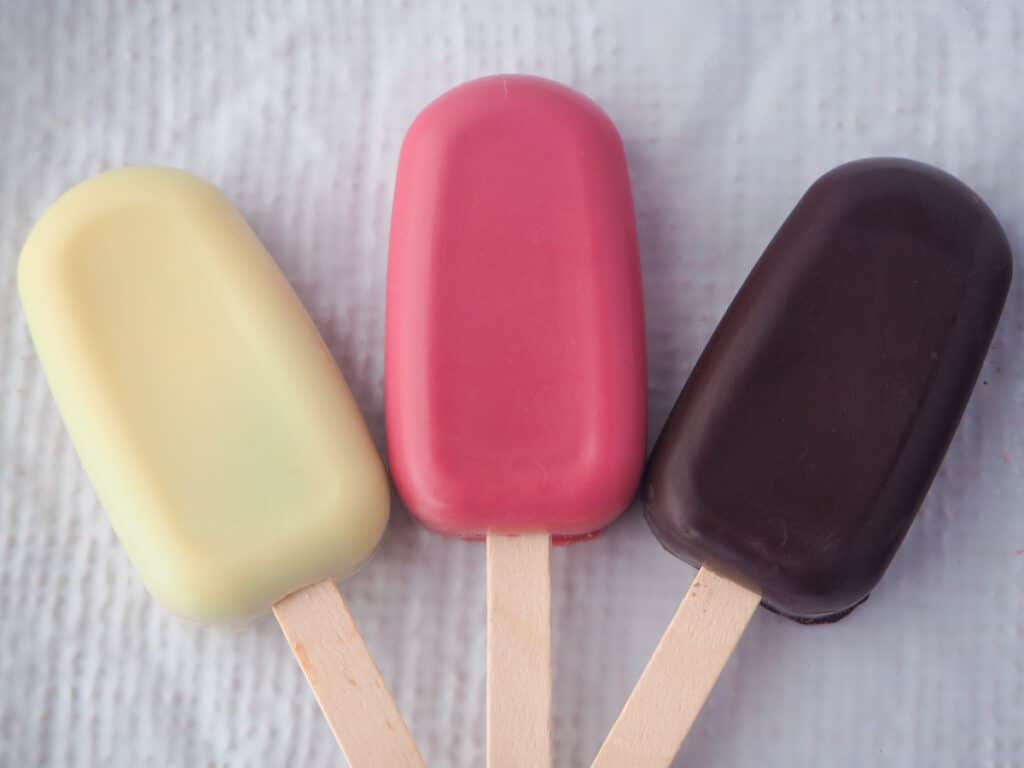
The short answer is no, you don't have to. I used premium ruby chocolate in the pink cake pops here, and high-quality 70% dark chocolate and I did not temper either of them. In my opinion they still worked just fine and were shiny enough. Of all of them the ruby chocolate was the most likely to crack and the dark chocolate can sometimes develop a light bloom on the chocolate that's easy to wipe off. Tempering may have helped solve these issues. Certainly for thinner, snapper, shinier chocolate yes you could temper it. It won't hurt but its a lot more effort.
You could also use candy melts or compound-cooking chocolate. Candy melts and compound cooking chocolate tend to be made with oils instead of or as well as cocoa butter. The lower proportion of cocoa butter makes it easier to melt and work with without the need to temper it. This is one incidence where cheaper chocolate can actually be a good thing!
You do still need to be mindful of how cheap your chocolate is. I've tried this with some brands of the really cheap compound cooking chocolate and it just didn't melt properly or get a smooth enough consistency to pour and create nice thin shells.
How do you stick sprinkles on cakesicles?
The simplest way to stick sprinkles onto cake pops is to use melted chocolate or candy melts. Put the chocolate into a small piping bag, drizzle the chocolate over the top then immediately put the sprinkles on. You need to work fast before the chocolate sets. For larger decorations you can put a dot of chocolate onto the cake popsicle where you want to stick your decoration.
Troubleshooting
My candy melts aren't 'melting' or forming a smooth, pourable consistency . . .
I found this can happen with some brands of candy melts. They get hot and soft, but remain a stubborn lump. You can sometimes fix this by adding a little refined (expeller) coconut oil. Try half a teaspoon, it should melt when mixed into the hot candy melts, and increase to about a teaspoon if needed until you get a nice smooth, pourable consistency.
Also be aware that some brands of candy melts stiffen up when they get too hot! Always worth checking the packet to see if that's the case, you may need to let them cool so they are hot but not too hot . . .
I forgot to poke a hole in the chocolate shell for my stick before it set. . .
No problem. Use a small sharp knife to carefully cut through the chocolate where the stick will poke through. Reinforce and fix any cracks with a blob of melted chocolate once the stick has been put in. Allow to set for a few mins before filling and sealing the cake pops.
My chocolate cracked or broke...
There are a number of reasons they can break, try the following:
- If it's just a small crack try covering it up with chocolate drizzle decorations and sprinkles. They will still taste delicious.
- The chocolate hasn't set. Pop them into the fridge and leave them for longer before removing them from the molds.
- The chocolate wasn't thick enough, especially around the edges. Try making the chocolate a little thicker, or letting it set, then adding a second layer to those all-important edges.
- The molds were overfilled. This can lead to a weak joint where the chocolate edges meet on the sides. Try adding less cake mix to the molds next time.
- There's too much frosting in your cake mix. Too much frosting in the mix can make them soft and prone to breaking. Try adding less frosting to your cake mix next time.
A word of warning, I do not recommend attempting to 'fix' the cracks by re-melting the chocolate using a blow torch (go on ask me how I know). Unless you are incredibly careful the chocolate ends up looking weird and it's super easy to torch the chocolate marshmallow style. Not a good look . . .
One of my lovely readers had suggested a hair dryer on a low setting could be used to melt/fix cracks. I have not tried this but if you're otherwise stuck it might be worth trying.
My sticks keep falling out...
- There's too much frosting in your cake mix, making it too soft. Try adding less frosting next time. It should be the consistency of cookie dough.
- Once you have half-filled the molds and added the sticks, add a blob of chocolate to the inside where the stick meets the mold.
- Once you have removed the cake pops from the molds try adding a little extra chocolate where the stick meets the pop to help hold the stick in place.
My cake mix is dry...
- The cake you used was too dry, or there was not enough frosting in your mix. Both can usually be solved by adding a little more frosting to your mix. It should be the consistency of cookie dough.
My cake mix is oily...
- This usually happens when there's too much butter or oil in your cake or occasionally the brand of frosting used. If using a cake you have baked yourself try reducing a couple of tablespoons of butter or oil with milk instead when baking your cake.
Ingredients
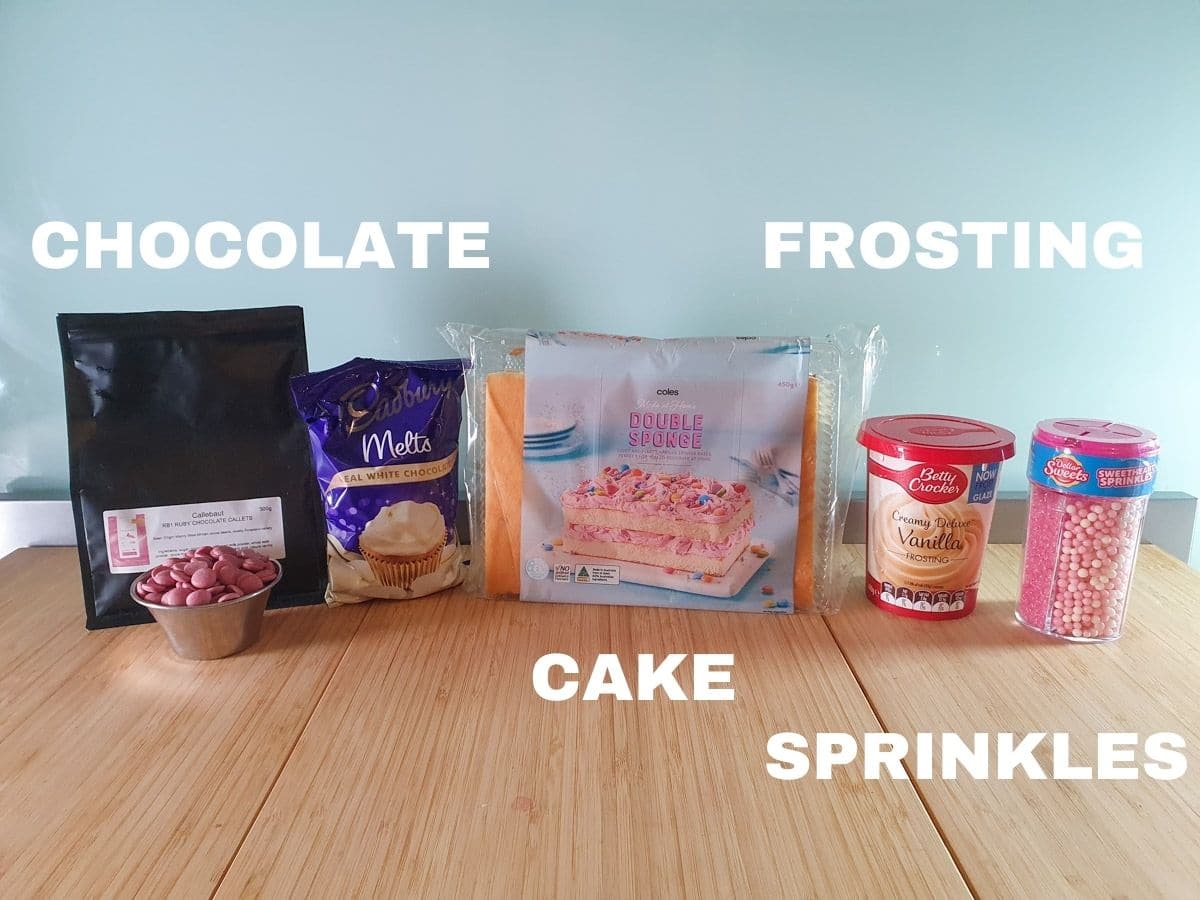
Cake: choose your favorite cake flavor to make these popsicle cakes. You can keep things simple with a vanilla cake or mix things up with different flavors such as chocolate. You can make your own cake from scratch, and use a box mix (yes I know, a box mix! but they are sometimes useful). I've even made these with a store-bought cake from the supermarket when I was short on time.
Frosting: choose a frosting flavor that complements your cake flavor. Regular vanilla is fine for most, but you could also use chocolate to go with chocolate cake or red velvet cake. I use ready-made frosting to make this quick and easy.
Chocolate or candy melts: you will need chocolate to coat the popsicles in and chocolate for decorating. This can be the same or different chocolate. You can use any type of chocolate you like such as white, milk, dark or even ruby, so long as it doesn't have any bits in it. You can also use candy melts for brightly colored cake pops without having to add any food coloring.
Oil-based green food coloring (optional): is different from regular water-based food coloring you usually get from the supermarket. It's important to use oil-based food coloring because the water in the other kind will make the chocolate seize. You can get oil-based food colors from specialty baking stores, online and from some supermarkets.
Sprinkles (optional): you can decorate these popsicles with fun colored sprinkles to suit your colors, party or special occasion.
How to make cakesicles
First, it's important your cake is completely cold before making your popsicle cakes. You can not make them with still warm cake, the mix will not come together and you will melt the chocolate coating.
Put the chocolate or candy melts into a microwave-proof bowl and microwave in thirty-second bursts until it's melted.
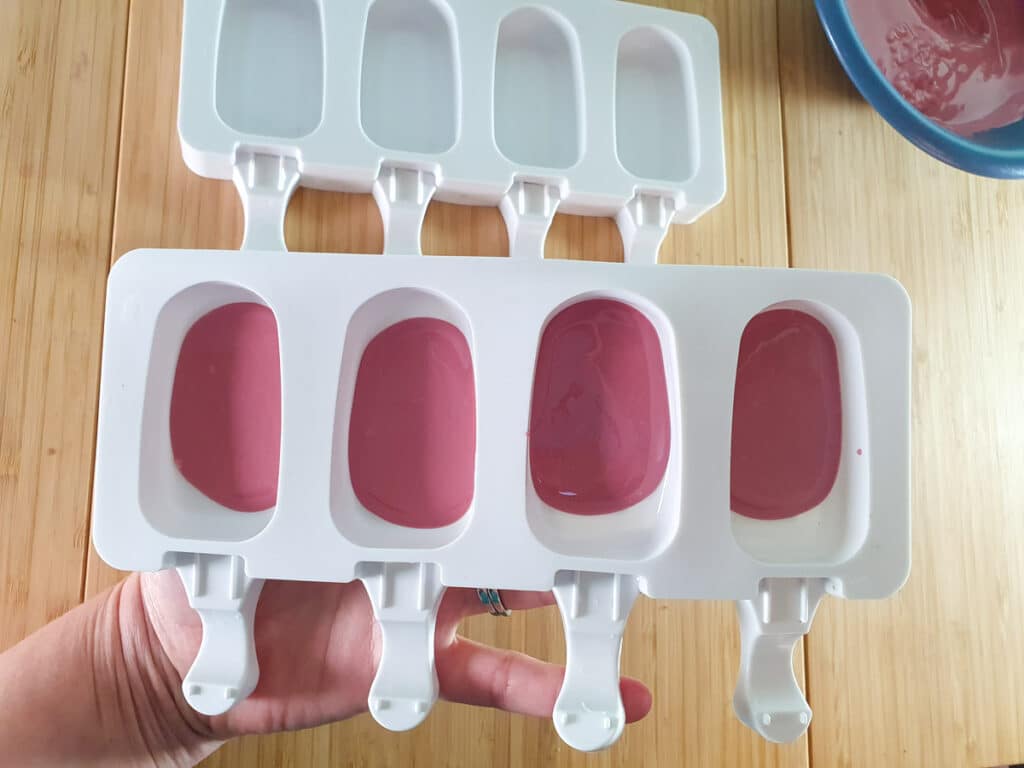
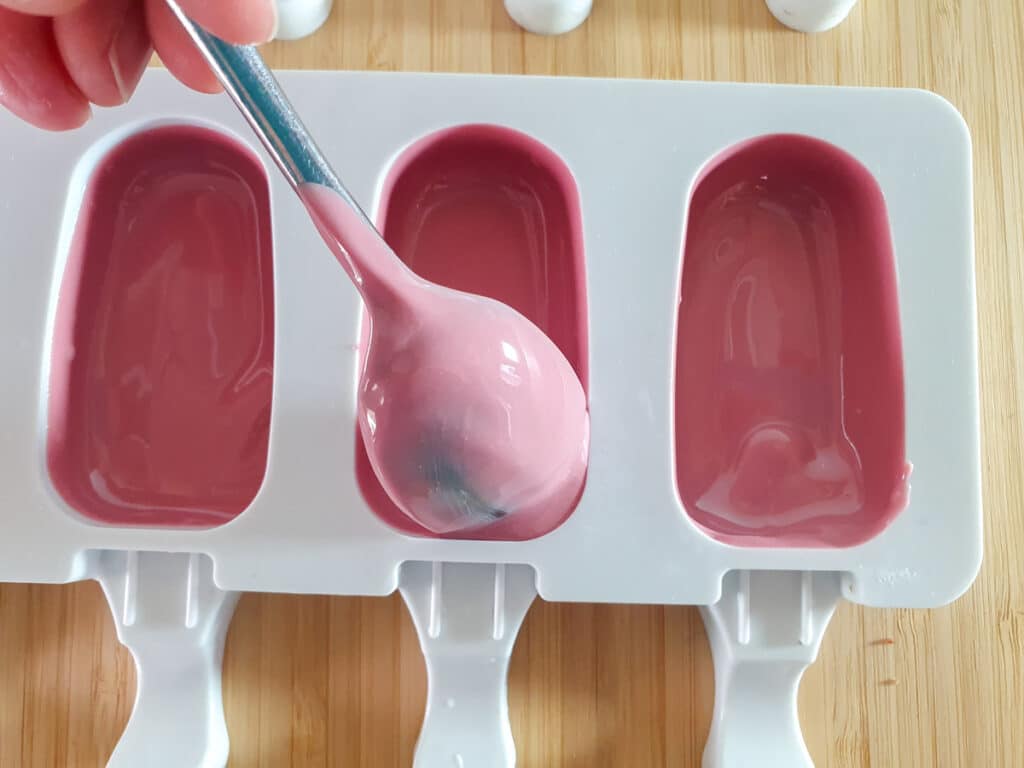
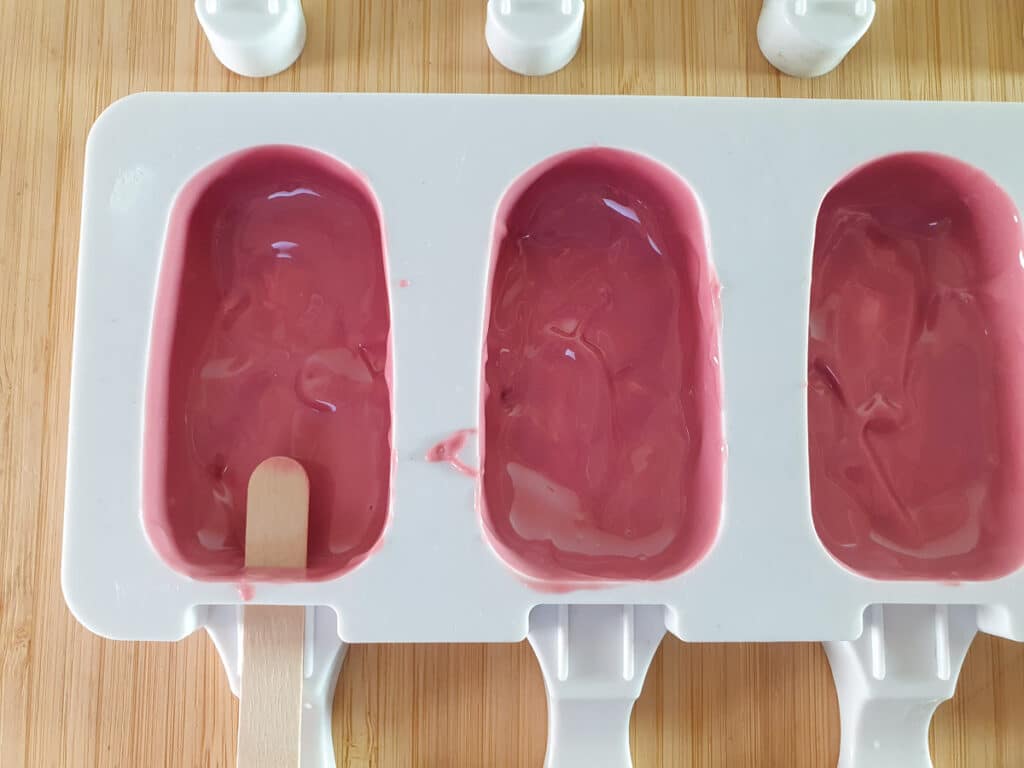
Working quickly, put about half to one tablespoon of chocolate into each cakesicle mold. Coat all of the insides of the mold with chocolate, either by moving the whole mold or using a small spatula or spoon to 'paint' the chocolate up the sides of the mold.
Poke the ice cream stick in and out of the stick hole a couple of times to make a gap for the stick. Put the molds in the fridge for at least ten minutes to set.
Hot tip: For stronger sides you can use a teaspoon to do a second coat of chocolate on the sides. This will strengthen them and help stop the cake inside from showing through. I have made them both ways and I find both work fine, so up to you.
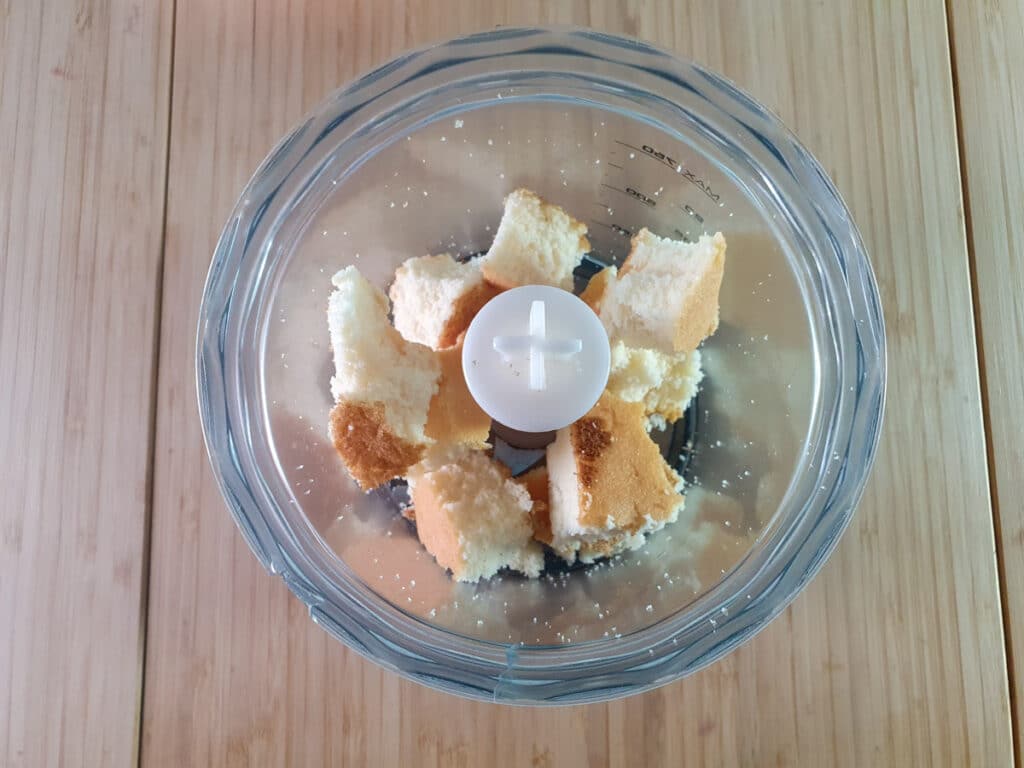
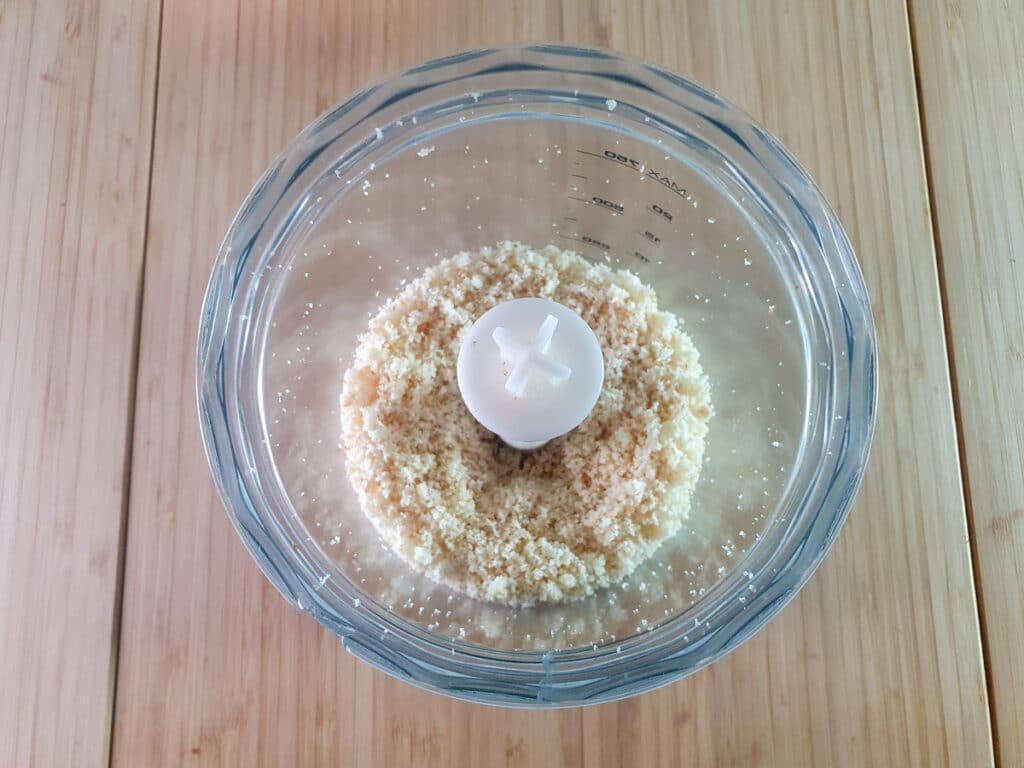
Crumble your cake up into breadcrumbs. By far the quickest and easiest way to do this is to break up lumps and give a blitz for a few seconds in a food processor. Transfer crumbs into a bowl. Add about a tablespoon of frosting and mix well. You need less than you think! Add a smaller amount to start with, then add more if needed. The mix should form a ball when you squeeze it in your hand but not be too dry or wet, similar to cookie dough.
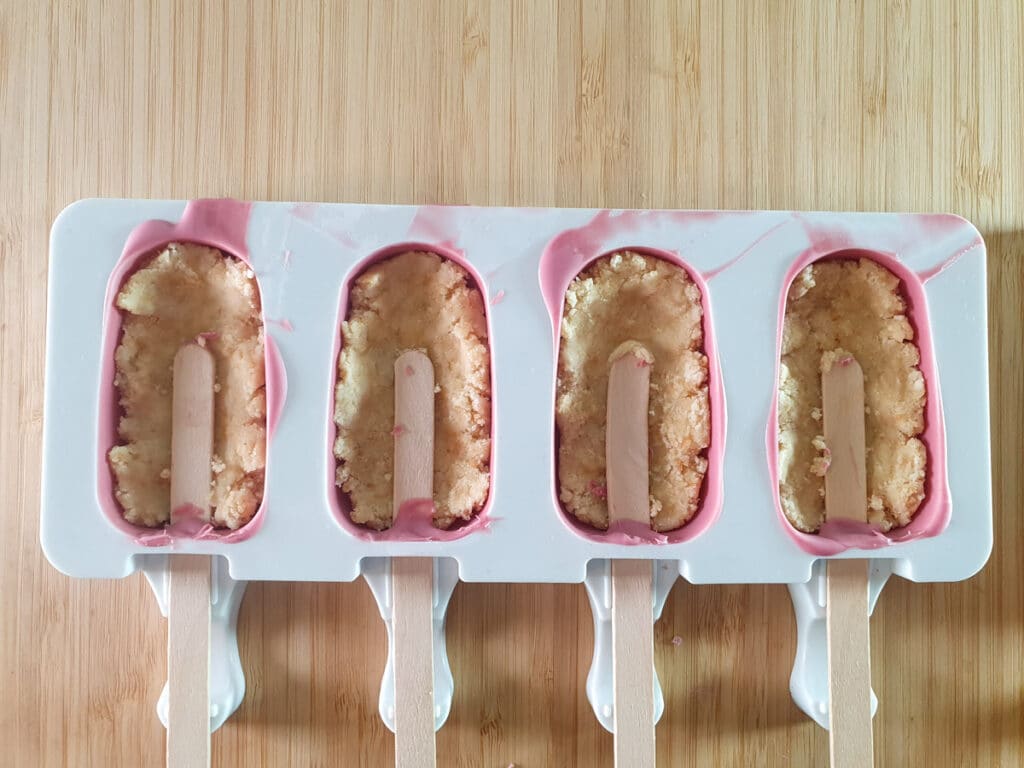
Remove the molds from the fridge and press a small amount of frosting mix into the bottom of the molds. But sure not to fill past the hole where the stick goes in. Insert the sticks. Add an extra blob of chocolate where the stick meets the mold for extra strength, to fix any cracks when you put in the stick and help the sticks stay in place. Leave for a few mins to set then continue to fill with cake mix over the top. Do not overfill the molds. Do not press too firmly or you risk cracking the chocolate shells.
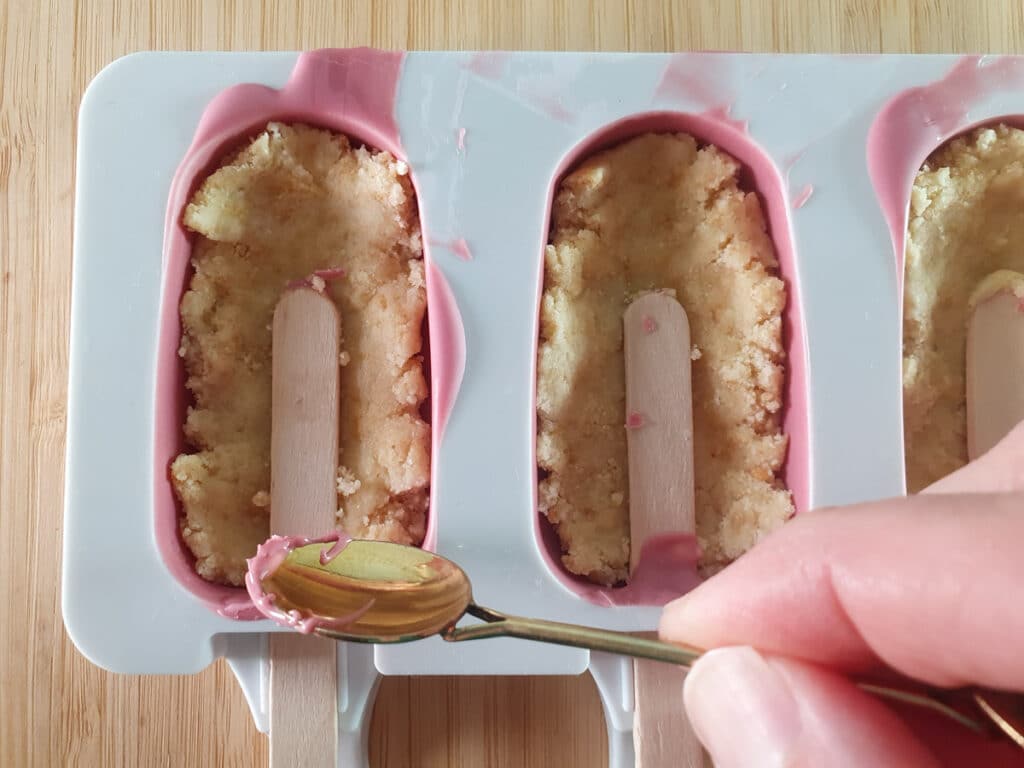
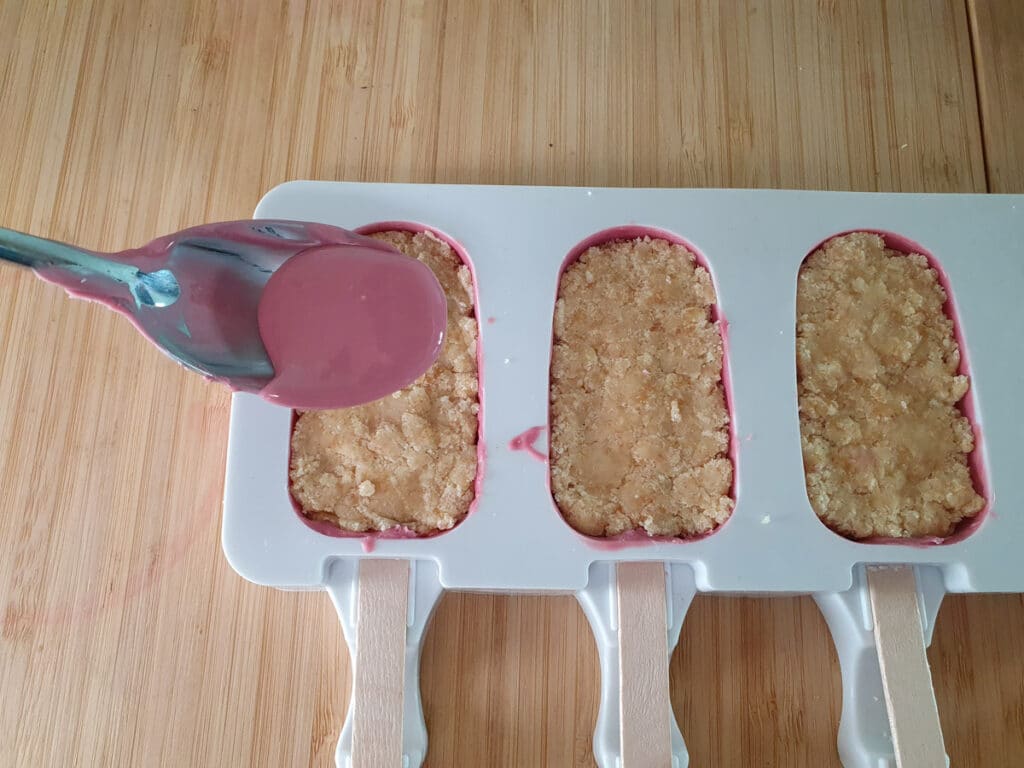
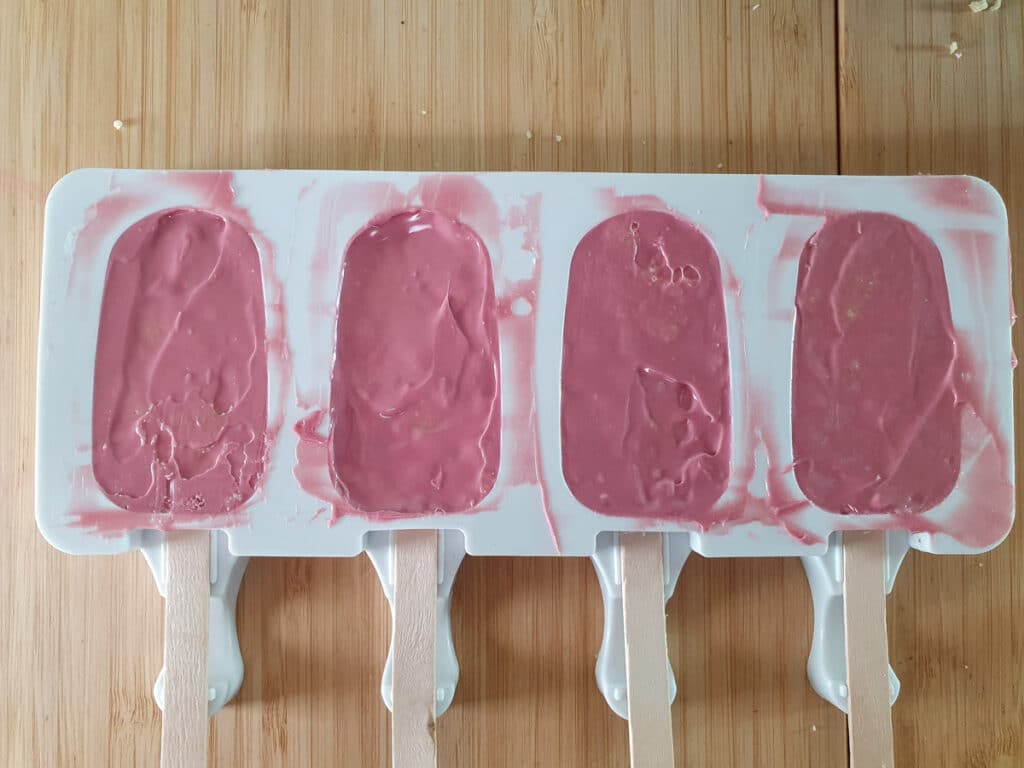
Top with extra melted chocolate or candy melts and move it around to seal the back. Scrap any excess chocolate. Put them in the fridge to set again for at least thirty minutes.
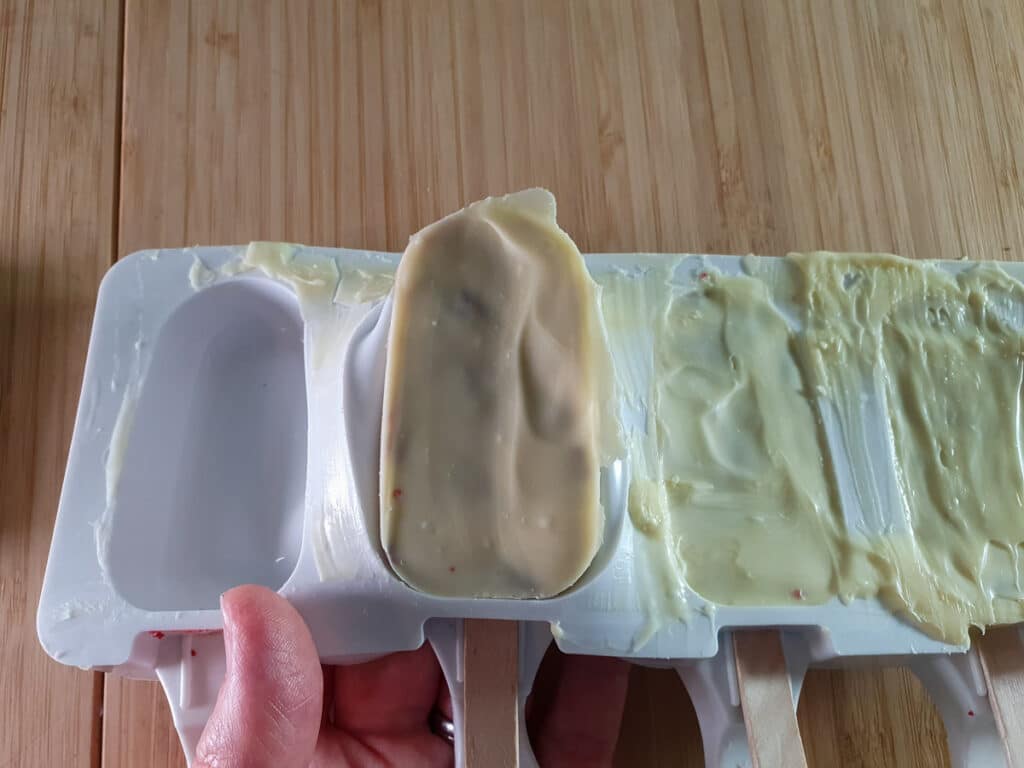
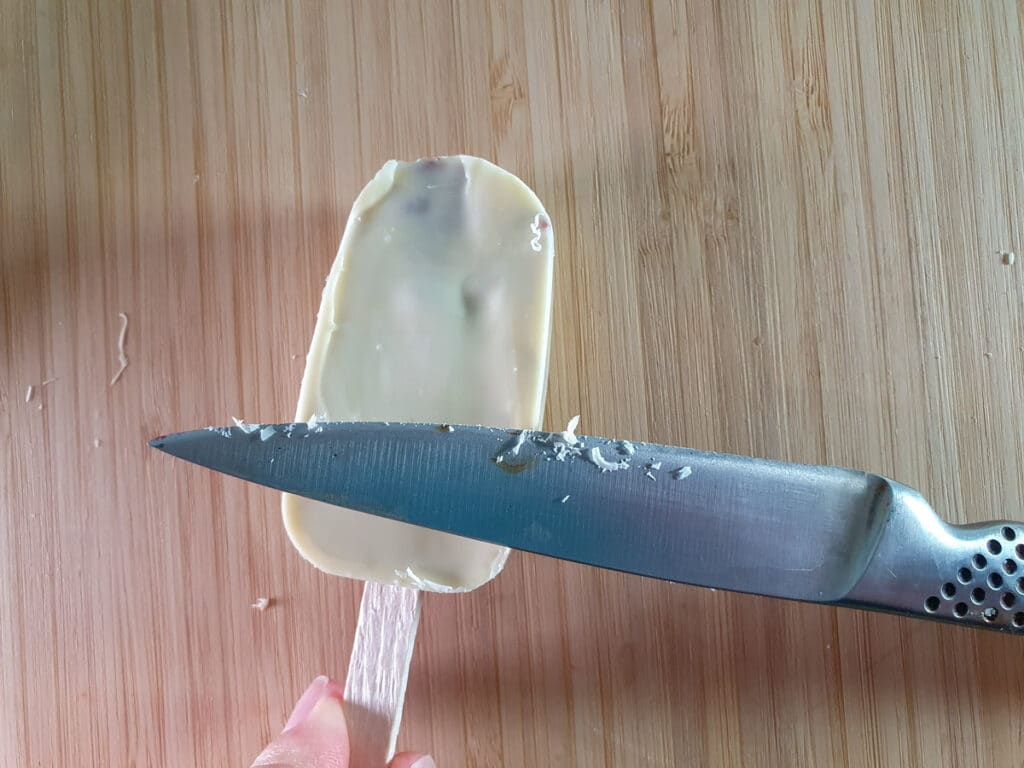
Once set carefully remove them from the molds. Use a sharp knife to carefully clean up the edges.
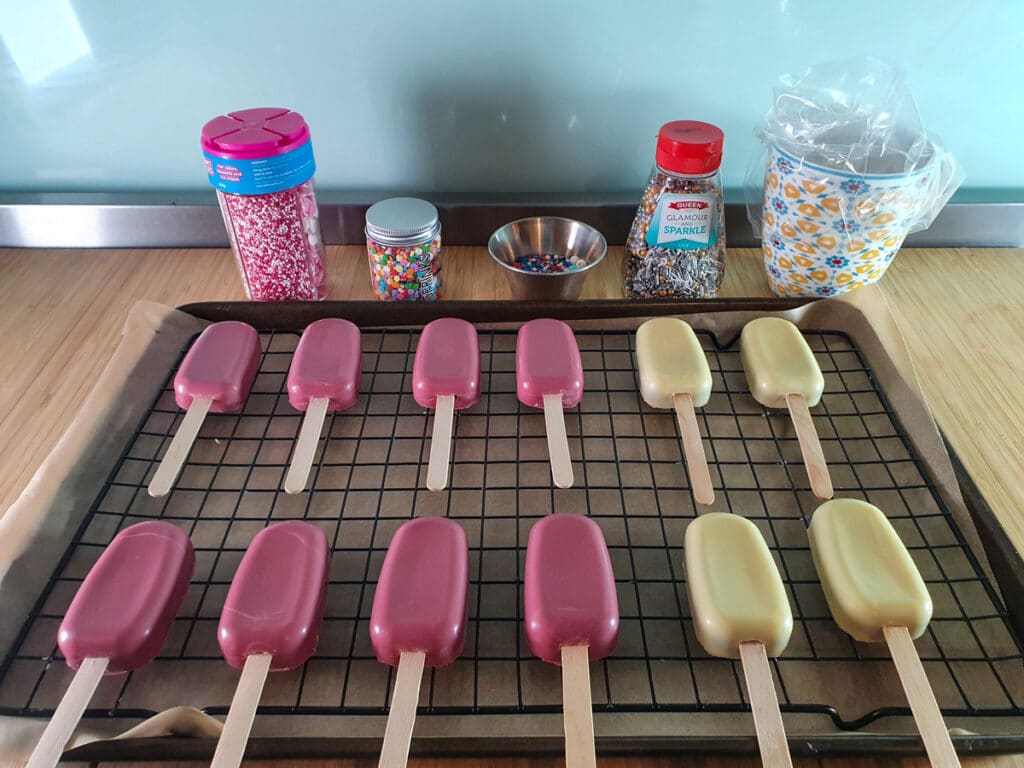
To decorate melt your decorating chocolate or candy melts in the microwave. Add to a piping bag with a fine nozzle and drizzle over the cake popsicles. Add the sprinkles on fast, let them set again and you're done!
How to serve
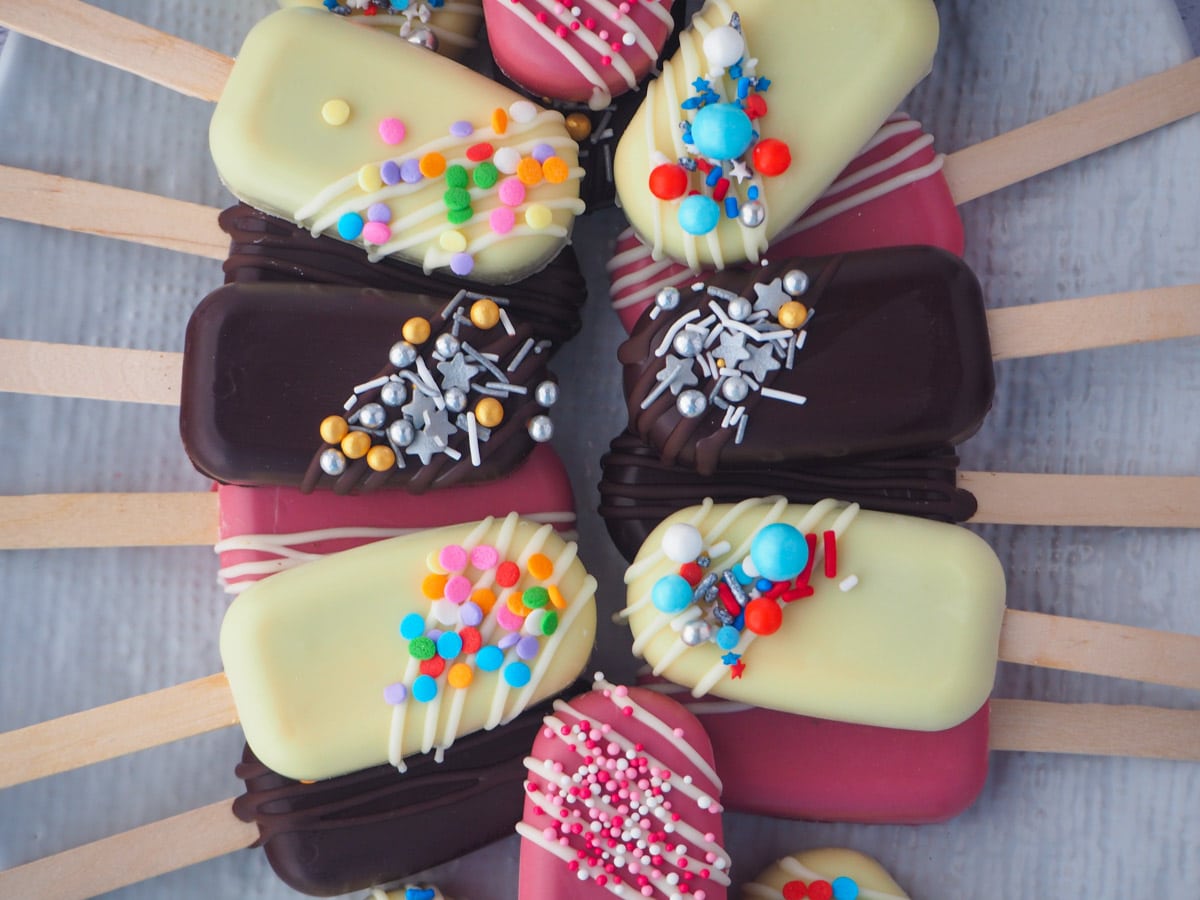
To serve pop onto a plate and enjoy! They're almost too cute to eat, almost!
How to store
These popsicle cake pops will store in an airtight container on the bench for up to three days. Unless it's really hot and you are worried about the chocolate melting I don't recommend storing these cake pops in the fridge or freezer. The chocolate may sweat and start to go soggy.
How long do cakesicles last in the fridge?
Think of cakesicles the same way you would a frosted cake. They will therefore last about three to five days. Putting cakesicles in the fridge can make the chocolate sweat so only do this if it's particularly hot and you are worried about the chocolate melting.
Have you made this recipe? Tell me how it went in the comments below and tag me on instagram so I can see your delicious creations! @keep_calm_and_eat_icecream
Looking for more yummy dessert recipes?
Why not try making
- Halloween cakesicles
- Christmas cakesicles (coming soon!)
- Eggless carrot cake
- Passion fruit cheesecake
- Old fashioned fruit cake
Follow me on Facebook or Pinterest for many more delicious recipes.
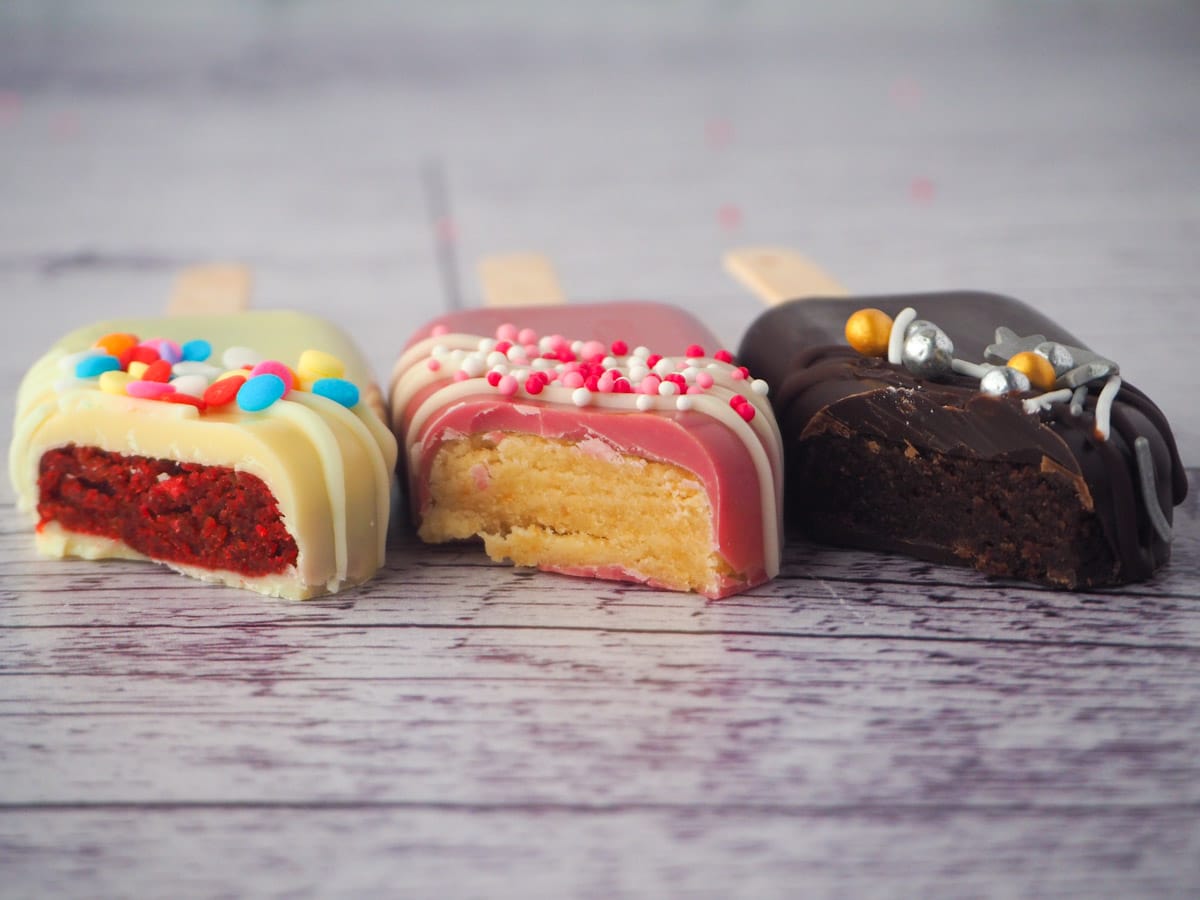
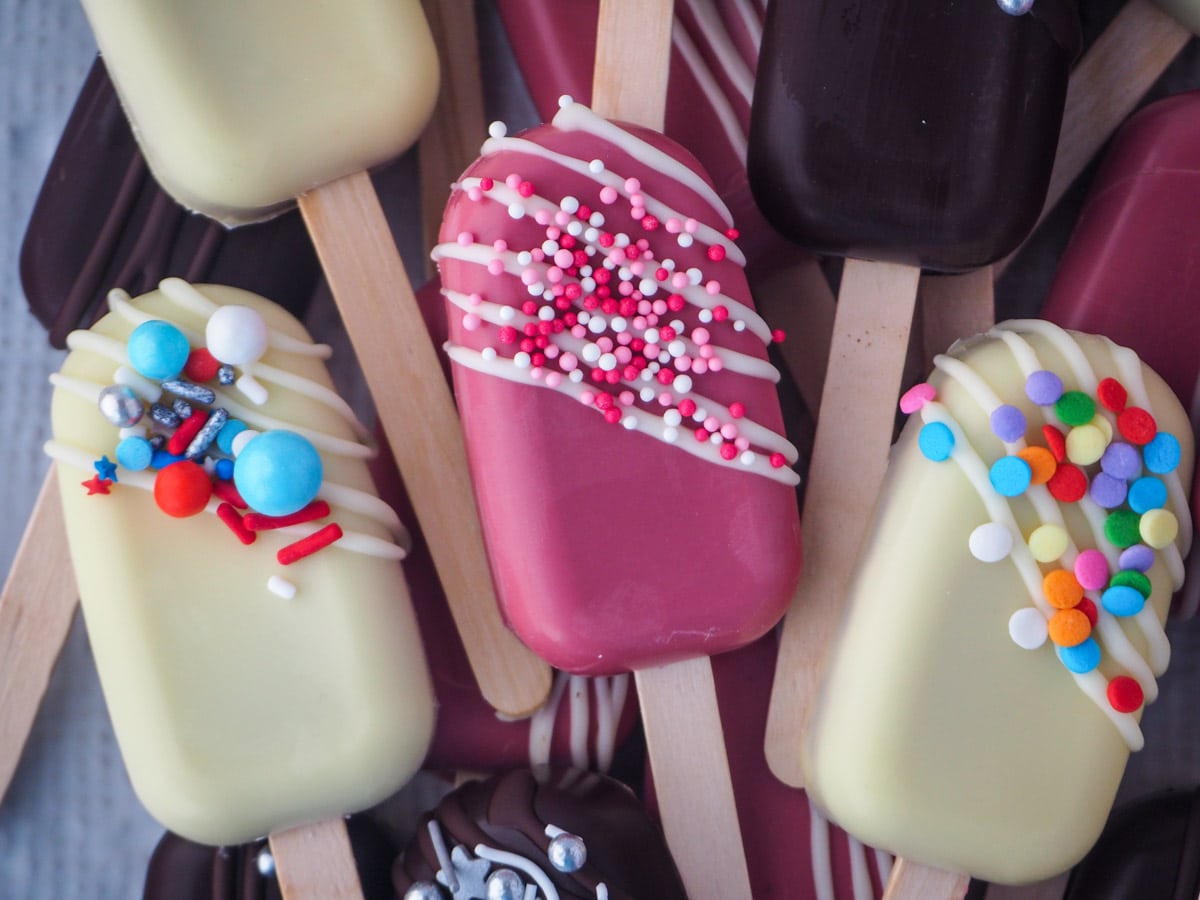
White chocolate and red velvet cake, ruby chocolate and vanilla cake and dark chocolate with chocolate cake.
📋 Recipe
Cakesicles
Equipment
- Small open sided popsicle/ice cream molds and popsicle sticks.
Ingredients
- 1 (21oz/600gms ish) cake
- 6 - 10ish tablespoons frosting
- 1 lb (450gms) ish chocolate or candy melts
- ½ cup contrasting chocolate to decorate the cakesicles with
- decorations such as sprinkles
Instructions
- Put the chocolate into a bowl and microwave in thirty second bursts until its melted.
- Working quickly, put about one tablespoon of chocolate into each mold. Coat all of the insides of the mold with chocolate, either by moving the whole mold, or using a small spatula to 'paint' the chocolate up the sides of the mold.
- You may need to 'swirl' the chocolate around the molds for a few mins to ensure an even coat. Tip out the excess chocolate and scrape off the excess with a spatula.
- Poke the ice cream stick in and out of the stick hole a couple of times to make a gap for the stick.
- Put the molds in the fridge for about ten minutes to set.
- If you want you can make the first layer quite thin and add a second layer, especially around the edges.
- Crumble the cake it into bread crumbs, either in a food processor for a few seconds or with your hands. Add a small amount of frosting, maybe just one or two tablespoons to start with, and mix well. The mix should form a ball and be the consistency of cookie dough. Add more frosting slowly, mixing well between each addition until the right consistency is achieved.
- Remove the set molds from the fridge. Press a small amount of the cake mix into the bottom of the molds. Do not fill about the stick hole line, this won't be very much. Insert the sticks and add a small blob of melted chocolate where the stick meets the mold on the inside. Allow to set for a minute or two. Fill the remaining space with cake mix, taking care not to overfill and allow room for chocolate to seal the pops.
- Top with extra chocolate to seal the cakesicles and scrap off any extra chocolate. Put them into the the fridge to set again for at least thirty minutes.
- Carefully remove the cakesicles from the molds.
- To decorate the cakesicles lay them out on a cooling rack on a tray lined with baking paper. Melt your decorating chocolate and put into a small piping bag or zip lock back with the corner cut off. You only need a relatively small hole. Working quickly drizzle the chocolate over the cake popsicles and sprinkle on sprinkles immediately before the chocolate sets. For larger decorations you may need to add a small blob of chocolate to the back, then gently press onto the cake pop.
- Allow to set again, pop onto a plate and enjoy!
Notes
Nutrition
Nutritional Disclaimer
Nutritional information is an estimate based on an online database. The nutritional content of ingredients may vary by brand. If you require accurate nutritional information, you should calculate this based on the specific brands and products you are using.
Join the community!
Like Keep Calm and Eat Ice Cream on Facebook for more great recipes
Pin it for later!



Kayla DiMaggio
Okay, these cakesicles are amazing! Such a brilliant idea!
Sarah Brooks
Thanks Kayla, they were fun to make!
Audrey
My kids loved these!
Jodi Reed
Adorable! These are the cutest things ever! I absolutely love these. I need to go buy the mold to make these now.
Sarah Brooks
Thanks Jodi! You can get the molds pretty much everywhere, I should add some info on this 🙂
Emily Flint
Oh my gosh, these are so beautiful and what a creative idea! I hope mine turn out as pretty as yours (prob not 😂). Off to buy some sprinkles...
Sarah Brooks
Thanks Emily! They really aren't as hard as they look. Pretty sprinkles hid a multitude of sins 😀
Leah
Lol about the blow torch! 😂 These are so cute and I’ve always wanted to try making cakesicles. I feel confident I can do them after reading this post, thank you!
Sarah Brooks
Yup, the blow torch! I think one kinda worked, the rest ended up looking like weird marshmallows 😀 I made the mistakes to save you from making them 🙂 Thank you, I tried to cover all the bases.
Lynn Hill
Wow. These look amazing. May I suggest using a hairdryer on a low setting rather than a blow torch to melt any stubbornly cracked or unmelted chocolate? It works wonders when you aren't able to melt chocolate in a bain marie.
Sarah Brooks
Thanks Lynn, ohh, great idea, I will have to dig out my hair drying and give this a go the next time I make them, great tip!
Cindy Mom, the Lunch Lady
How cute are these?!? And I bet they taste great too. Plus they seem much easier to make than cake pops!
Sarah Brooks
Thanks Cindy! Yup, defiantly easy to make than cake pops, because they are in molds they don't fall of the stick 🙂
Elizabeth Swoish
I have been wondering how to make these! Thank you for sharing your methods. Yours looks so beautiful ❤
Sarah Brooks
Thanks Elizabeth! The sprinkles do a lot of the work 🙂