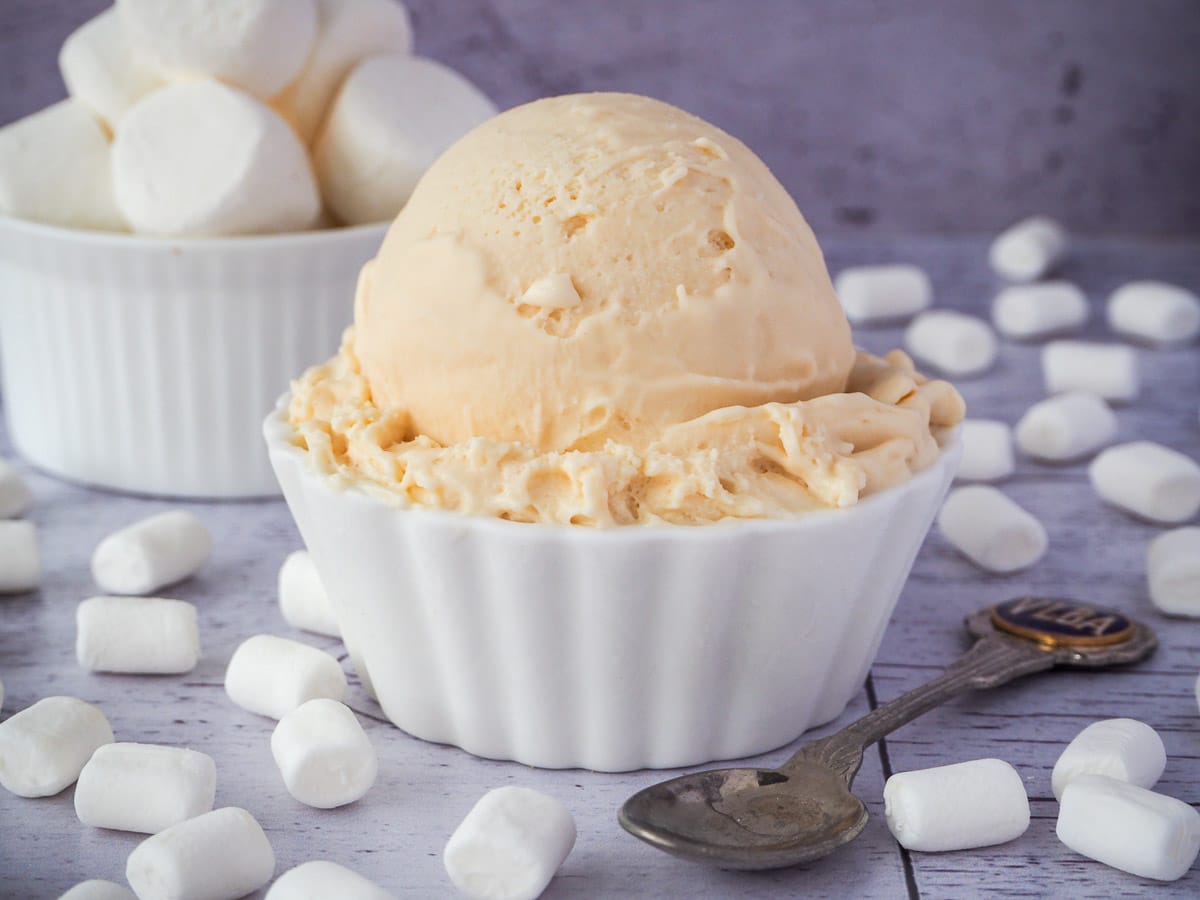
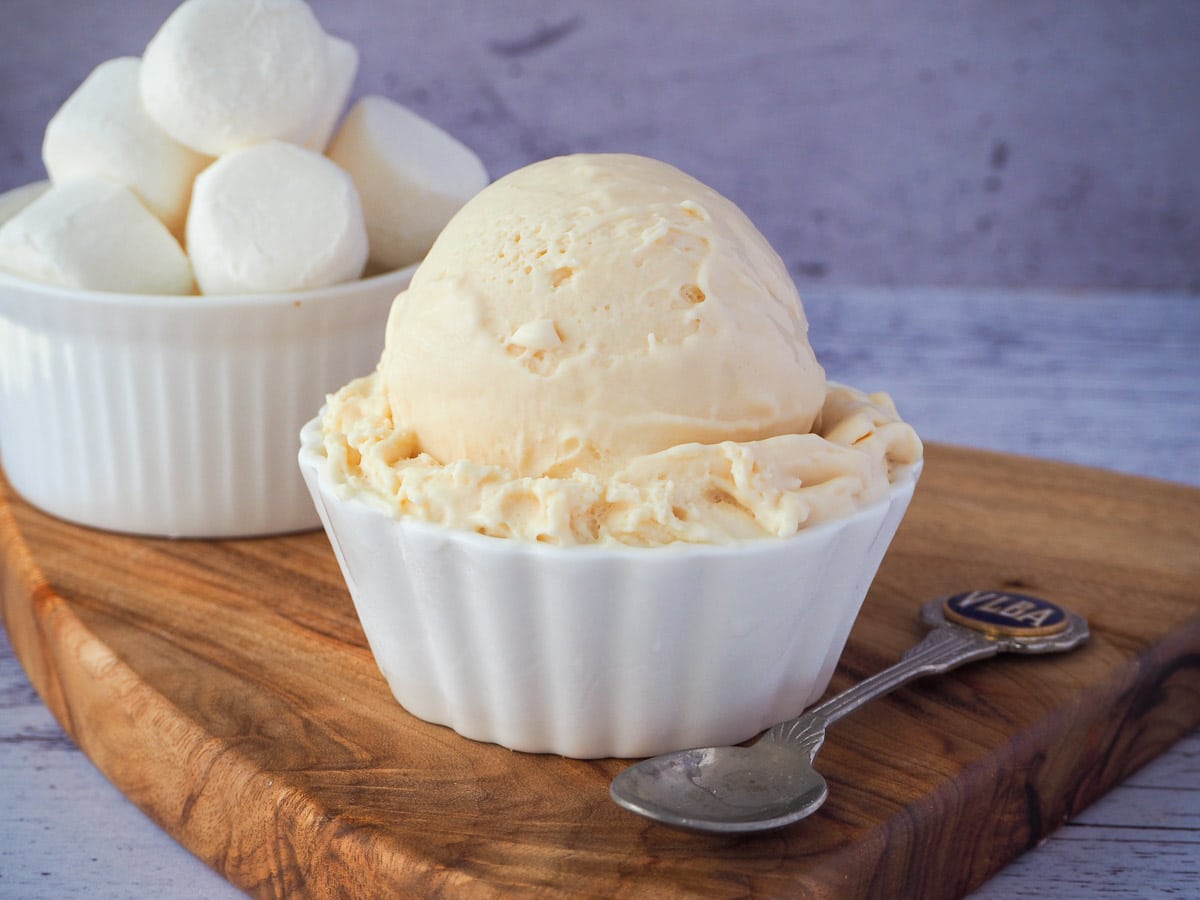
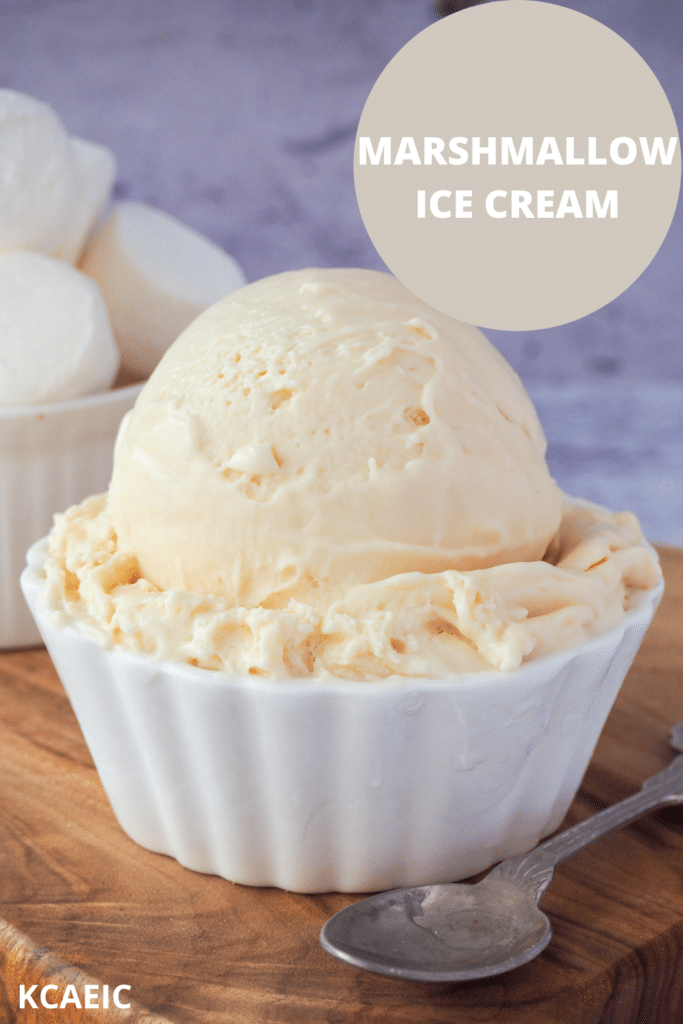
This toasted marshmallow ice cream is jam-packed with marshmallows. With a delicious toasted flavor, it'll remind you of your favorite campfire cookouts.
Jump to:
If you like toasting marshmallows around the campfire you are going to love this homemade marshmallow ice cream recipe. The marshmallows are carefully toasted before adding to give that wonderful toasty flavor. It's important to watch the marshmallows carefully when toasting or you will end up with burnt marshmallow ice cream!
If you love marshmallows in ice cream you might want to also check out my rocky road ice cream, a delicious chocolate ice cream with marshmallows, nuts, and candy!
Or if you're in the mood for more delectable ice cream check out my full collection of Cuisinart ice cream maker recipes (that work well in other brands ice cream makers too!).
Ingredients
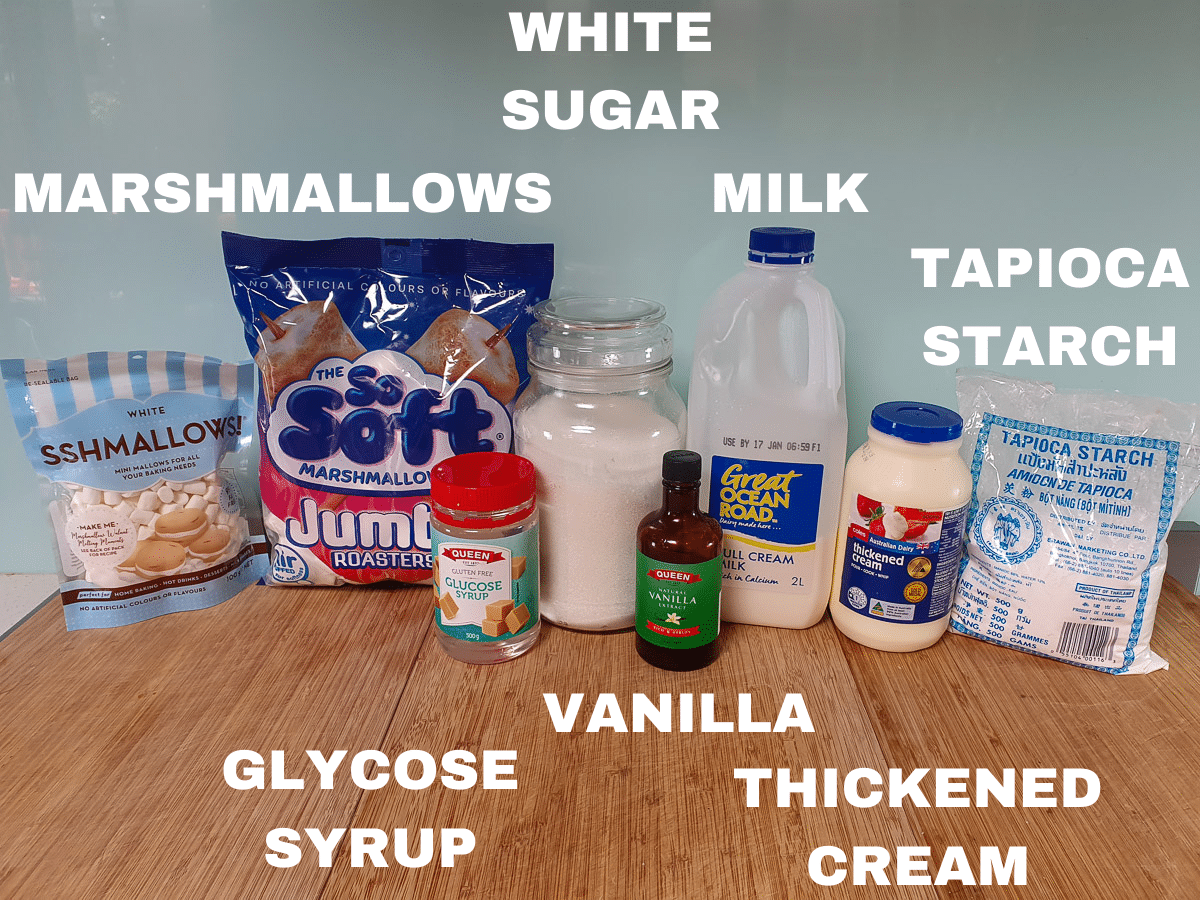
Marshmallows: are a key ingredient in this marshmallow ice cream. I like to use the big fluffy white ones but you can use whatever type you prefer. If you are using colored marshmallows this will color your ice cream. This ice cream has a strong marshmallow flavor. If you prefer a milder flavor you could reduce the number of marshmallows by half.
It is also very important to watch the marshmallows carefully while toasting. I do this under the grill but you could also use a blow torch. Either way is very careful as the marshmallows can burn quickly.
Vanilla extract: sometimes also called vanilla essence, depending on where you live. You can use either, or imitation vanilla essence, depending on your preference and budget.
Thickened cream: I use thickened cream in Australia which has a fat content of about 34%. You could also use heavy cream or heavy whipping cream which is similar.
Milk: is best for this recipe. It needs to have a fat content of around 3.5%. I don't recommend using low-fat milk, it will make your ice cream icier.
White sugar: white sugar is best in this recipe. You could use castor sugar if you prefer. I don't recommend using other types of sugar, they will be hard to dissolve and will compete with the flavors in this ice cream.
Tapioca starch: is a natural and accessible way of both thickening and stabilizing the ice cream. If you can't get tapioca starch you can use arrowroot powder or corn flour in the same volume.
Glucose syrup: also called confectioner’s glucose. You can get in from specialty baking shops, online, and some supermarkets. A small amount of glucose syrup helps lower the freezer point of ice cream and improves the texture and scoopability of the ice cream. You can substitute with the same amount of light corn syrup or powdered dextrose. Measure carefully, preferably using a digital kitchen scale, and don't add too much or your ice cream will melt in a red hot minute!
How to make marshmallow ice cream
First, measure your milk. Add the tapioca starch to a small bowl and add a couple of tablespoons of milk. Mix to form a slurry.
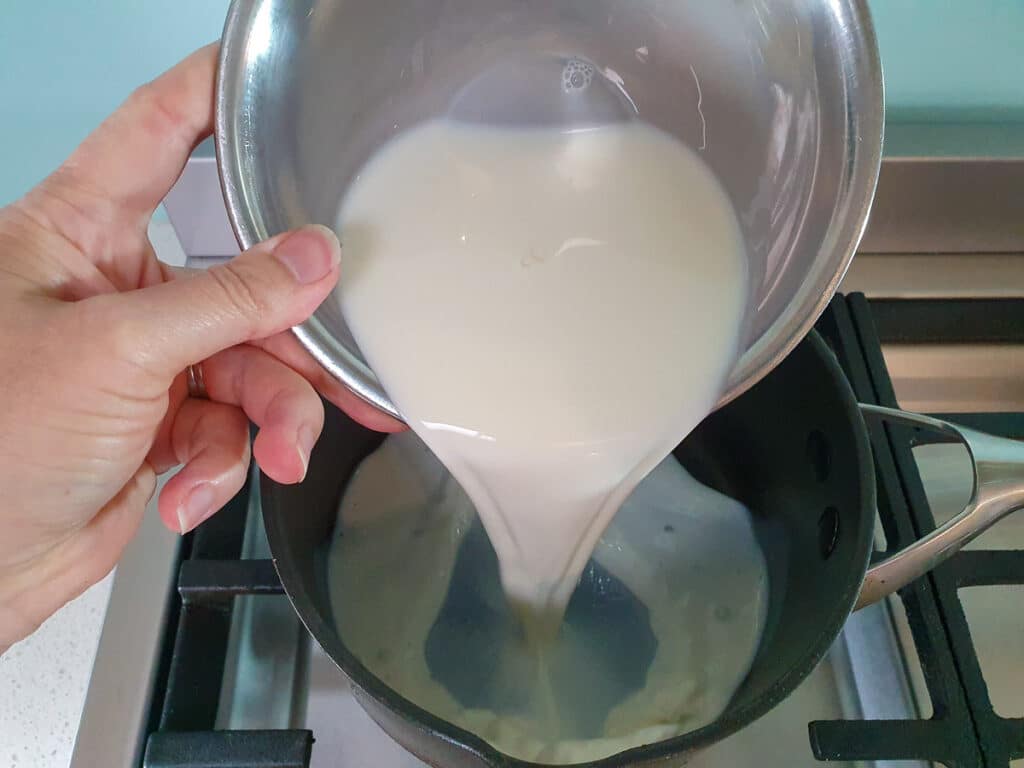
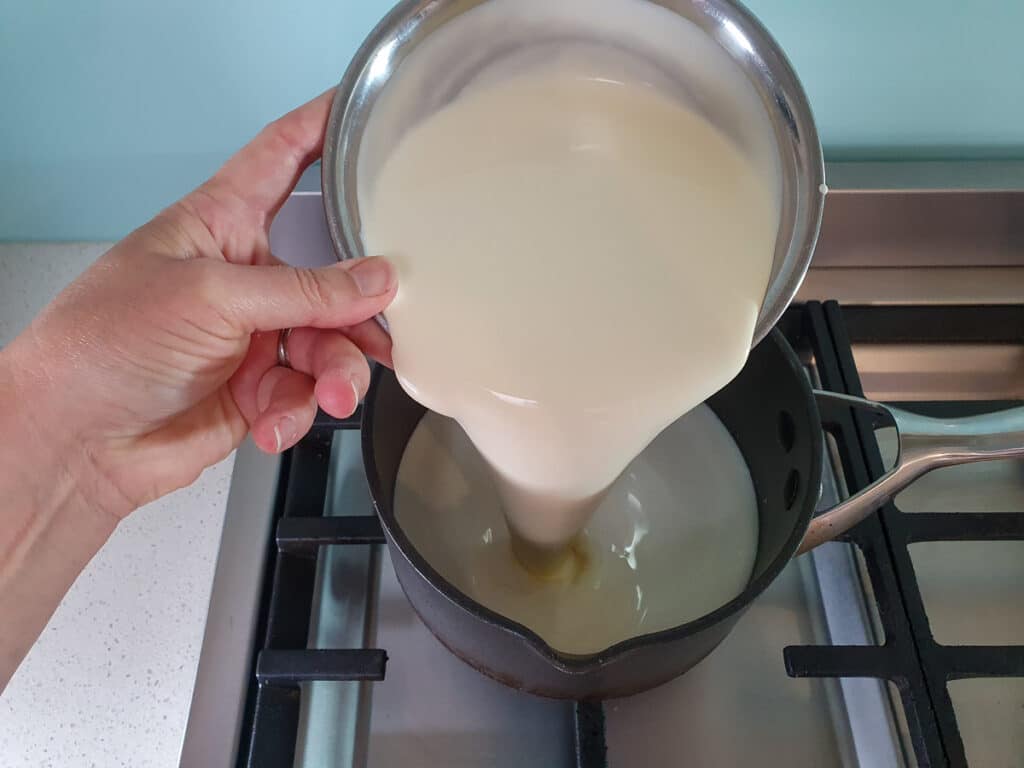
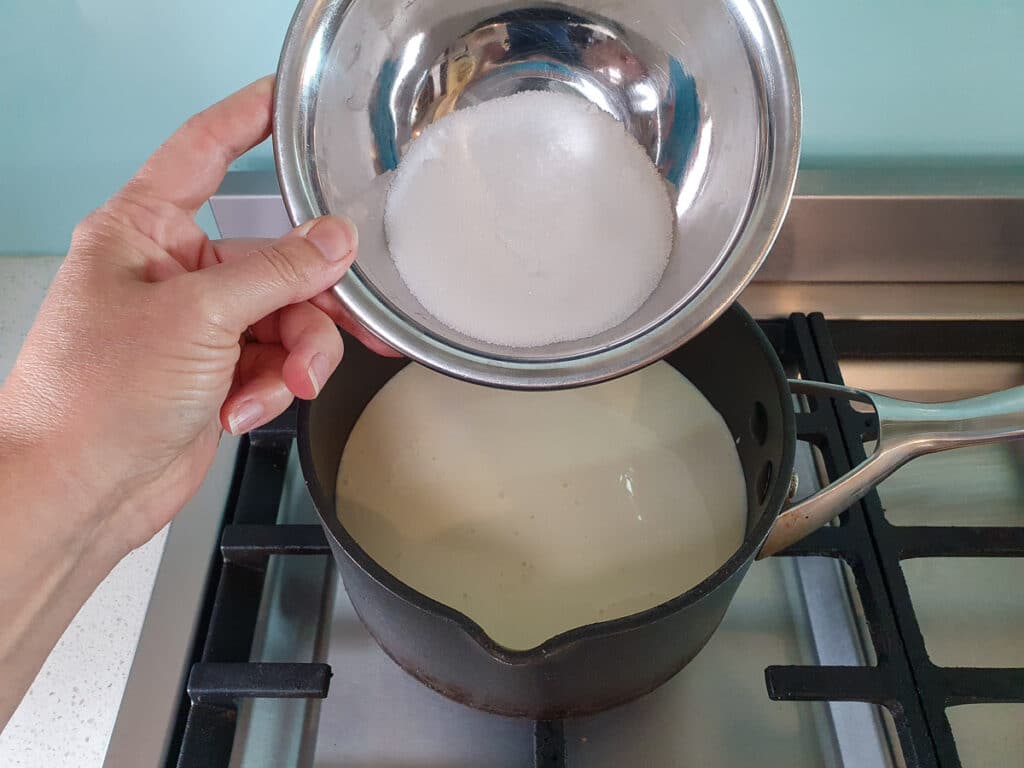
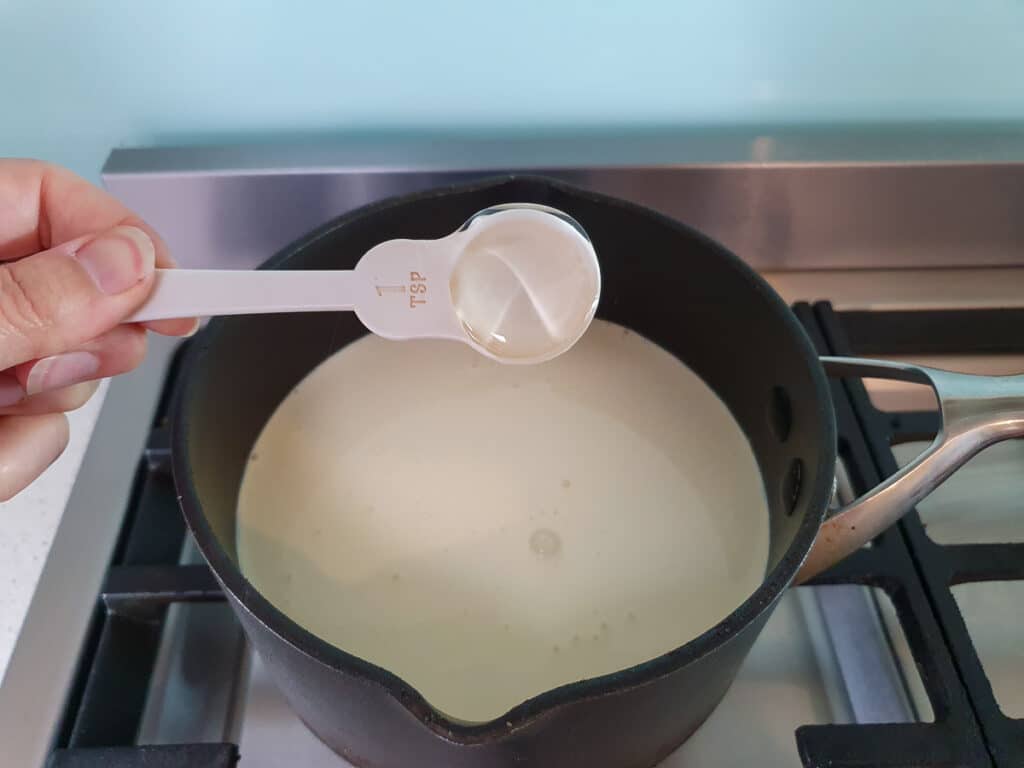
Add the rest of the milk, cream, sugar, and glucose syrup to a small pot on the stove. Heat on medium slow, stirring until all the sugar and syrup is dissolved. Add the tapioca starch slurry and stir well. Remove from heat and allow to cool.
Put your grill on medium-high to heat up. Lay the marshmallows out on a baking tray with the long side facing up. This will maximize the amount of toasting area available.
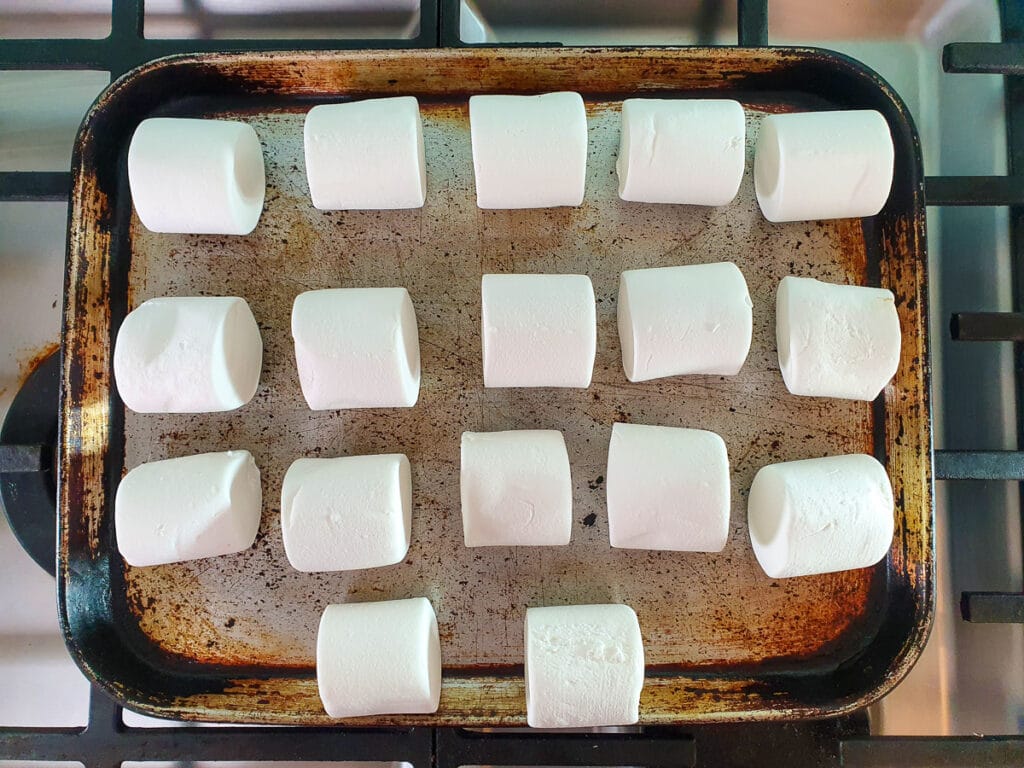
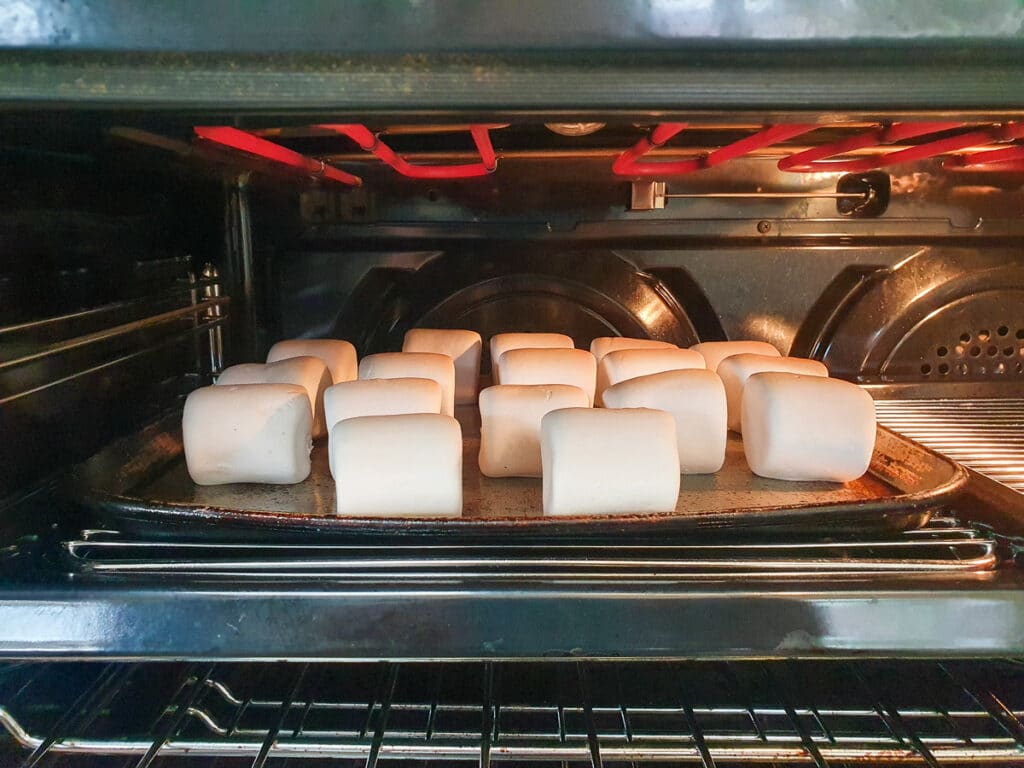
Toast the marshmallows on one side. You may need to turn the tray halfway through to get an even toast.
Hot tip: its VERY important to carefully watch the marshmallows while you are toasting them. Do not walk away. They can burn quickly and easily and at worse could catch fire.
Remove tray. Using a heat-proof spatula carefully flip the marshmallows over, taking care not to get hot sticky marshmallows on yourself. Toast the other side of the marshmallows, again watching carefully to ensure they do not burn.
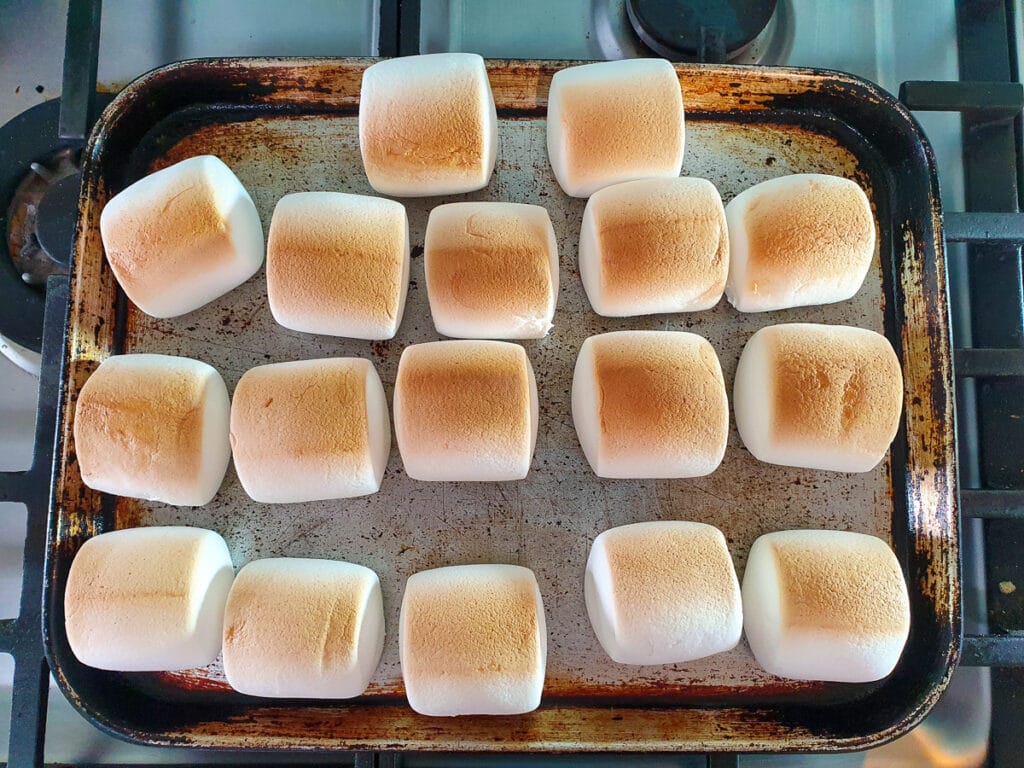
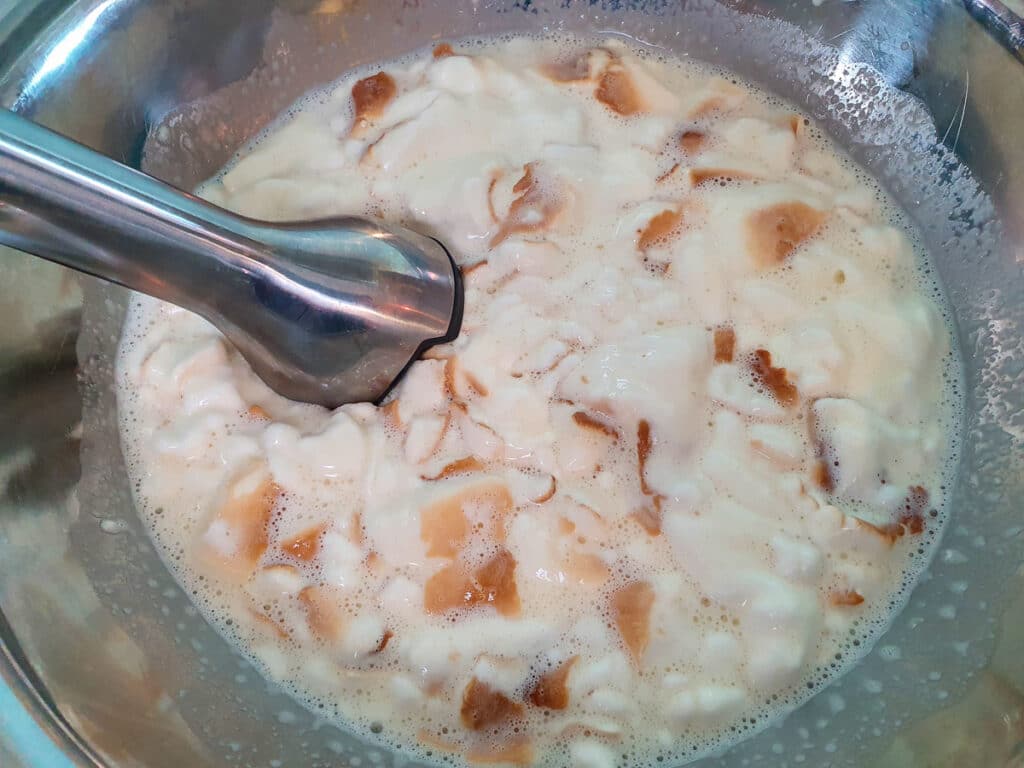
Put the ice cream mix and the marshmallows into a large deep-sided bowl you can use an immersion blender in. Blend the mix until it's smooth.
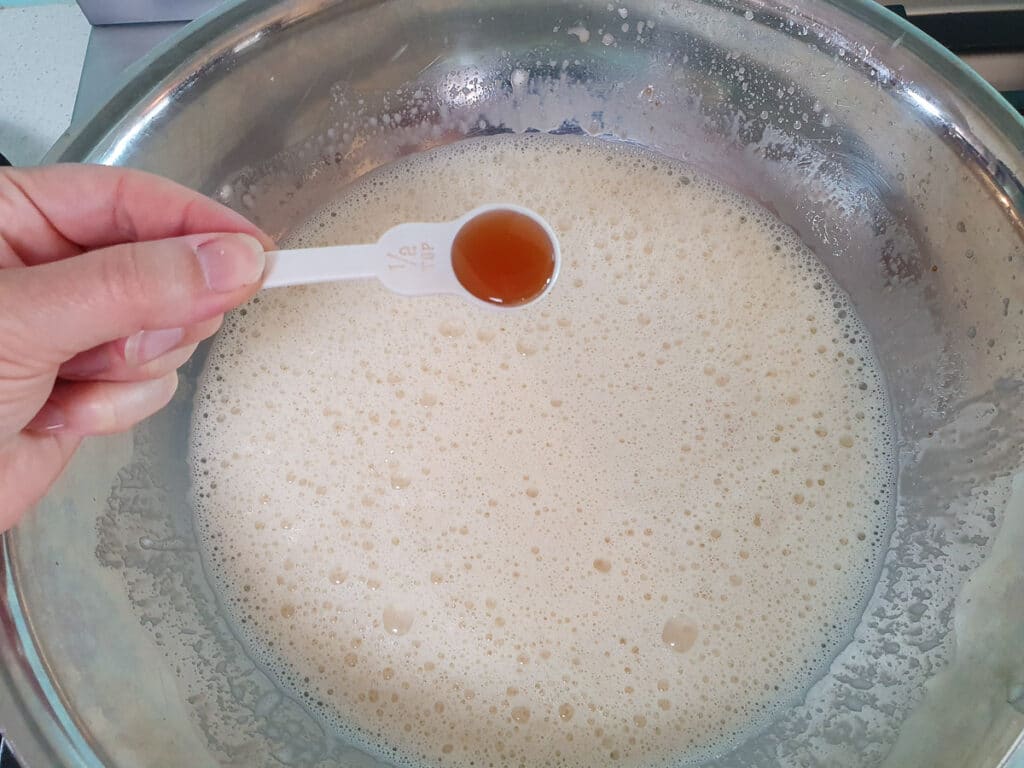
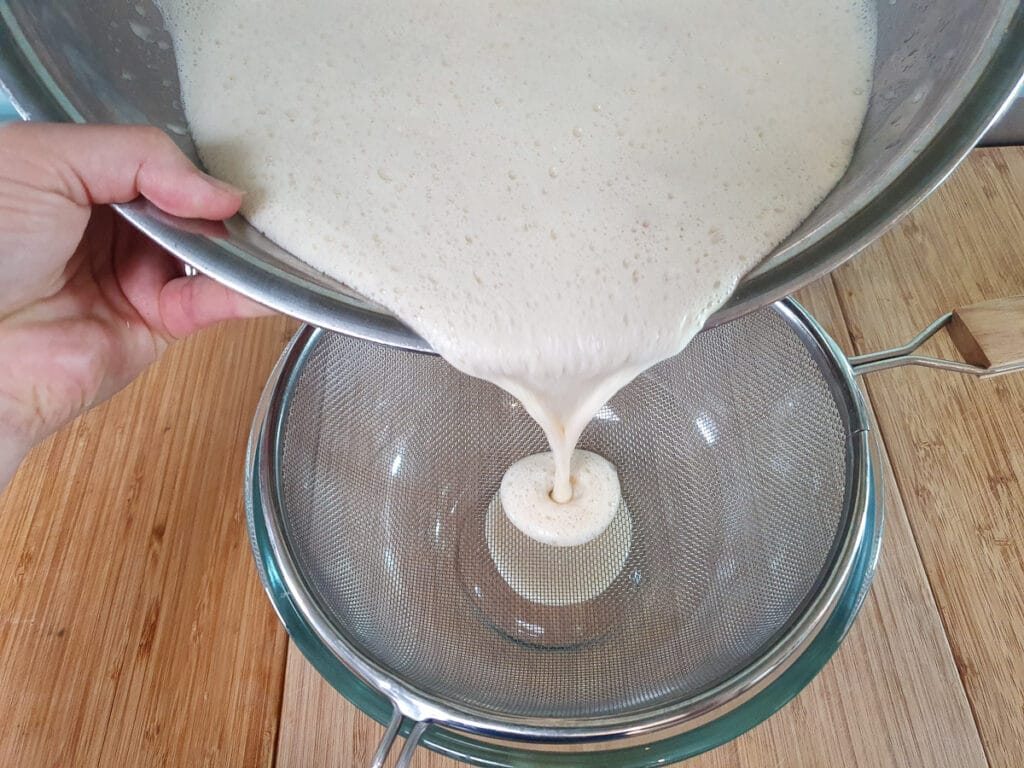
Add the vanilla essence and stir well. Strain the mix and transfer it to a heat-proof container. Cover and chill in the fridge for at least four hours.
Put your ice cream storage container in the freezer to chill. If using a self-churning machine, turn it on about ten minutes before you churn your ice cream. Otherwise, take the churning bowl out of the freezer right before churning.
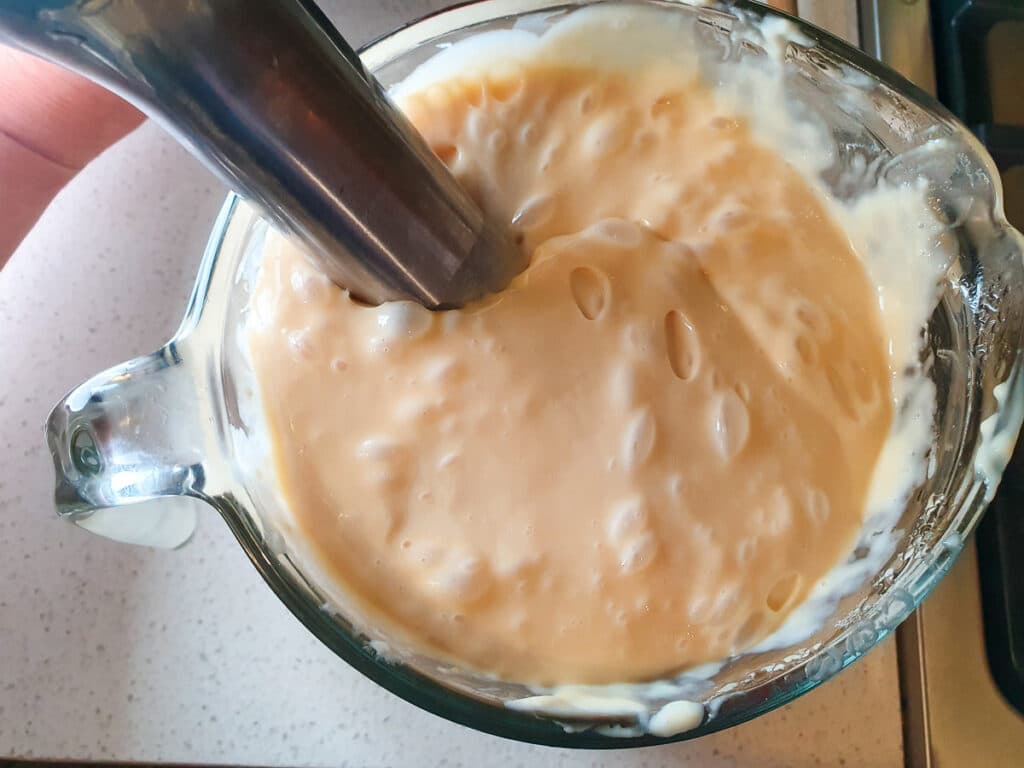
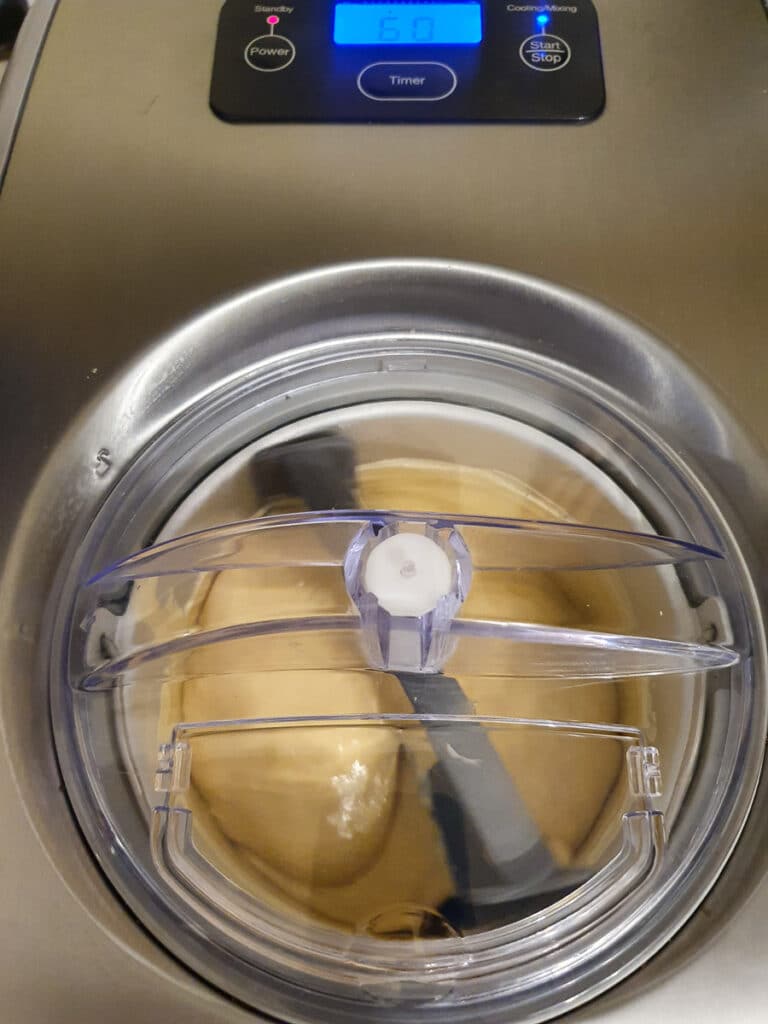
The ice cream mix will set very thick because of the gelatin. If it's too thick to pour into the machine blitz it with an immersion blender until it's smooth and pourable.
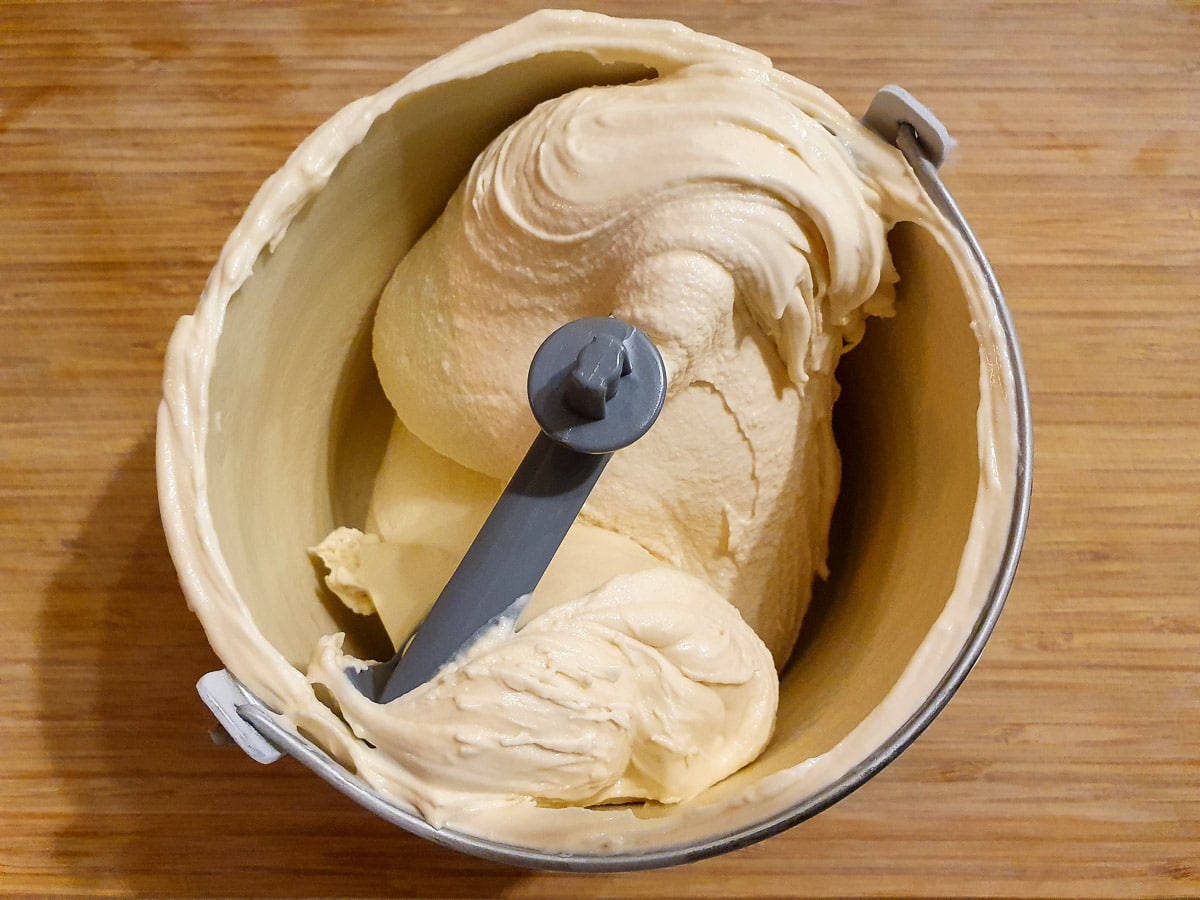
Pour mixture into ice cream churner and churn. It will be the consistency of soft serve when done. Transfer to a chilled container and freeze for about four hours or until firm.
How to serve
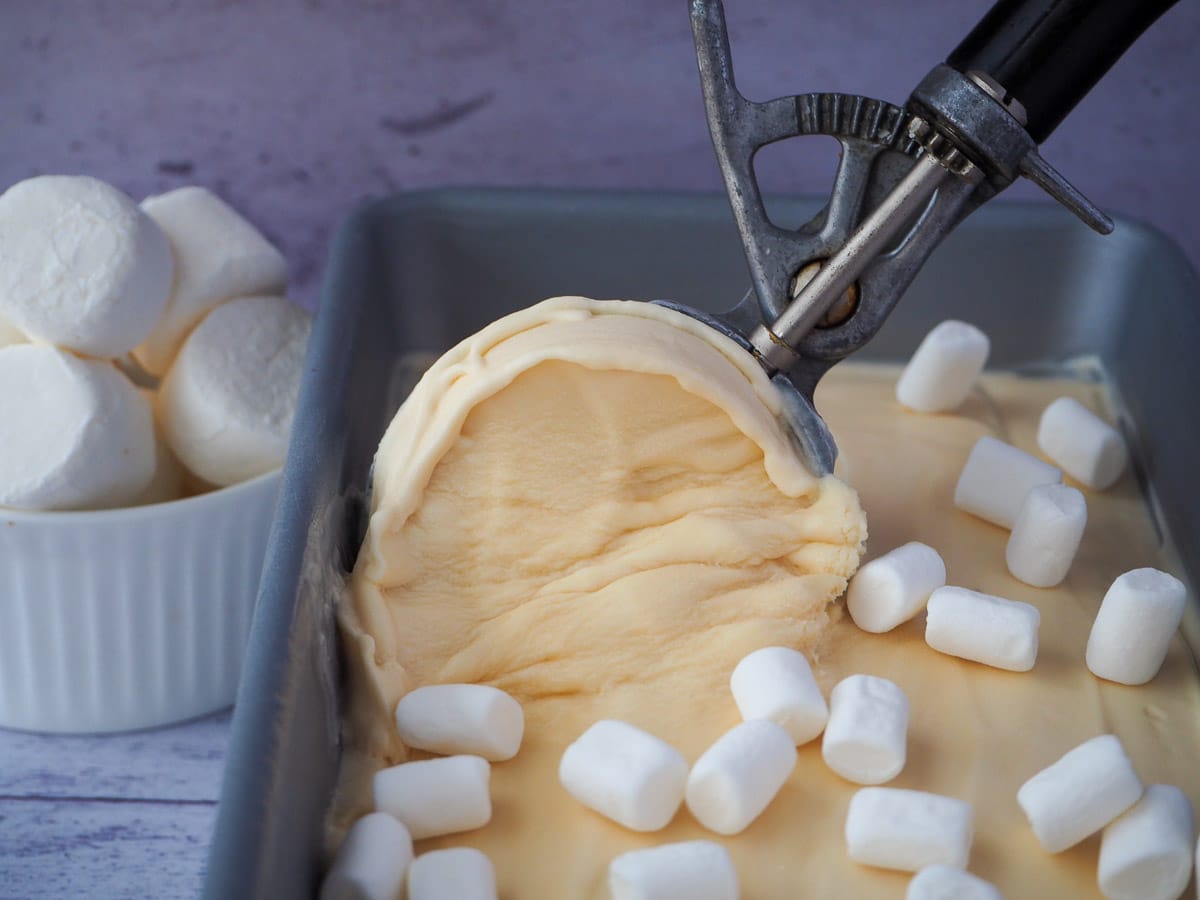
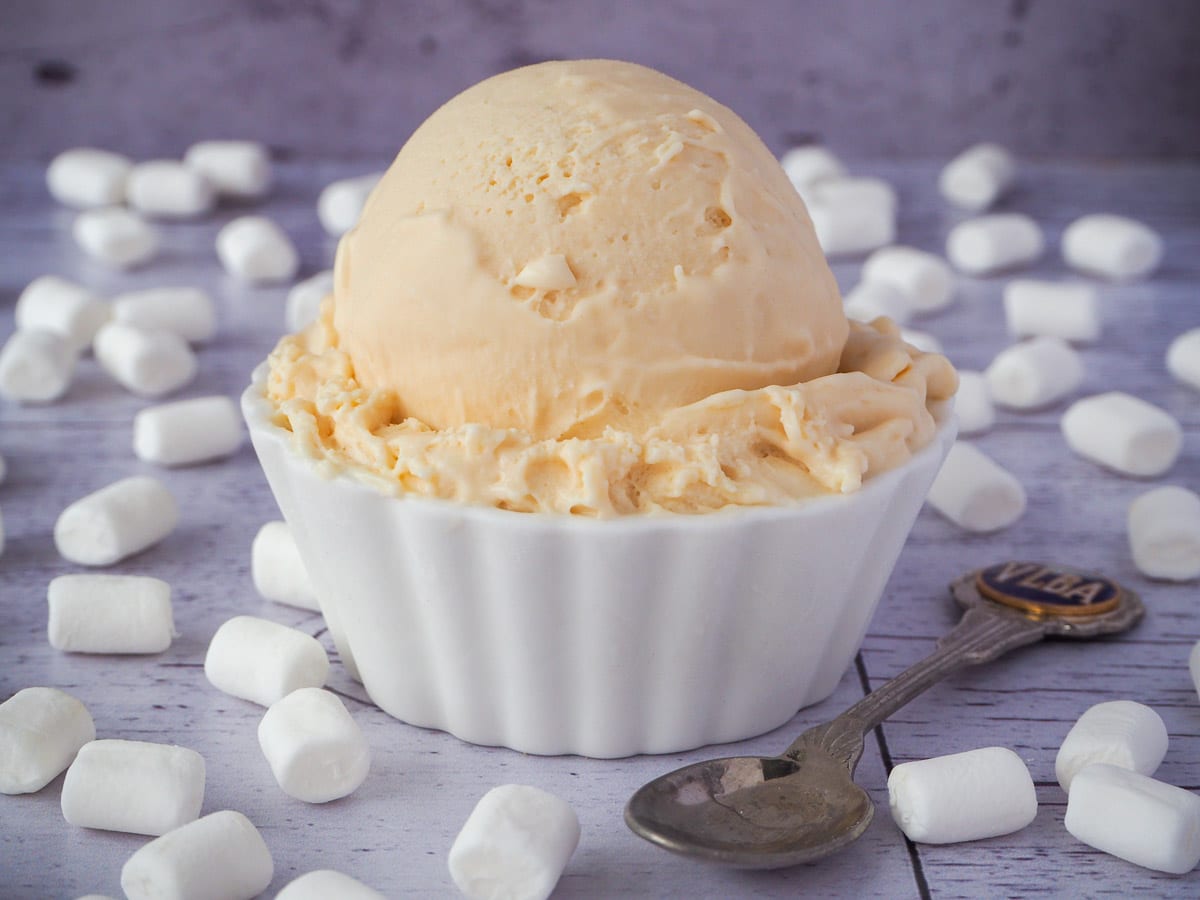
To serve remove from the freezer, scoop, and enjoy! Fabulous on its own or with some chocolate sauce drizzled over the top and some extra mini marshmallows for fun. Or why not add some graham crackers for a smores ice cream vibe? Delicious!
How to store
This ice cream will store well in an airtight container in the freezer for up to four weeks. The gelatin gives it a better shelf life and helps stop ice crystals from forming compared to some other homemade ice creams. After this it may start to become a little icy, but will still taste delicious.
Have you made this recipe? Tell me how it went in the comments below and tag me on Instagram so I can see your delicious creations! @keep_calm_and_eat_icecream
Looking for more yummy dessert recipes?
Why not try making
- Tim tam rocky road
- Butterscotch Ice Cream
- No churn coffee ice cream
- Chocolate sundae
- Cookies and cream ice cream
Follow me on Facebook or Pinterest for many more delicious recipes.
📋 Recipe
Marshmallow ice cream
Equipment
- ice cream maker
- Immersion or stick blender
Ingredients
- 1 cup (250mls) full cream milk
- 2 teaspoons tapioca starch
- 2 cups (500mls) thickened cream
- ½ cup (110gms) white sugar
- 1 large packet (10oz/ 300gms) marshmallows
- 1 teaspoon (10gms) glucose syrup
- ½ teaspoon vanilla essence
Instructions
- Put the tapioca starch into a small bowl.
- Measure the milk. Add two tablespoons of the milk to the tapioca starch and mix to form a slurry.
- Add the rest of the milk, cream and sugar to a pot on the stove. Heat on low, stirring until the sugar and syrup is dissolved.
- Add the tapioca starch and mix well. Turn off heat and allow to cool.
- Put your grill onto medium high. Spread the marshmallows out on a baking tray, with the long side facing cup.
- Toast the marshmallows until they are golden brown. You may need to turn them half way through to get an even toasting.
- NB: You MUST watch them very carefully. Do not walk away. They can burn very quickly and at worst could catch fire.
- Flip the marshmallows over the toast on the other side, taking care not to get hot sticky marshmallow on yourself.
- Remove from the heat. Add the ice cream mix and toasted marshmallows to a large deep heat proof bowl you can use an immersion blender in.
- Blend in the marshmallows until the mix is nice and smooth. Strain and transfer to a heat proof container. Chill for four hours in the fridge.
- Put your storage container in the freezer to chill.
- If you are using a self refrigerating ice cream churner turn it on about ten minutes before churning, other wise take your churning bowl out of the freezer right before using.
- The ice cream mix will set very thick due to the gelatin in the marshmallows. Use an immersion blender to make it liquid again.
- Pour the mix into the ice cream churner and churn the ice cream. It will be the consistency of soft serve when done.
- Transfer to your chilled storage container and freeze for four hours or until firm.
- To serve remove from the freezer, scoop and enjoy!
Notes
Nutrition
Nutritional Disclaimer
Nutritional information is an estimate based on an online database. The nutritional content of ingredients may vary by brand. If you require accurate nutritional information, you should calculate this based on the specific brands and products you are using.
Join the community!
Like Keep Calm and Eat Ice Cream on Facebook for more great recipes
Pin it for later!





Comments
No Comments