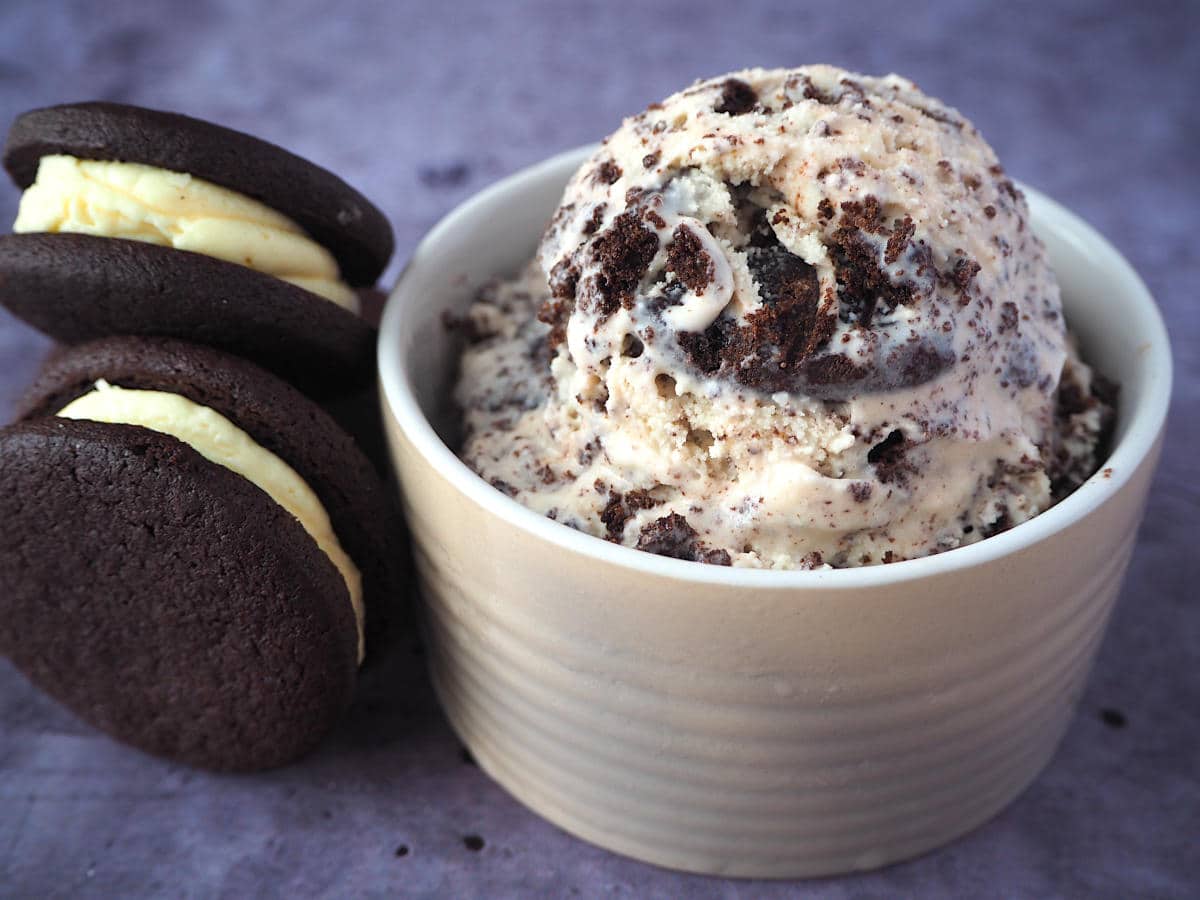
This classic cookies and cream ice cream is made with homemade Oreos for maximum crunch and flavor. It's packed with chunks of delicious, chocolatey cookies and creamy vanilla ice cream. Served on its own or in an ice cream cone, it's sure to become a family favorite!
Jump to:
Ingredients
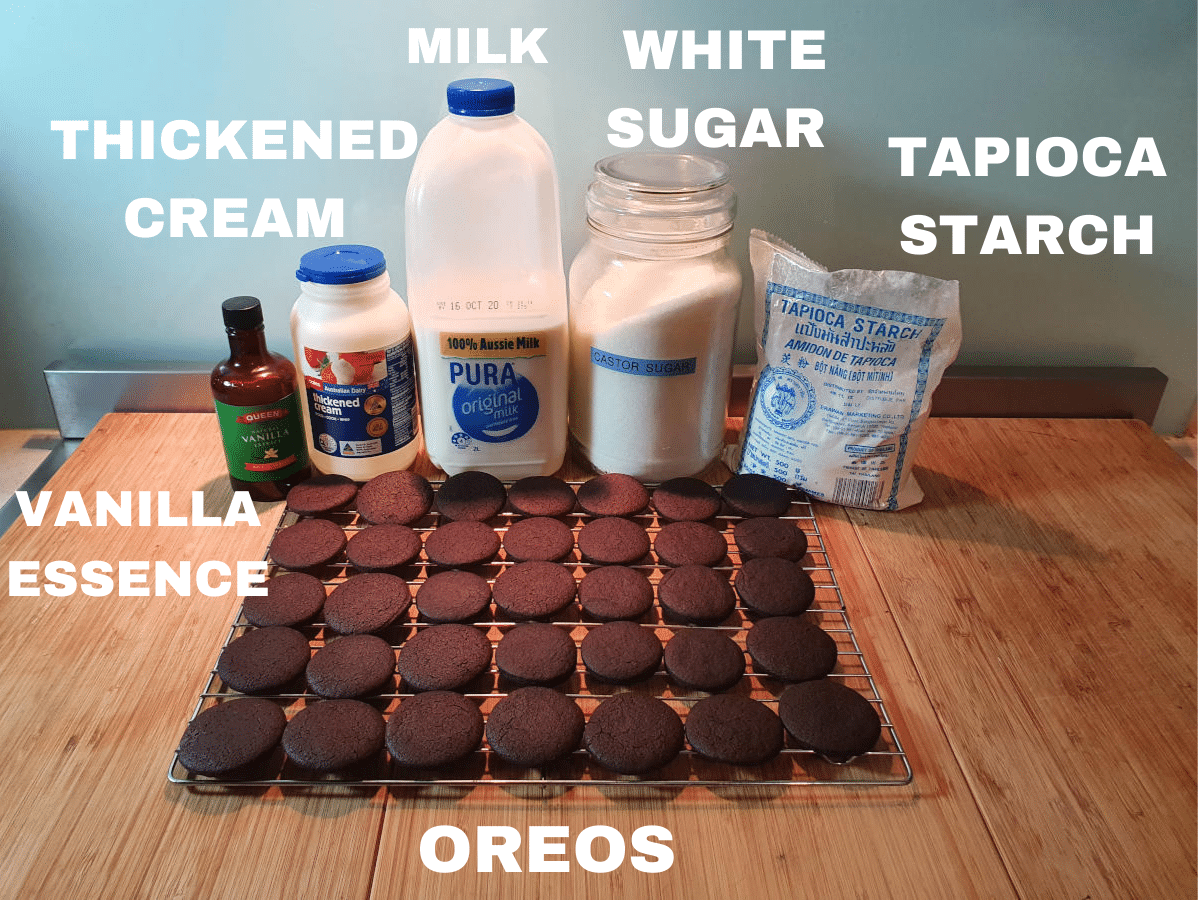
Oreos: for maximum flavor, you can make my homemade Oreos and leave out the filling. For a quicker option, you can use store-bought Oreos.
Full-fat milk is best for this recipe. It needs to have a fat content of around 3.5%. I don't recommend using low-fat milk, it will make your ice cream icier.
Thickened cream has a fat content of about 34%. You can also use heavy cream or heavy whipping cream with similar fat content.
White sugar keeps the flavors in this recipe nice and clean. You could use castor sugar but it isn't necessary and is often harder to find. You could try it with light brown sugar if you like but it will give this recipe more caramel notes and make ice cream a lighter brown color.
Vanilla essence: you can use real or imitation vanilla essence in this recipe as is your preference and your budget allows.
Glucose syrup (optional): also called confectioner’s glucose. You can get in from specialty baking shops, online, and some supermarkets. A small amount of glucose syrup helps lower the freezer point of ice cream and improves the texture and scoopability of the ice cream. You can substitute with the same amount of light corn syrup or powdered dextrose. Measure carefully and don't add too much or your ice cream will melt in a red-hot minute!
How to make cookies and cream ice cream
If you are making your own Oreos you can use my homemade Oreos recipe. Just remember you won't need the filling for the homemade Oreos for this ice cream. For a quicker option, you can also use the same amount of store-bought Oreos if you prefer.
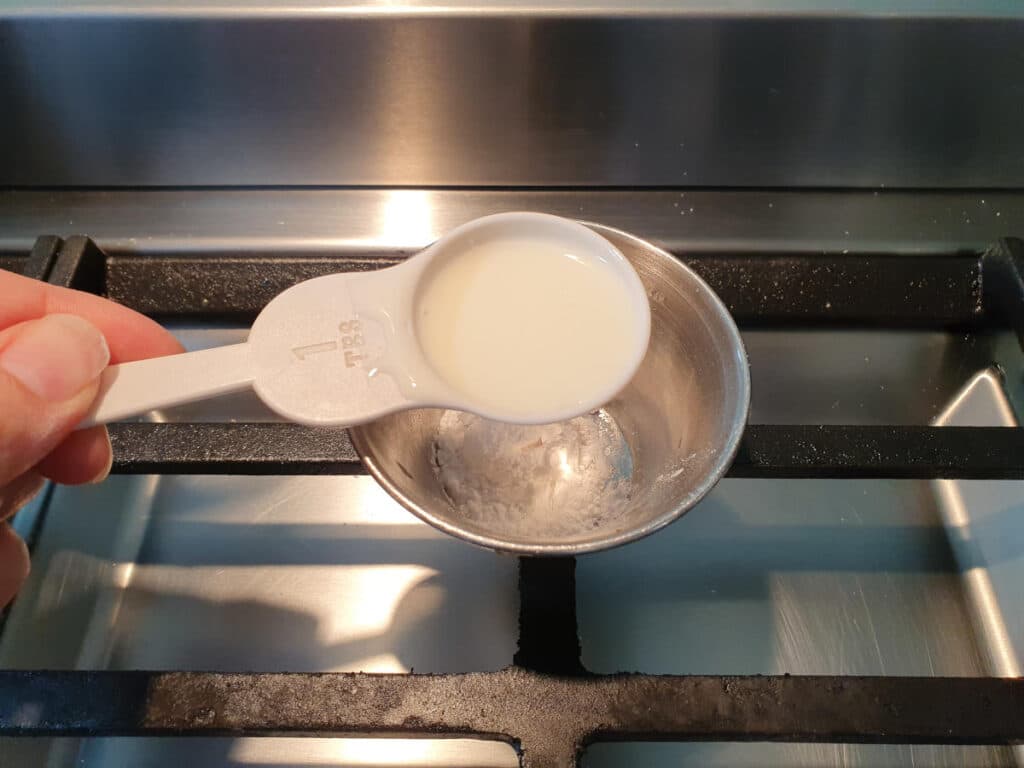
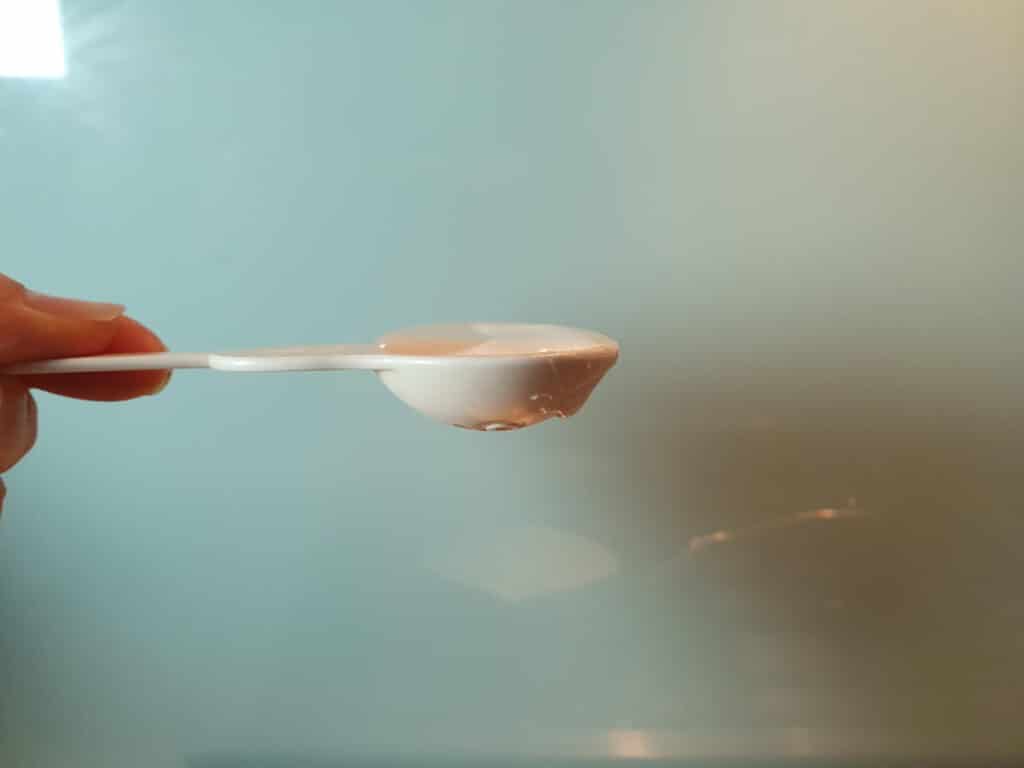
Measure out the milk. Add the tapioca starch to a small bowl. Add two tablespoons of the measured milk to the tapioca starch and still well to form a slurry.
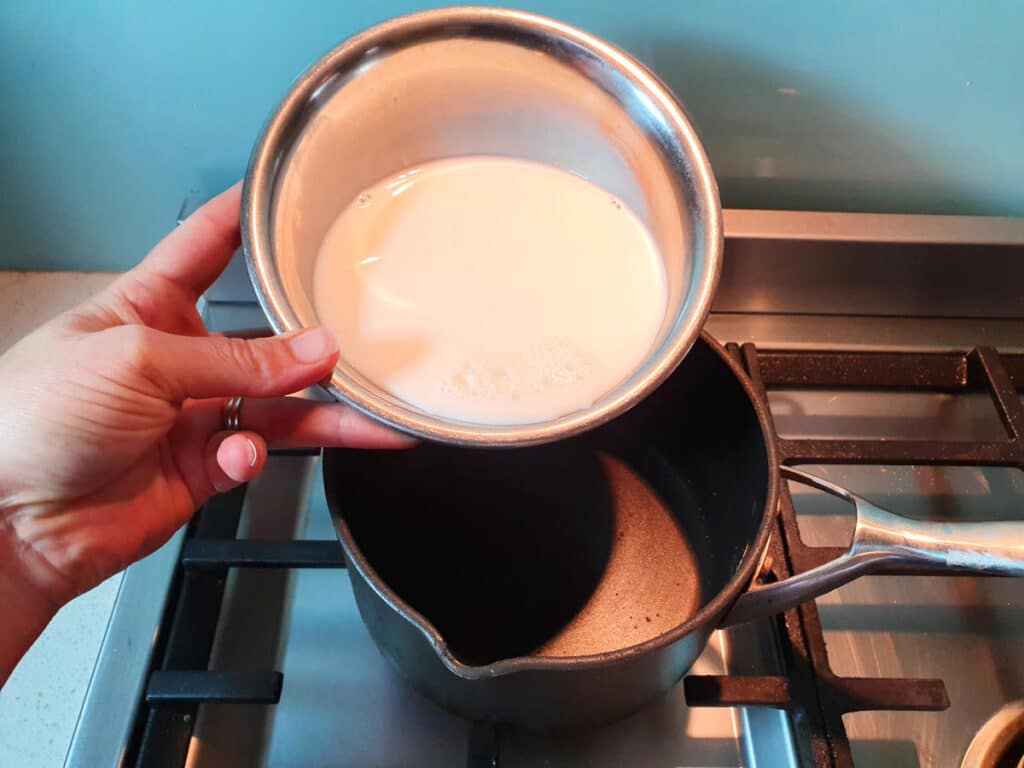
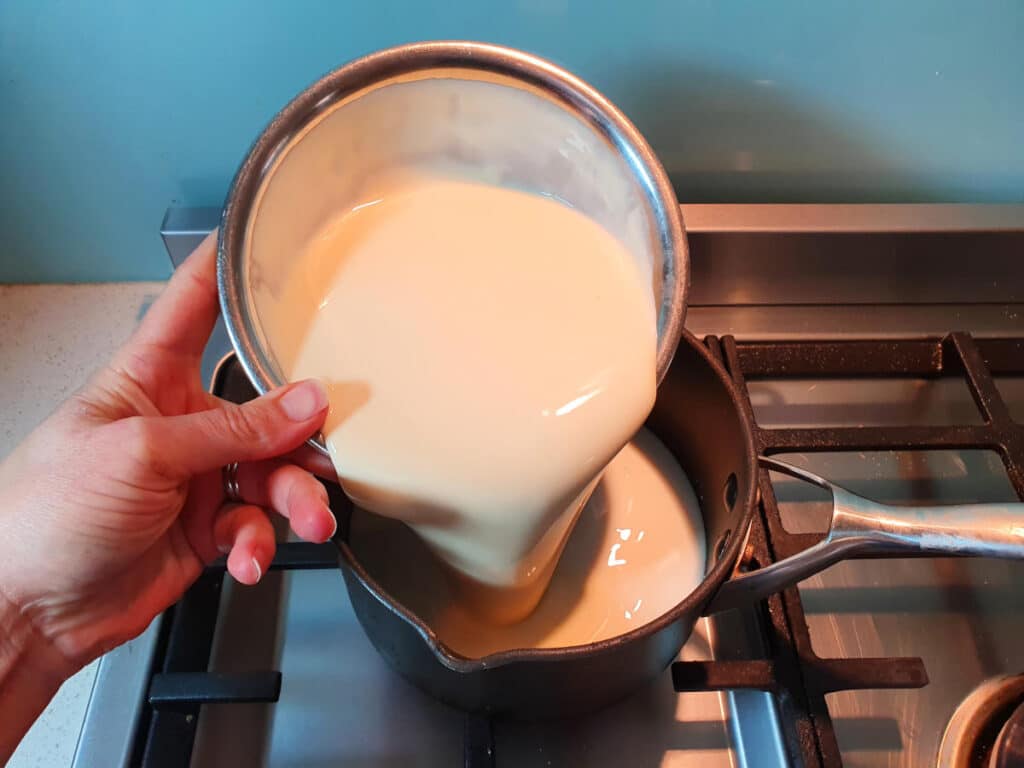
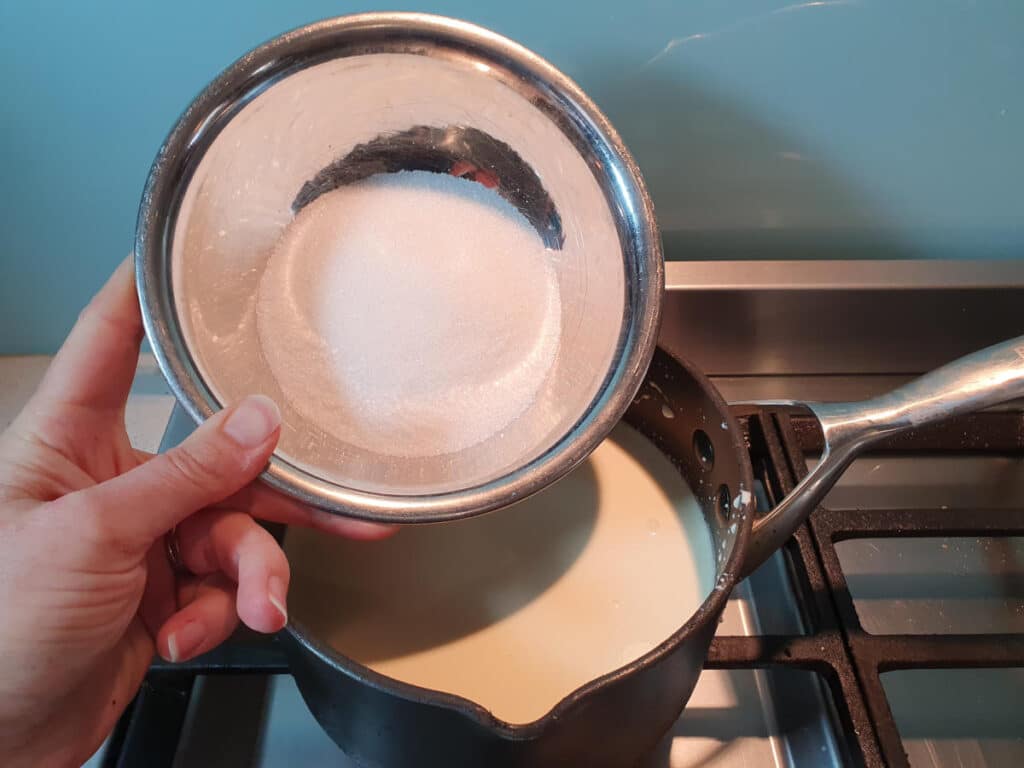
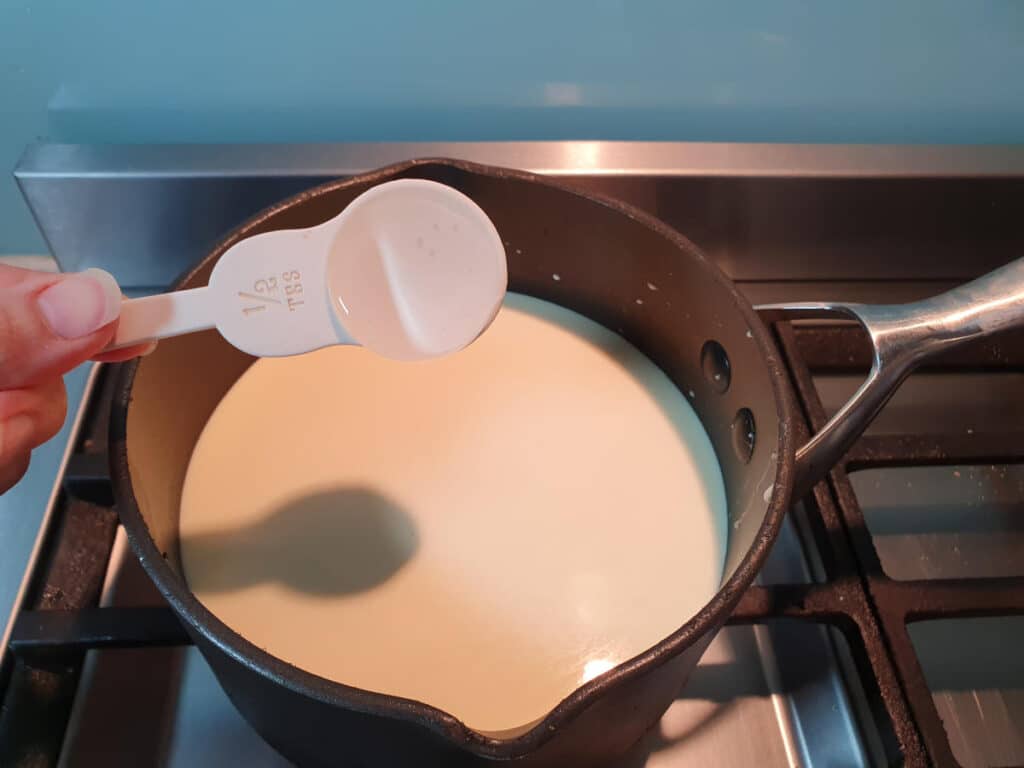
I highly recommend using a digital kitchen scale to measure your ingredients. If you don't have one remember to measure your glucose syrup with a flat spoon, if you add too much your ice cream will melt very quickly. Put the rest of the milk, the cream, sugar, and glucose syrup if using into a small pot on the stove.
Heat the mix on medium for about five minutes, stirring well to ensure all the sugar is dissolved.
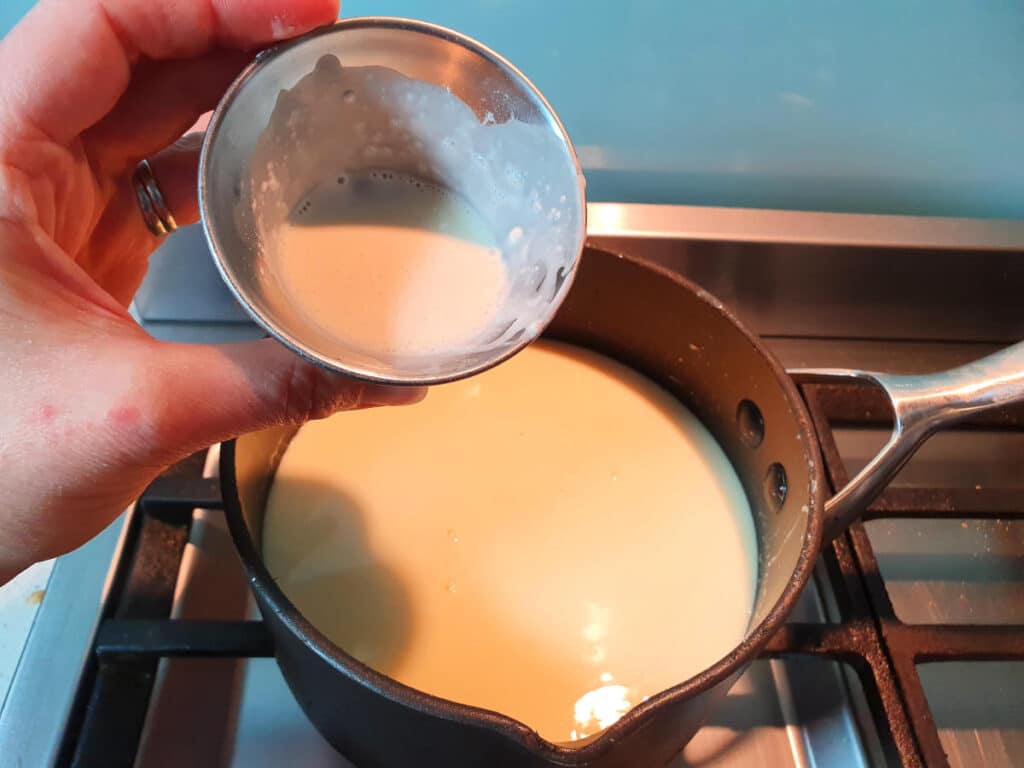
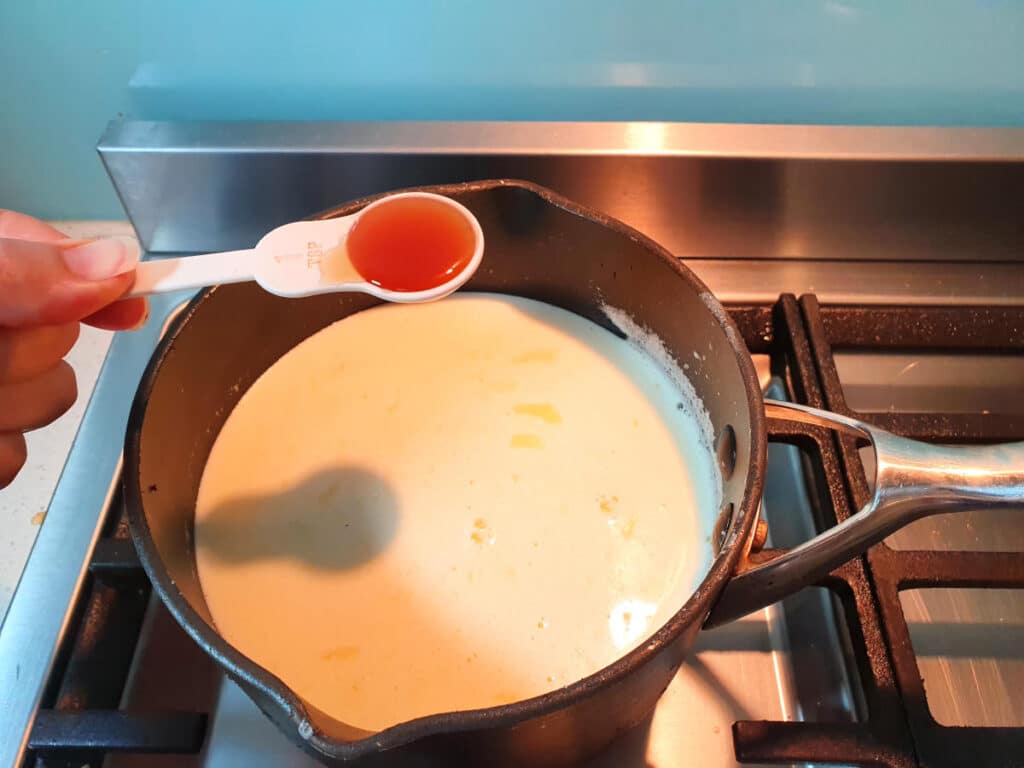
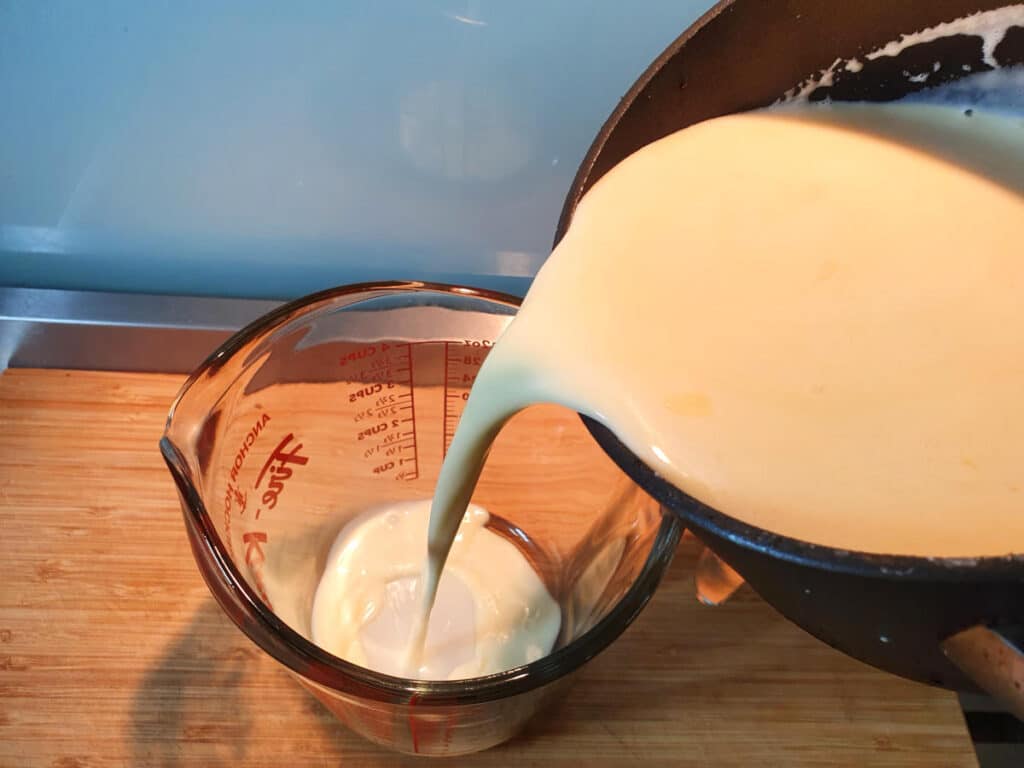
Stir the tapioca starch slurry again and add to the pot, stirring well to combine. Remove from heat and add vanilla. Allow to cool for a few minutes, then transfer to a heatproof container and chill well in the fridge, ideally for about four hours and up to overnight.
While the base is chilling prepare the Oreos. The trick to getting great texture in this ice cream is to make two different-sized Oreos and pre-freeze them before adding them to your ice cream.
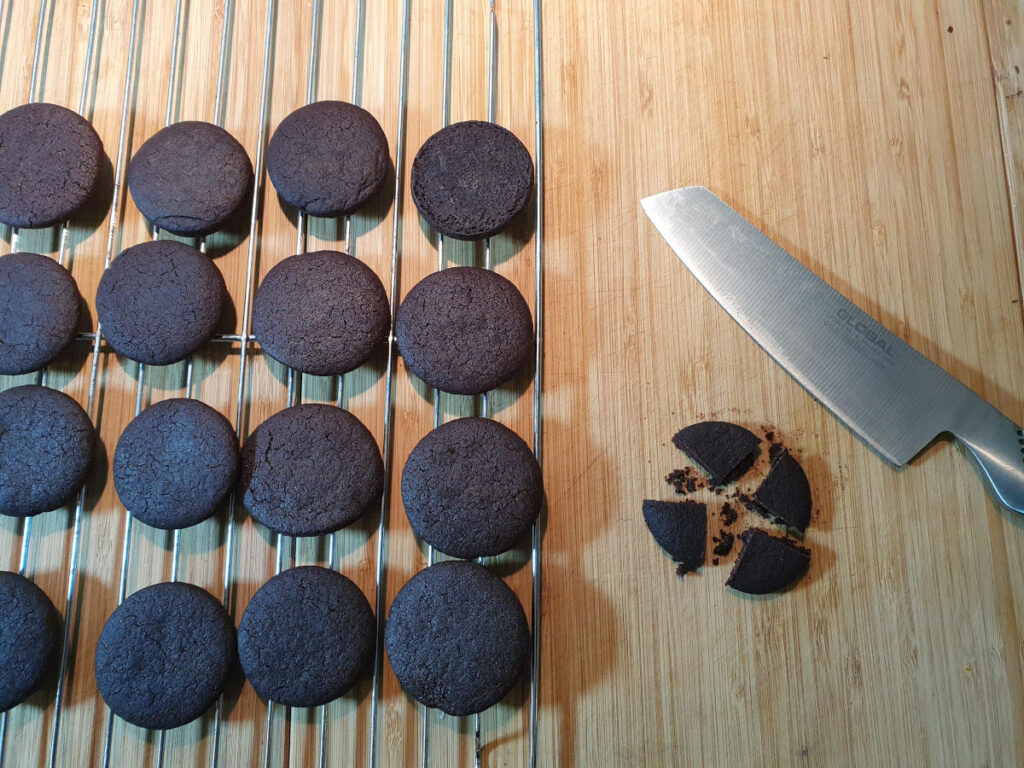
Take about half the Oreos and cut them into quarters. Put them into an airtight container and into the freezer.
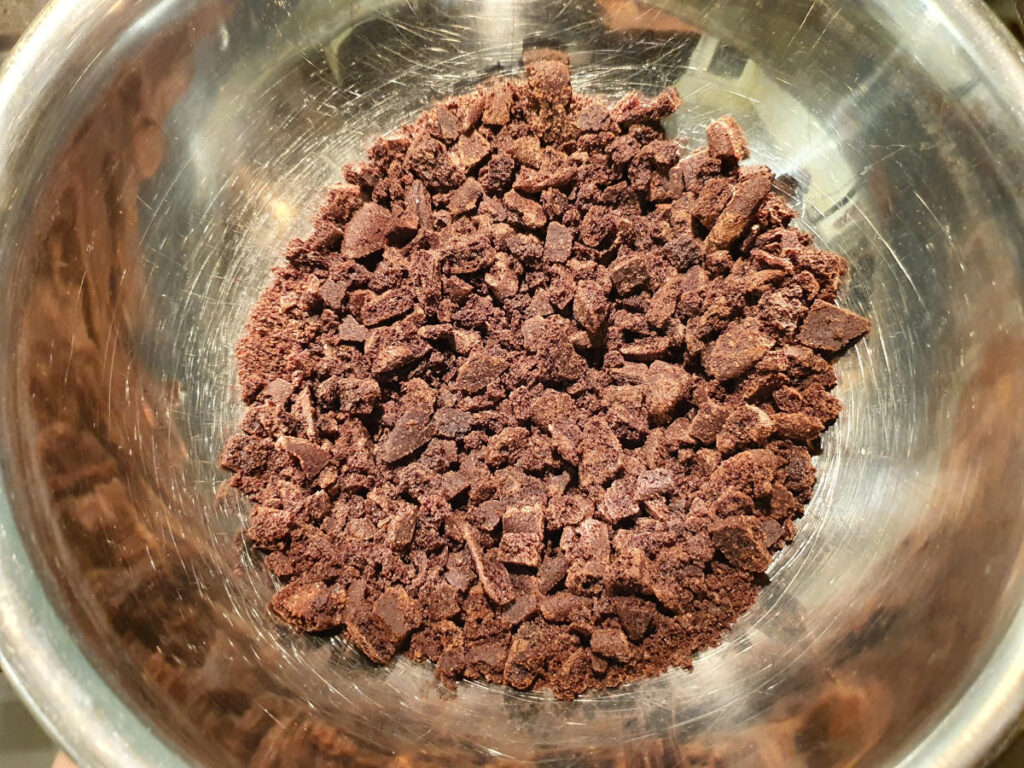
Take the other half of the Oreos and cut them into much smaller pieces. You want them to be about ¼ inch big or smaller. If necessary transfer to a bowl and give a few bashes with a pestle or the end of a rolling pin. Transfer to another airtight container and freeze.
Once the ice cream mix has chilled put your ice cream storage container in the freezer to chill. If using a self-churning ice cream machine turn it on about ten minutes before churning, otherwise take the churning bowl out of your freezer right before churning.
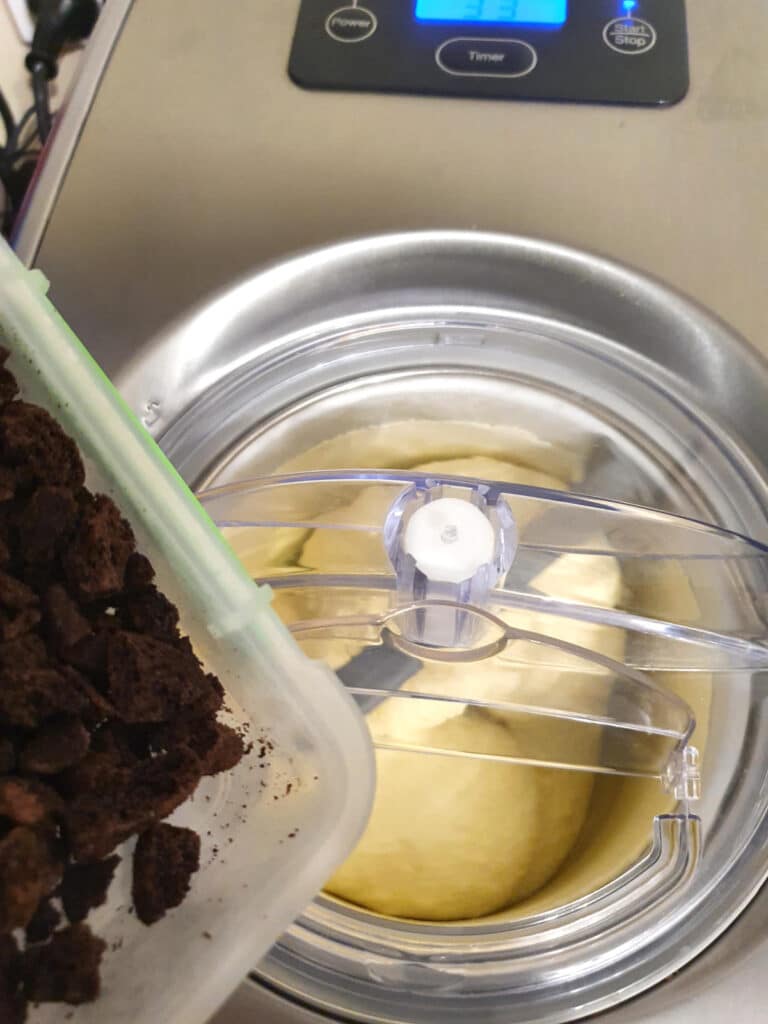
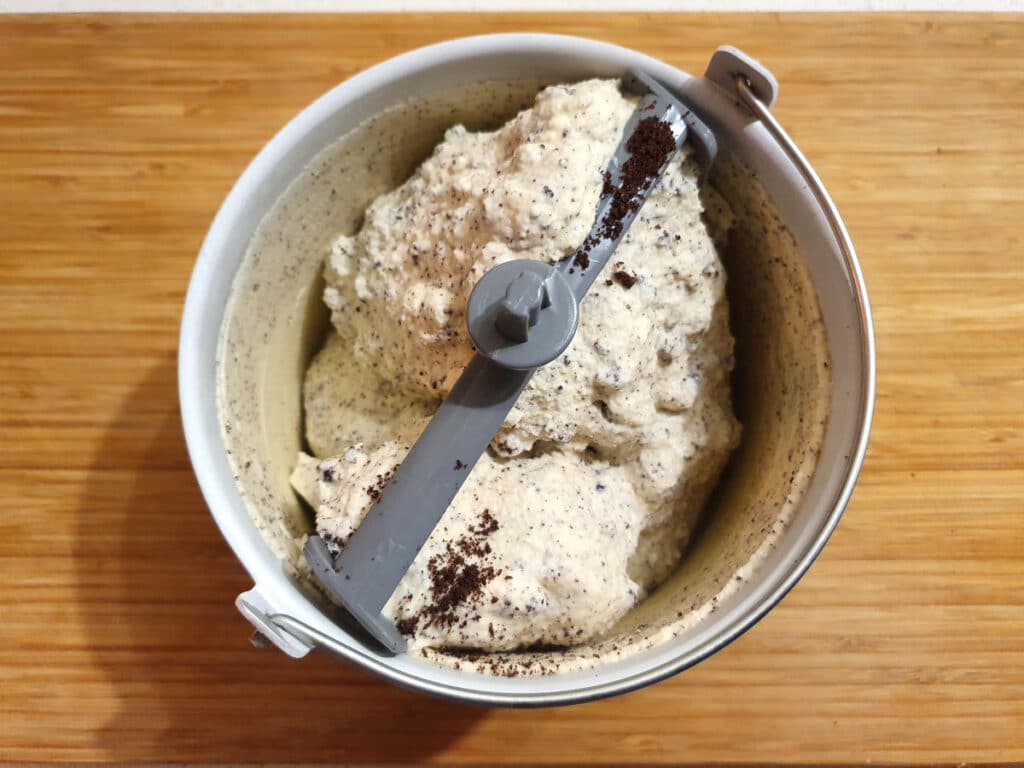
Remove your ice cream base from the fridge and give it a stir. Churn the ice cream. When the ice cream has nearly finished churning and is nearly the consistency of soft serve, add the container of SMALLER frozen Oreo pieces.
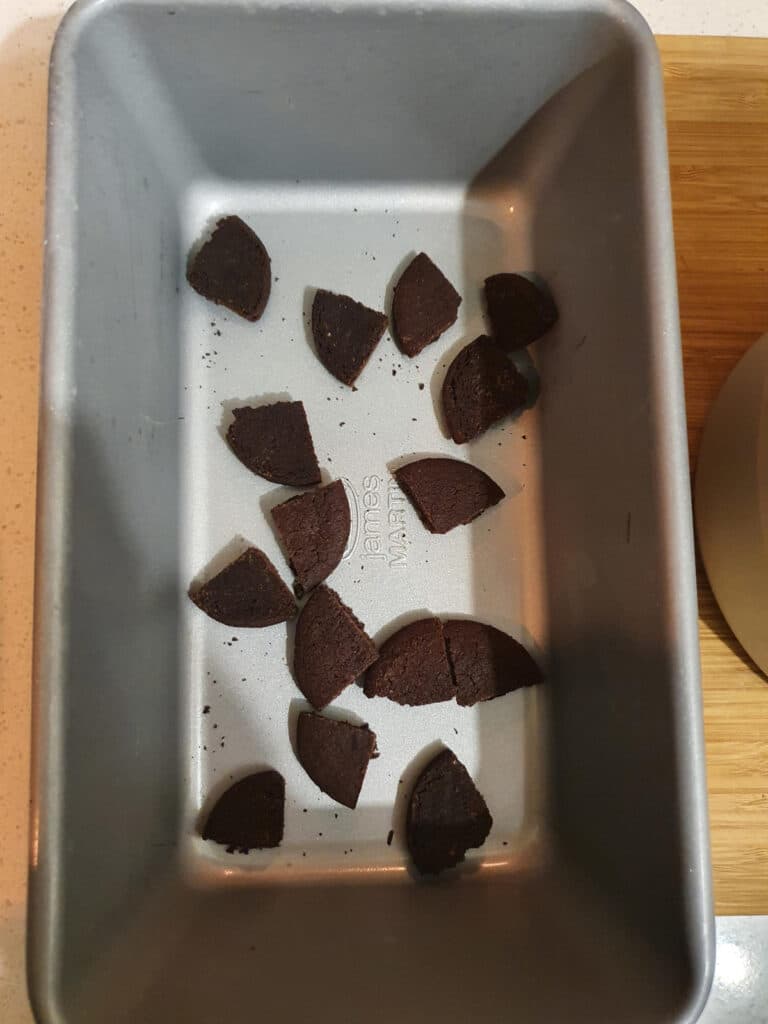
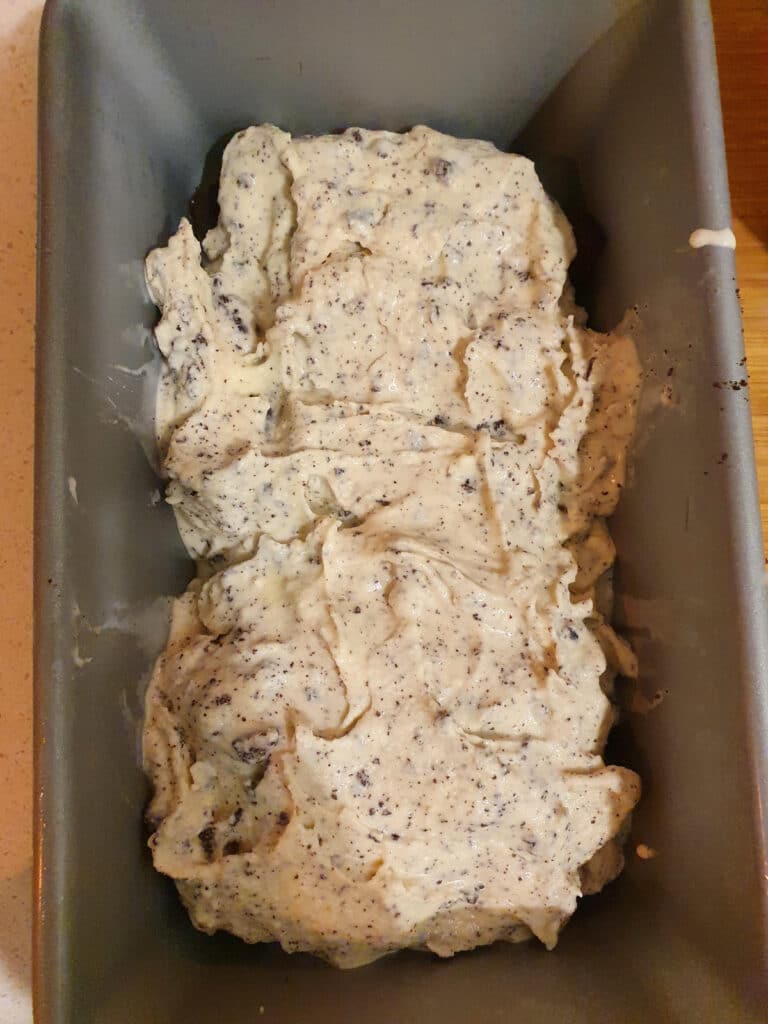
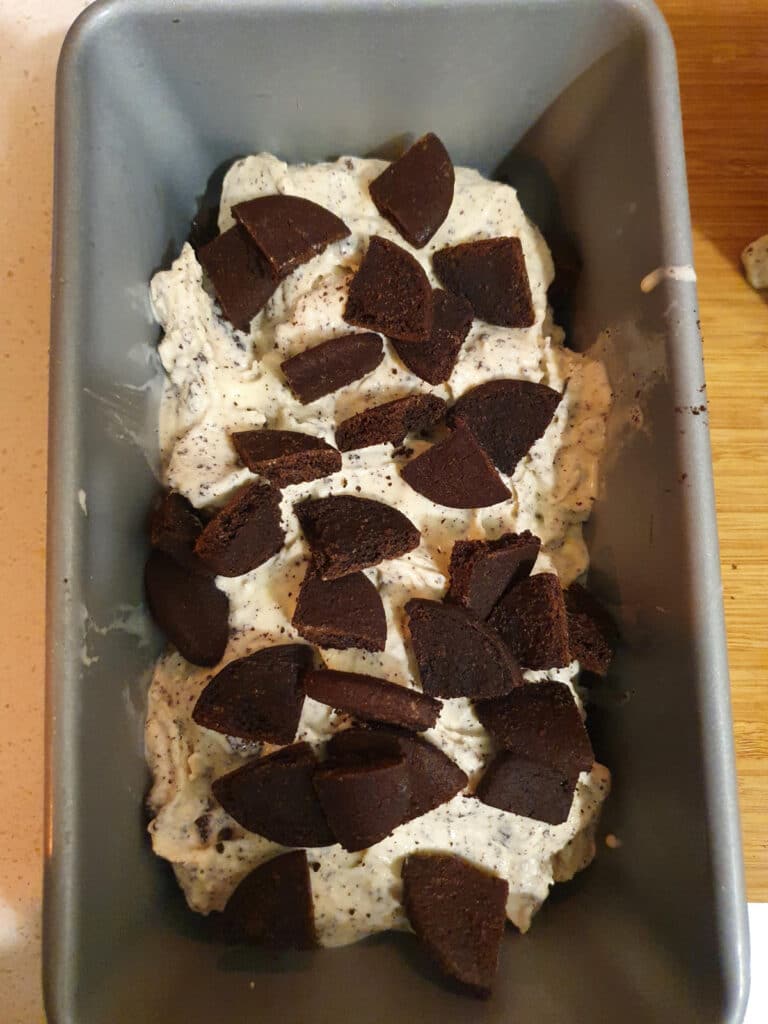
Allow the ice cream to finish churning. Remove the storage container from the freezer. Put about a third of the larger frozen Oreo pieces into the bottom of the container. Add half the churned ice cream. And another third of the larger frozen Oreo pieces. Add the remaining ice cream. Finally, top with the last of the larger Oreo pieces. Cover and freeze for about four hours or until firm.
How to serve
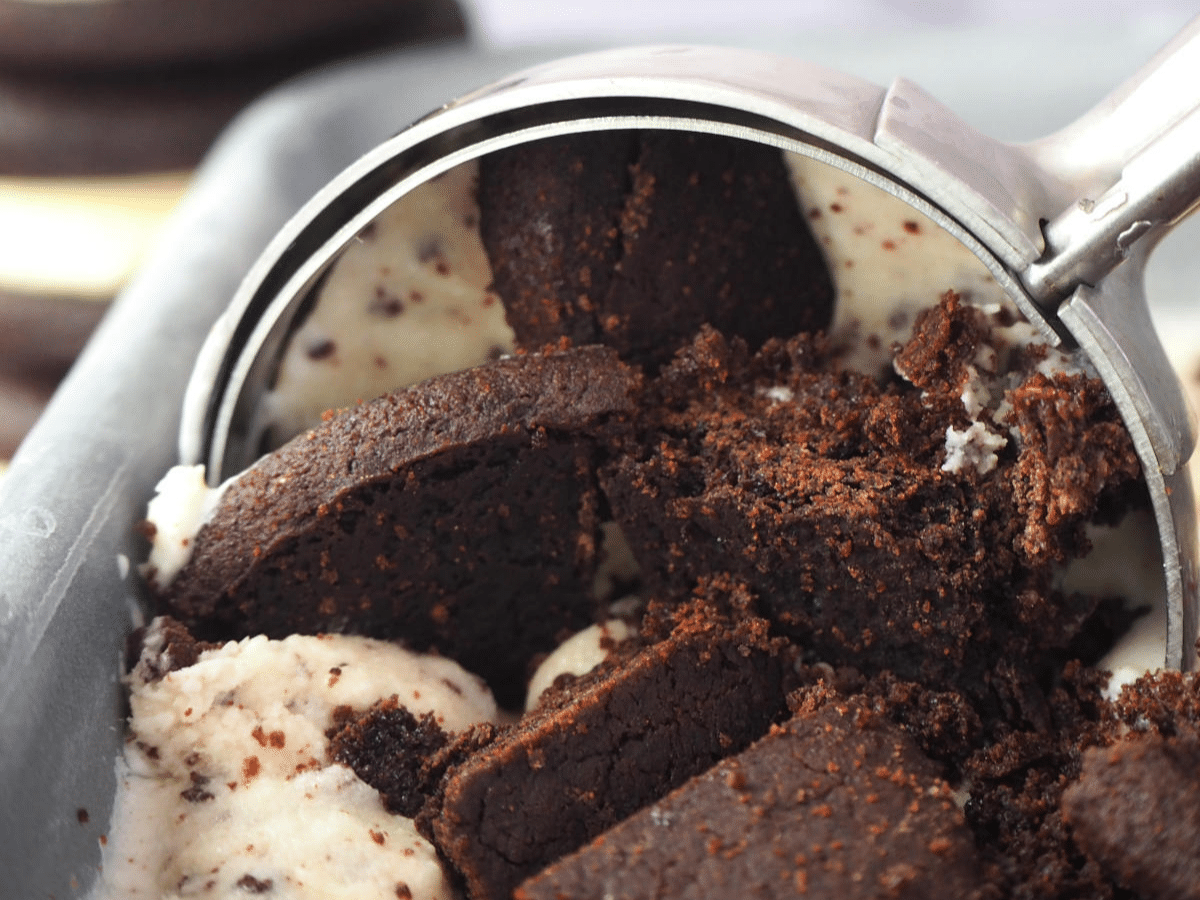
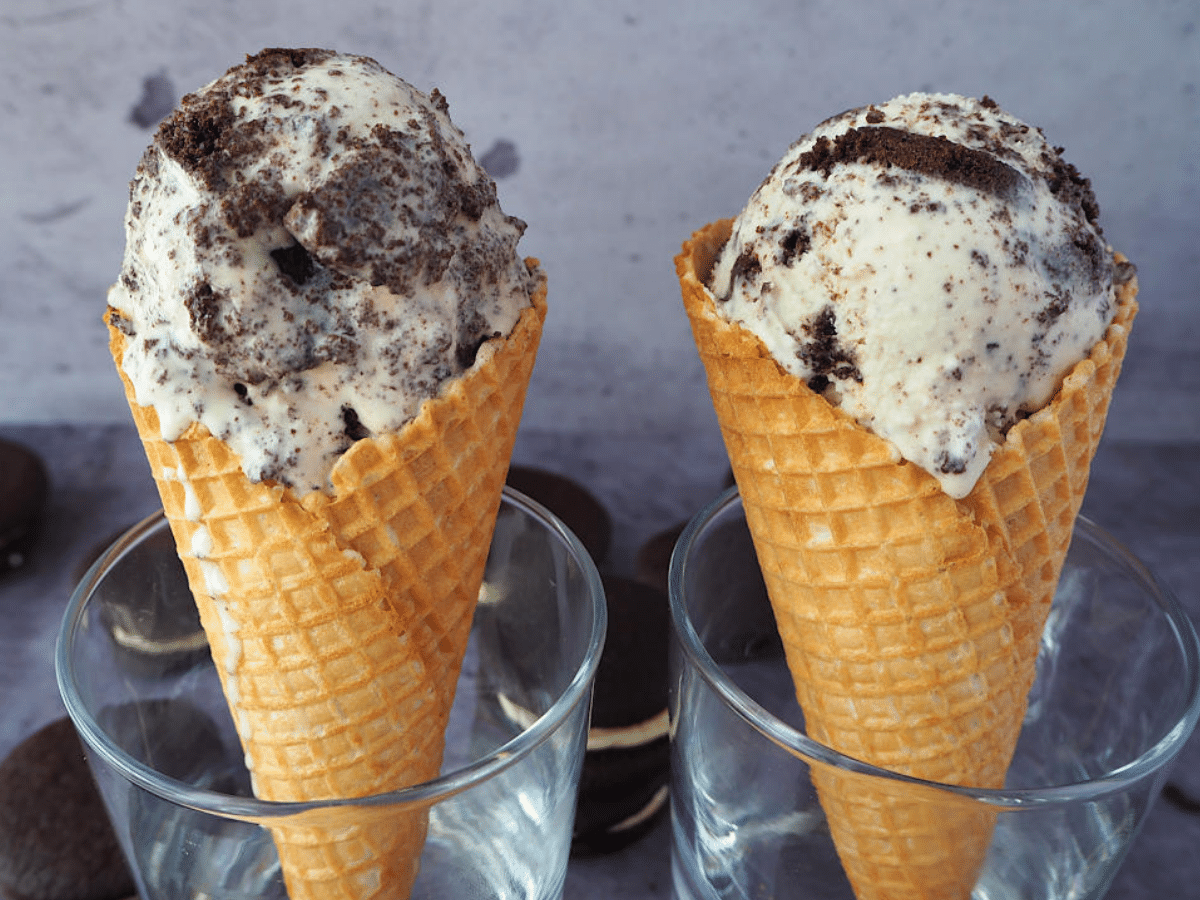
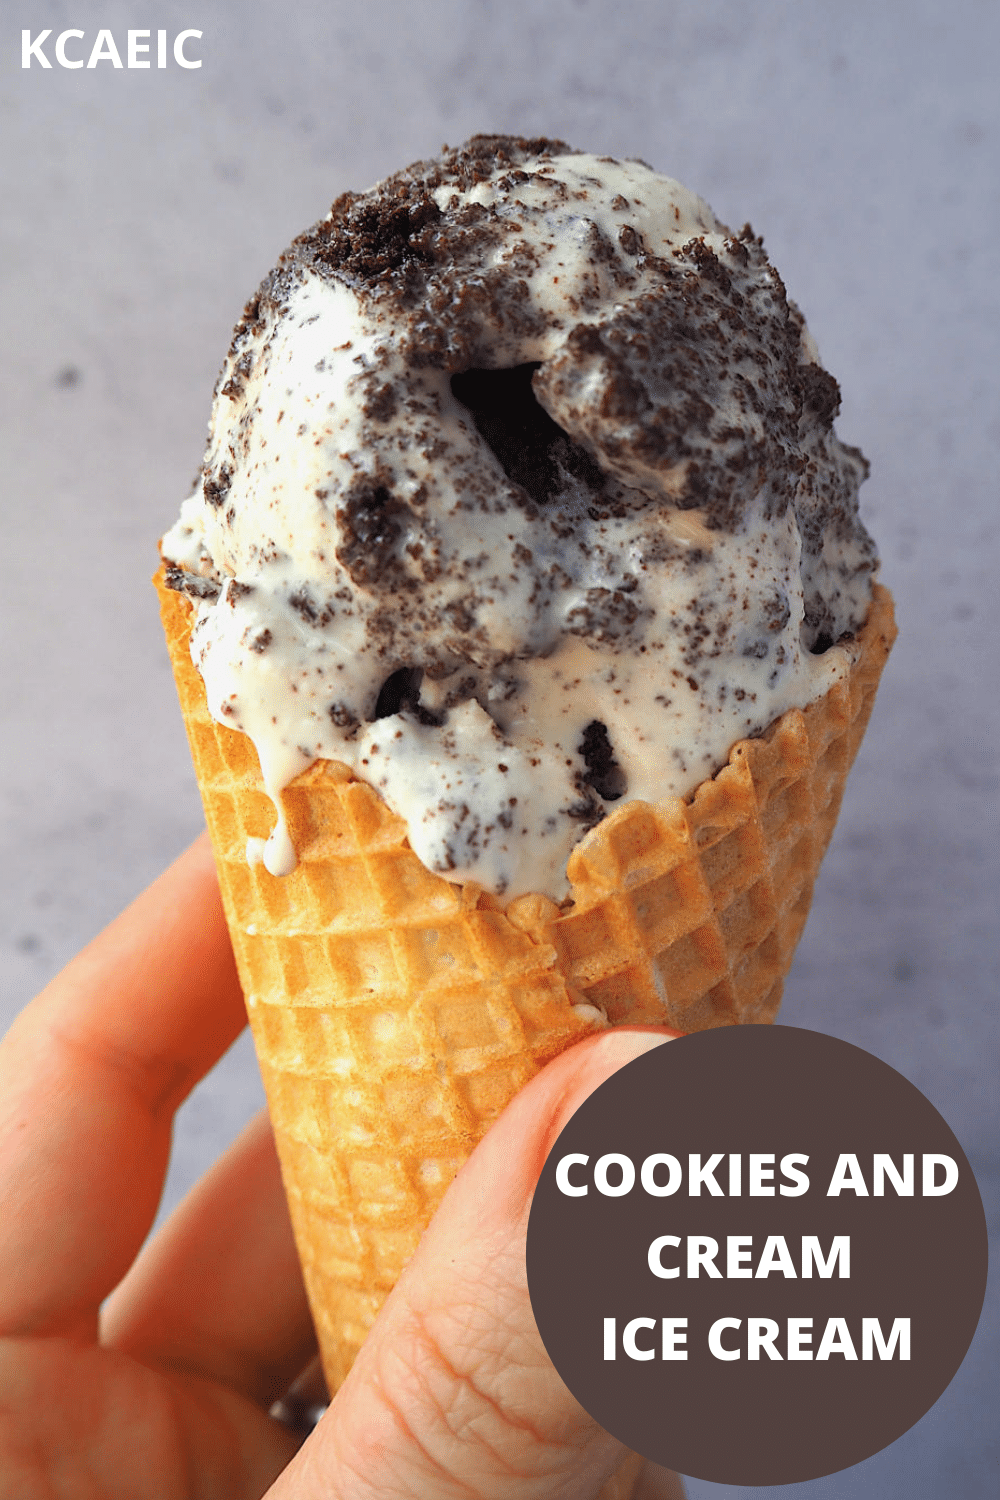
To serve this ice cream remove it from the freezer, scoop, and enjoy! Fabulous with some extra Oreos crumbled over the top, in a waffle cone, or as it is. Delicious!
How to store
This ice cream will store well in an airtight container for up two weeks, but I doubt it will last that long! After that, the texture may start to go a little icy but it will still taste delicious!
Have you made this recipe? Tell me how it went in the comments below and tag me on instagram so I can see your delicious creations! @keep_calm_and_eat_icecream
Looking for more yummy dessert recipes?
Why not try making
Follow me on Facebook or Pinterest for many more delicious recipes!
📋 Recipe
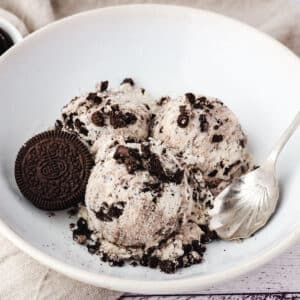
Oreo Ice Cream
Equipment
- ice cream machine
Ingredients
- 2 flat teaspoons (5gms) tapioca starch
- 1 & ¼ cup (315mls) full fat milk (3.5%)
- 2 packets (265gms/approx 26 whole Oreos) Oreos or approx 36 unfilled homemade Oreo halves.
- 1 & ¾ cups ( 435 mls) thickened cream
- ½ cup (120gms) white sugar
- 1 teaspoon vanilla essence
- 1 & ¼ teaspoons teaspoons (10gms) glucose syrup
Instructions
- Measure the milk and put int into a pot. Remove about two tablespoons and mix in a small bowl with the tapioca starch to form a slurry.
- Add the cream, sugar and glucose syrup to the pot with the milk. Heat over a medium heat, stiring well until the sugar and syrup are dissolved.
- Reduce heat to low, add tapioca slurry and stir well. Continue to cook for another couple of minutes, then remove from heat.
- Add vanilla essence and stir well.
- Transfer mix to a heat proof container, cover and chill in fridge for at least four hours.
- While the ice cream base is chilling chop you your Oreo cookies.
- To get a range of textures in your ice cream you need to cut up the Oreos into two separate batches and freeze them while the ice cream base is chilling.
- For batch one, take half the cookies and cut into quarters. Put into an airtight container and freeze.
- For batch two, take the other half of the cookies and cut into finer pieces. You can give them a bash in a mortal and pestle or with a rolling pin if needed. Put into an airtight container and freeze.
- Put your ice cream storage container into the freezer to chill.
- If using a self refrigerating ice cream machine turn it on for about ten minutes to chill before churing the ice cream.
- Remove the ice cream base from the fridge, give it a stir if you need to and pour it into ice cream machine to churn. When the ice cream thickens up and has almost finnished churning add the smaller Oreo pieces.
- Allow ice cream to finishe churning.
- Take your ice cream storage container and the larger Oreo pieces out of the freezer.
- Working quickly put about a third of the larger pieces on the bottom of the container. Put half the churned ice cream on top.
- Put another third of the larger Oreo pieces, followed by the rest of the churned ice cream.
- Add the last of the large Oreo pieces and pat down briefly to put them into the ice cream.
- Cover and freeze for at least four hours, or untill firm.
- To serve remove from the freezer, scoop and enjoy! Fabulous on its own, or with some extra Oreos crumbled over the top. Delicious!
Notes
- You can use store-bought or my homemade Oreos in this recipe, or a different brand of filled cookie. If using store-bought Oreos you can leave the filing in the middle, it won't make to much difference to your ice cream.
- If you don't use glucose syrup your ice cream may freeze a little firm. Put it in the fridge for about ten minutes to make it soft enough to scoop (this is better than leaving it on the bench because it will soften uniformly).
Nutrition
Nutritional Disclaimer
Nutritional information is an estimate based on an online database. The nutritional content of ingredients may vary by brand. If you require accurate nutritional information, you should calculate this based on the specific brands and products you are using.
Pin it for later!




Sylvie
I love that you used homemade oreos for the recipe, it makes it even more special! And what better than oreos to compliment vanilla ice cream - soooo yum!!
Sarah Brooks
Thanks Sylvie. The homemade Oreos were a triumph and work so well in this recipe. Defiantly worth going that extra mile for extra deliciousness! And of course if you were running short on time you could use store bought instead, we've all been there!
Andrea
I love cookies and cream- and it's my kids' go-to order when we buy ice cream! This one sounds delicious and so easy to try at home.
Sarah Brooks
Thanks Andrea! It's great to hear you kids love it to, my kids hovered this one up. I'd be curious to know how your kids thinks to compares to store bought 🙂
Robyn
Cookies and cream ice cream has to be one of my favourite flavours, I'm definitely going to be giving this a try - don't think it will last long 😉
Sarah Brooks
Thanks Robyn! It's delicious isn't it? And no it did not last long in my house it all, neither did the homemade Oreos I made it with 😀