
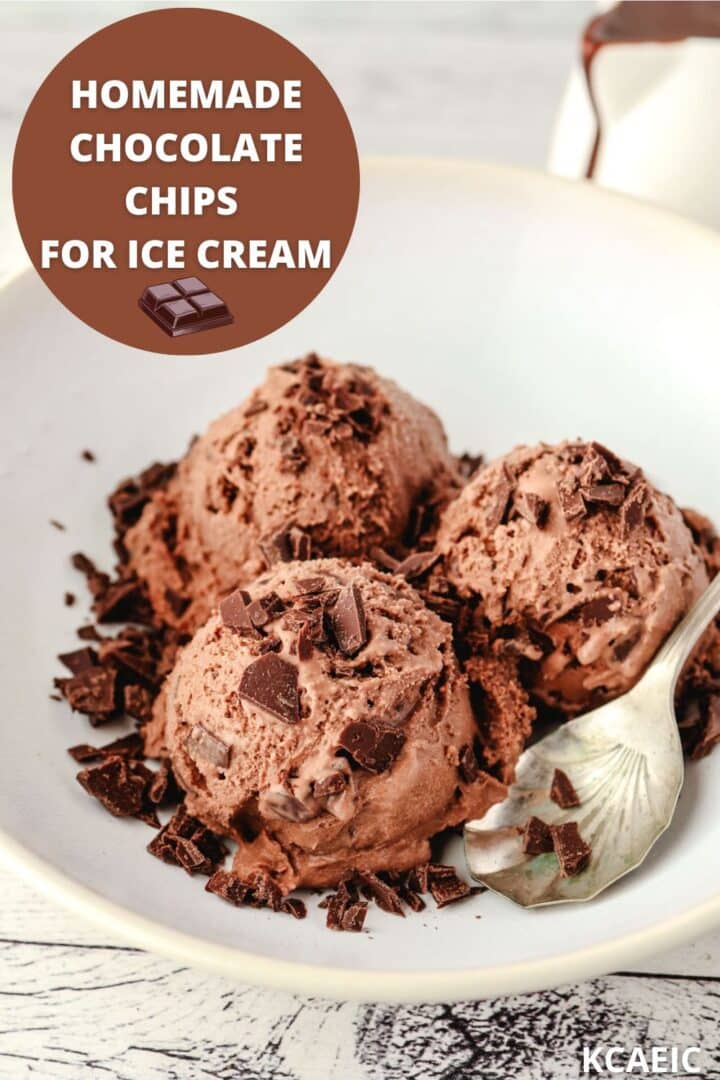
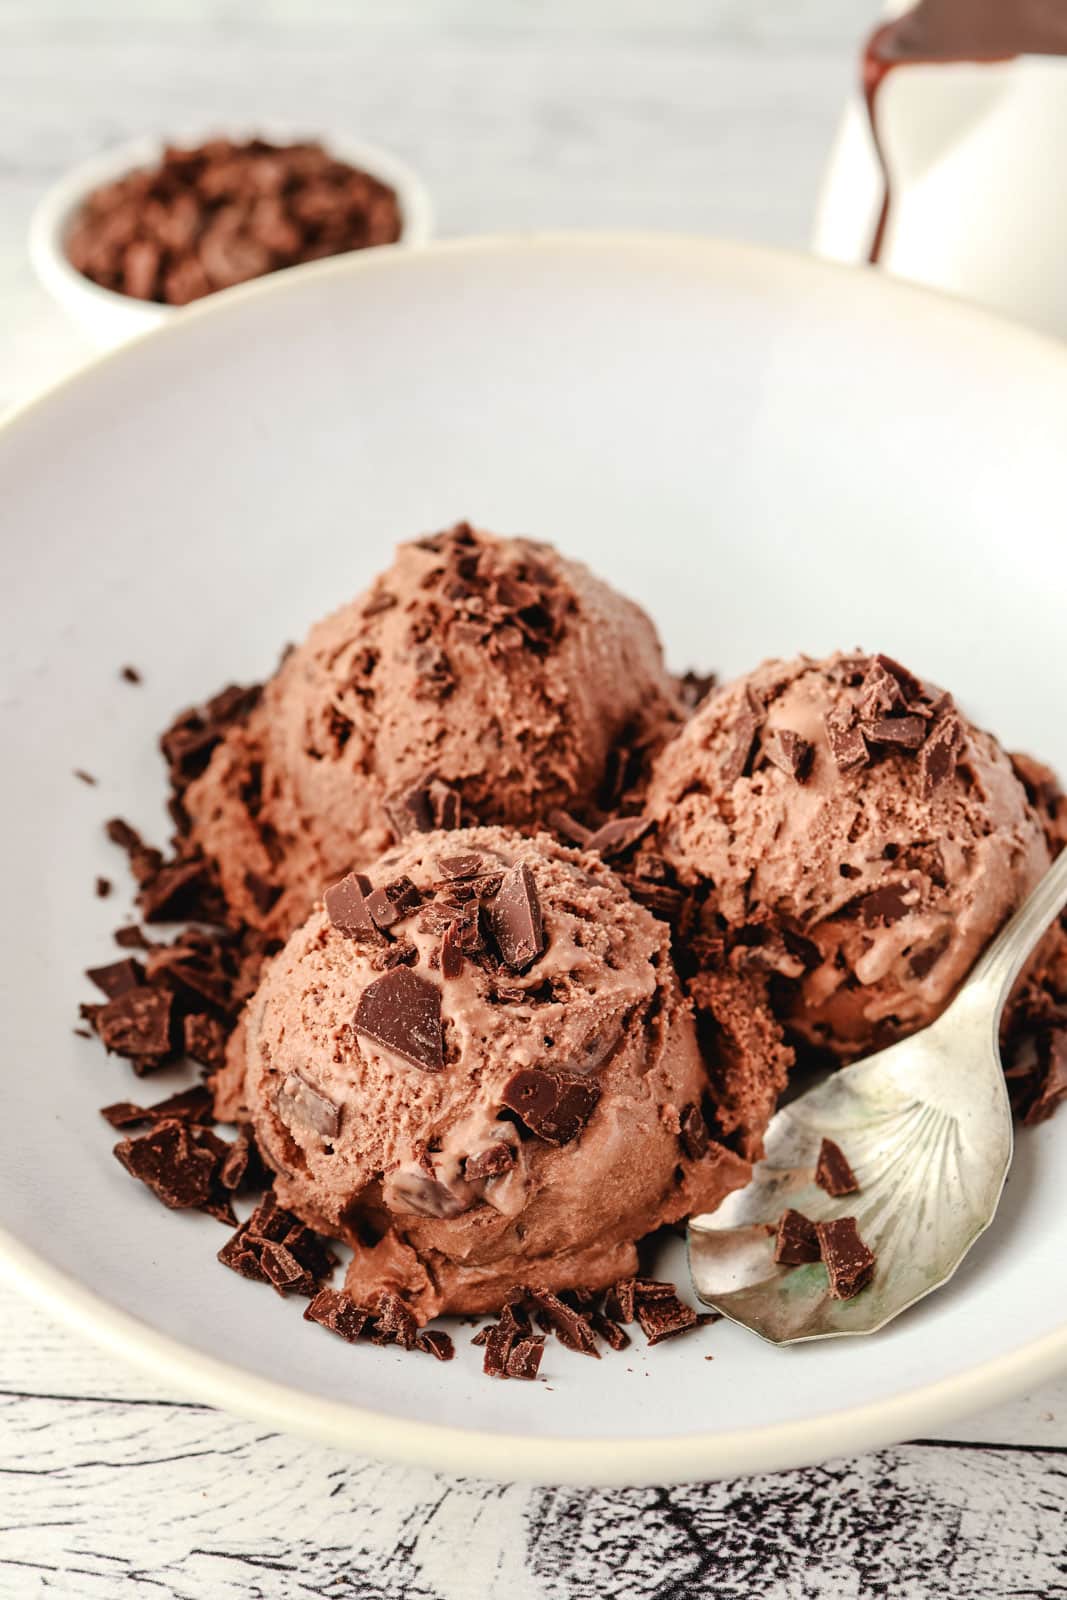
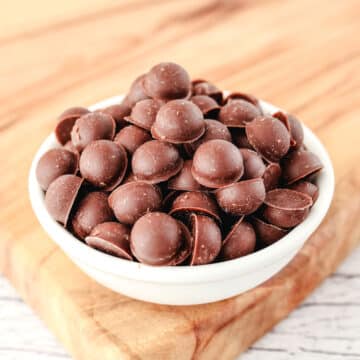
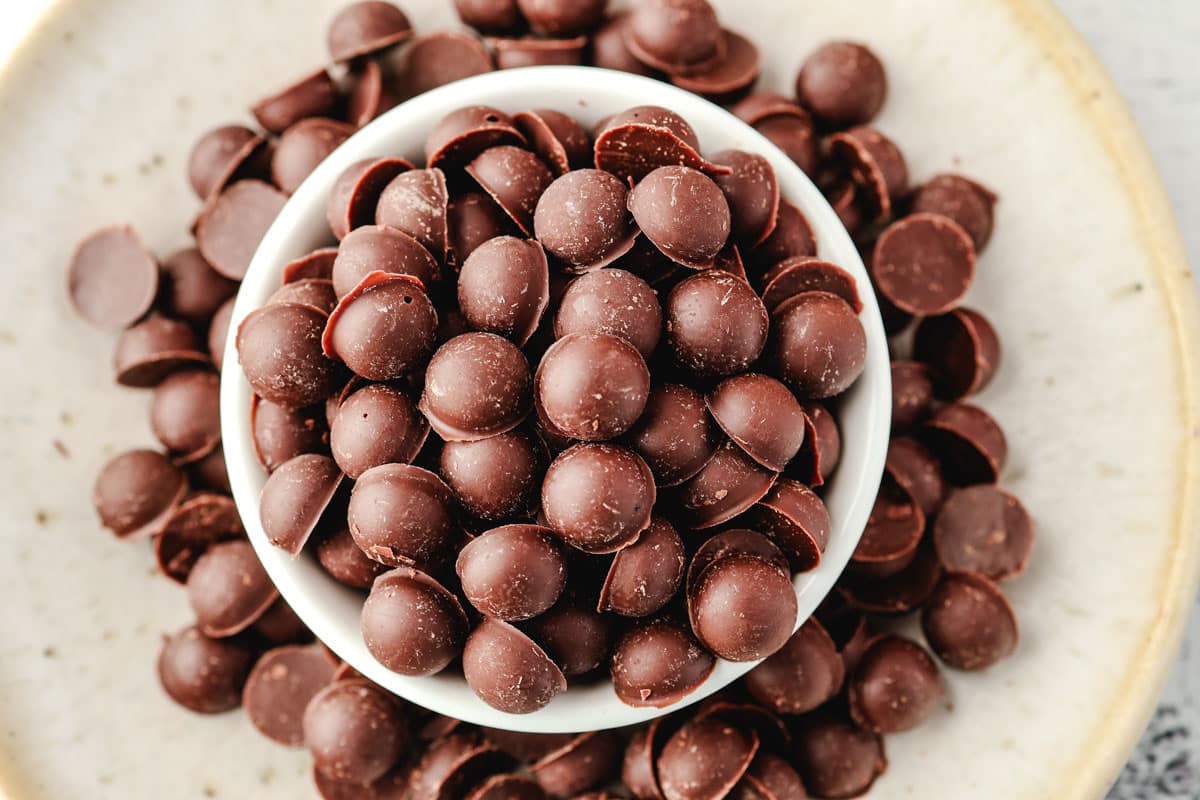
These homemade chocolate chips for ice cream could not be easier. With just two ingredients they will elevate your cold and no-bake desserts to something mouthwateringly delicious.
Jump to:
Why you'll love this recipe
- No Frozen Rocks: Don't you just hate it when you take a bite of homemade chocoalte chip ice cream only to nearly chip a tooth on a frozen chocolate flavoured rock? Me too. This recipe fixes that.
- Melty Goodness for Maximum Taste: Thanks to a little bit of coconut oil magic, these choc chips stay soft enough to melt the second they hit your tongue.
- Versatile: These melty chips aren’t just for ice cream. They are the perfect soft-bite addition to no-bake cheesecakes, edible cookie dough, or a decadent ice box cake. You can even fold them into a chocolate mousse for a bit of texture that won’t feel like you're chewing on gravel.
- Elevate Your No Bake Desserts: Using these chips in your recipes is the easiest way to level up your chilled and frozen chocolate chips desserts. It’s the difference between "this is good" and "how did you make this?!"
Wanna get more chocolate chip faced? These homemade chocolate chips are perfect in any of my cold, frozen and no-bake dessert recipes, including my chocolate chip ice cream, chocolate chip cheesecake and mint choc chip ice cream. Delicious!
Ingredients
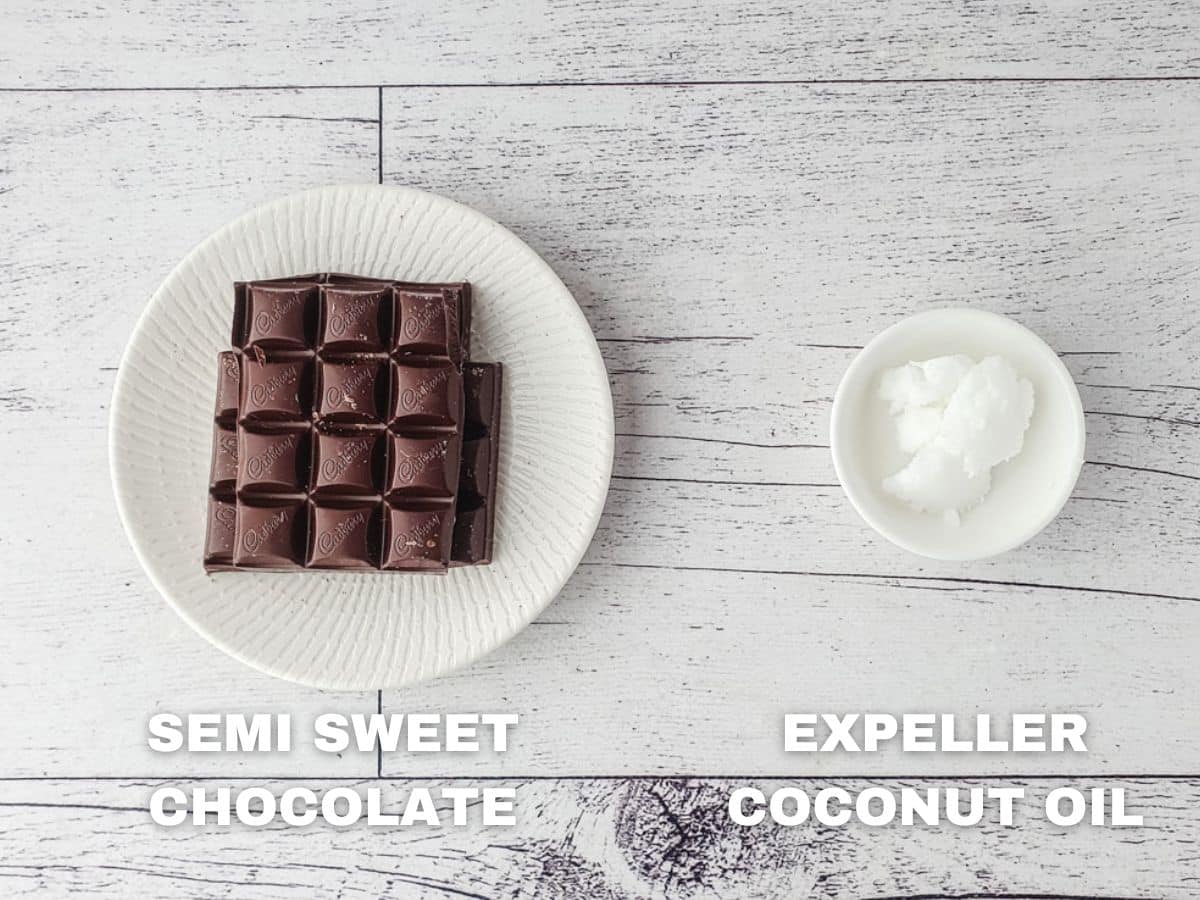
Semi-Sweet Chocolate: semi-sweet provides the perfect balance of flavor and offers a great contrast to the sweetness of ice cream and other cold desserts. Aim for one with about 45% cocoa for the best results. You can certainly experiment with white, milk, or dark chocolate, but keep in mind that this will make your finished chips significantly sweeter or more intense.
Refined Coconut Oil: sometimes labeled as "expeller-pressed." It is important to use the refined version. The refining process removes the distinct coconut scent and flavor. This leaves you with a neutral oil that allows the chocolate to be the star of the show while giving the chips that perfect "snap."
How to make chocolate chips for ice cream
See the full recipe card at the end of the post for ingredient amounts and instructions.
Line a baking sheet with parchment paper or foil. Roughly chop the semi-sweet chocolate. Add to a microwave-proof bowl and melt in the microwave in 30 second burts. Check the chocolate between each burst and move it around the bowl if you need to prevent scorch spots developing.
Hot tip: if you are using a glass or ceramic bowl they often retain a lot of heat. You can therefore usually get away with melting your chocolate about ¾ of the way, then remove from the microwae and stir. The residual heat in the bowl should be enough to melt the rest of the chocolate.
Alternatively you can use a double boiler on the stove. Ensure your heat-proof bowl fits partly and neatly into a small pot. Heat the pot of water and add the chopped chocolate to the bowl. Allow to sit, then stir until melted. Be careful handling the bowl as it can get hot. Also be very careful not to get any steam or water into your chocolate or it can seize.
Once the chocolate is completely smooth and melted, stir in the refined coconut oil until fully mixed and the chocolate looks glossy. This is the secret to chips that stay soft enough to bite when frozen!
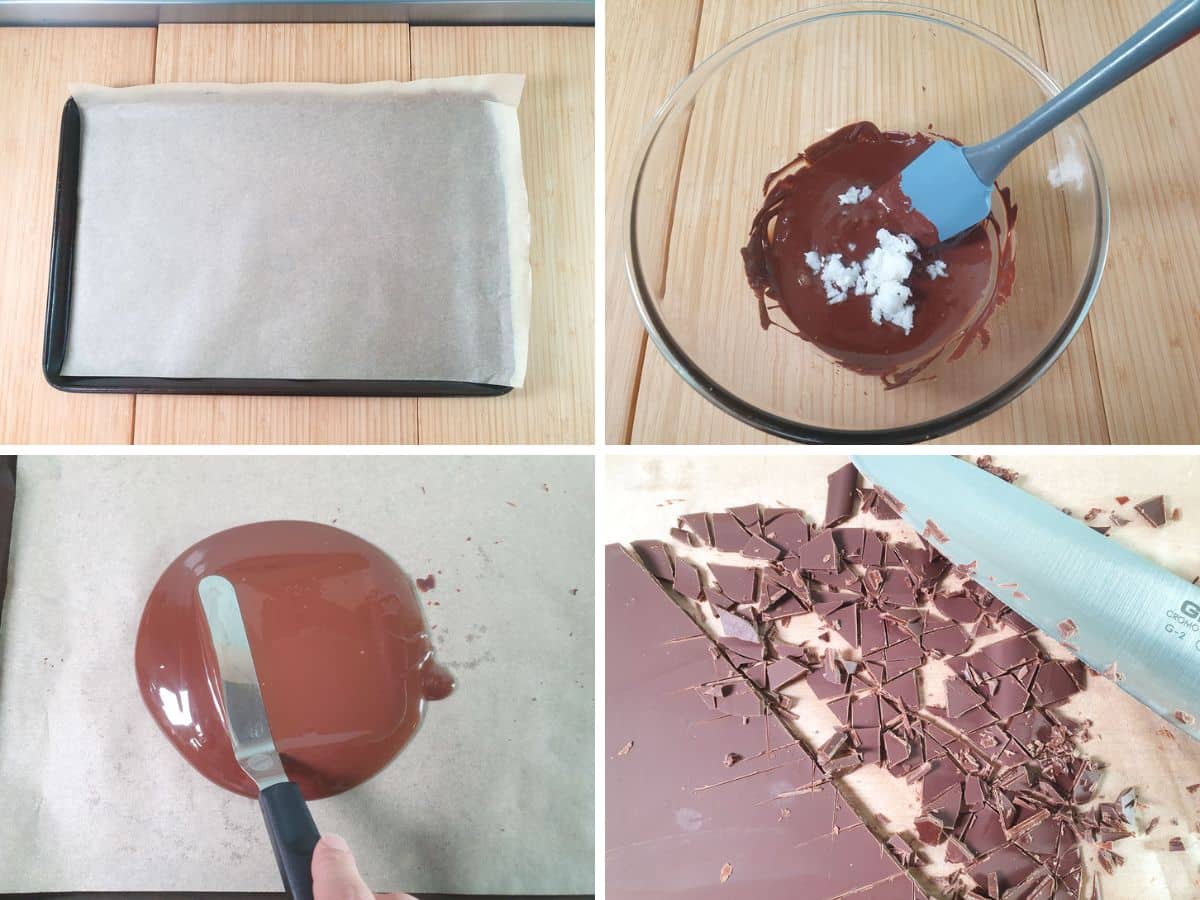
Pour the chocolate mixture onto your prepared tray. Use a spatula to spread it out into a thin, evenish layer. Aim for about the thickness of a standard chocolate chip.
Place the tray in the fridge (or the freezer if you’re in a hurry) until the chocolate is firm and set.
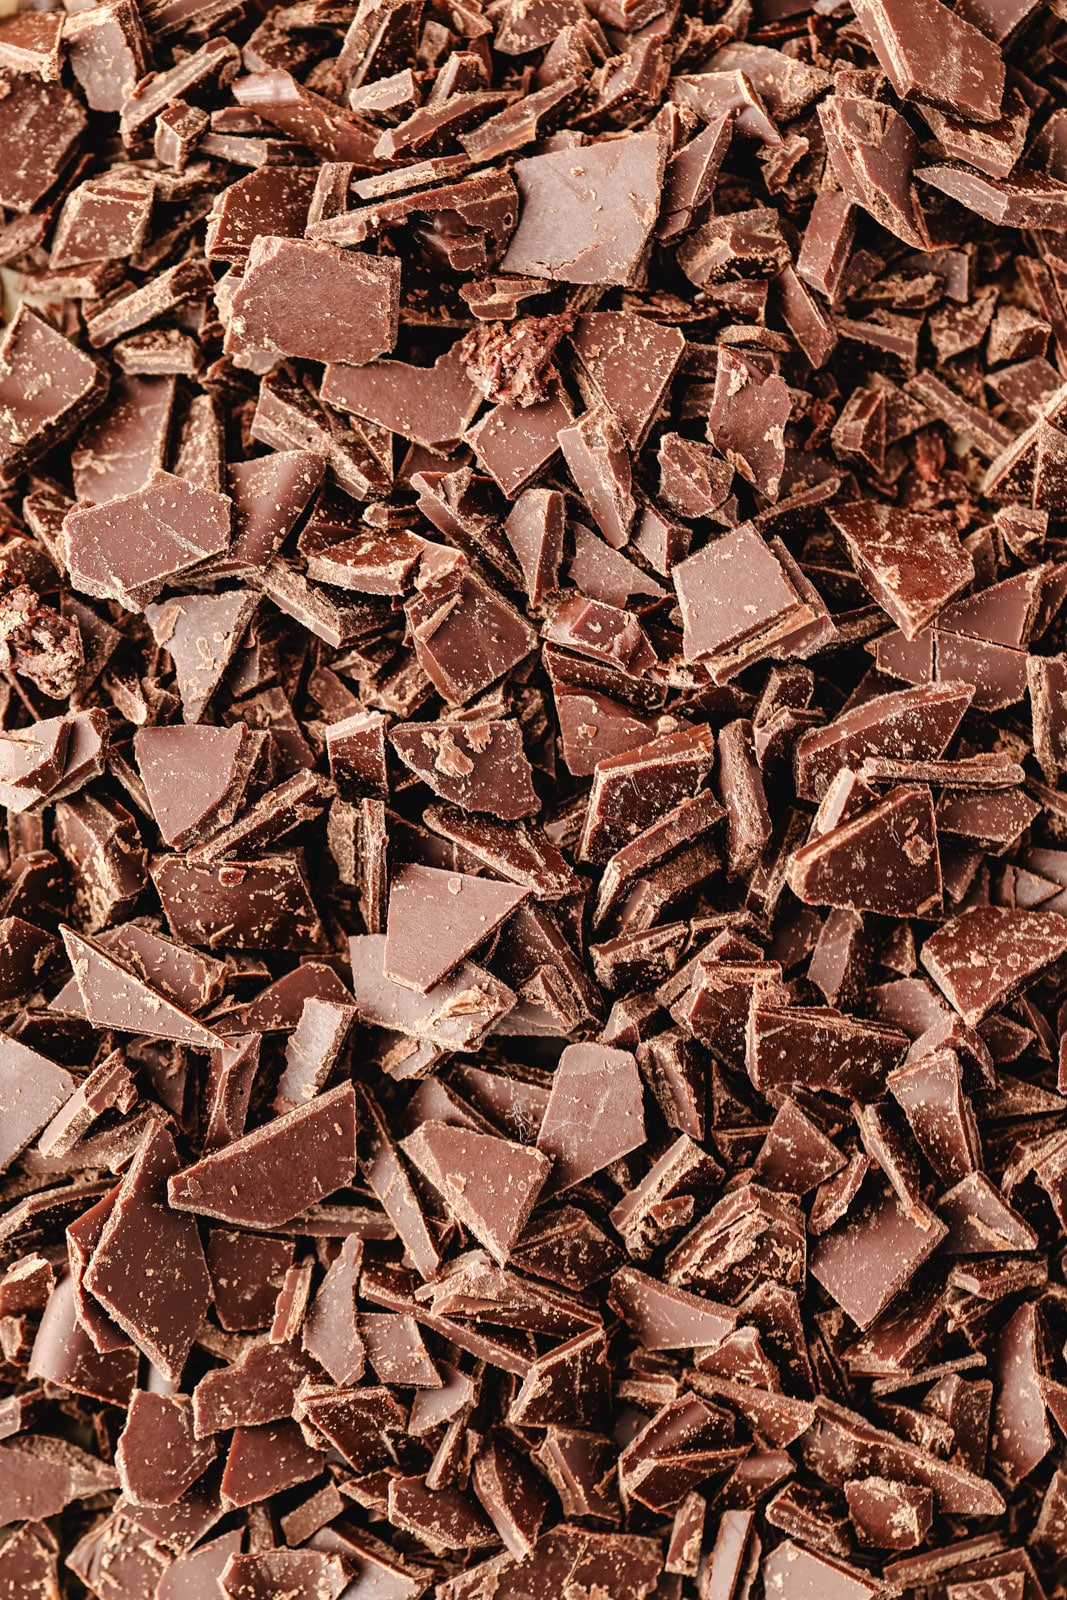
Once set, peel the chocolate off the paper and chop or break it into small, irregular chip-sized pieces. Work quickly so the heat from your hands doesn't melt the chocolate. Use them immediately in your churned ice cream or store them in a container in the freezer for your next batch.
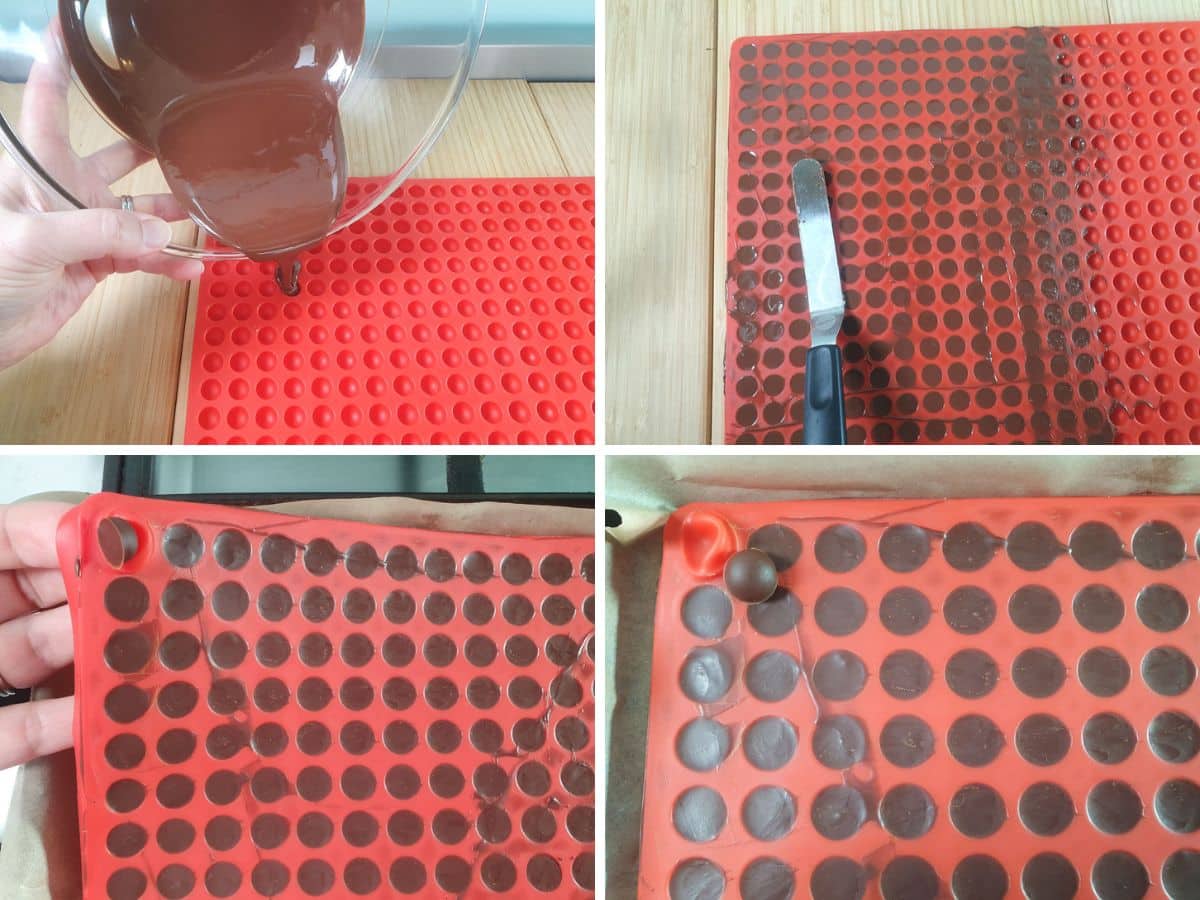
For more traditional chip shapes (molded and piped method)
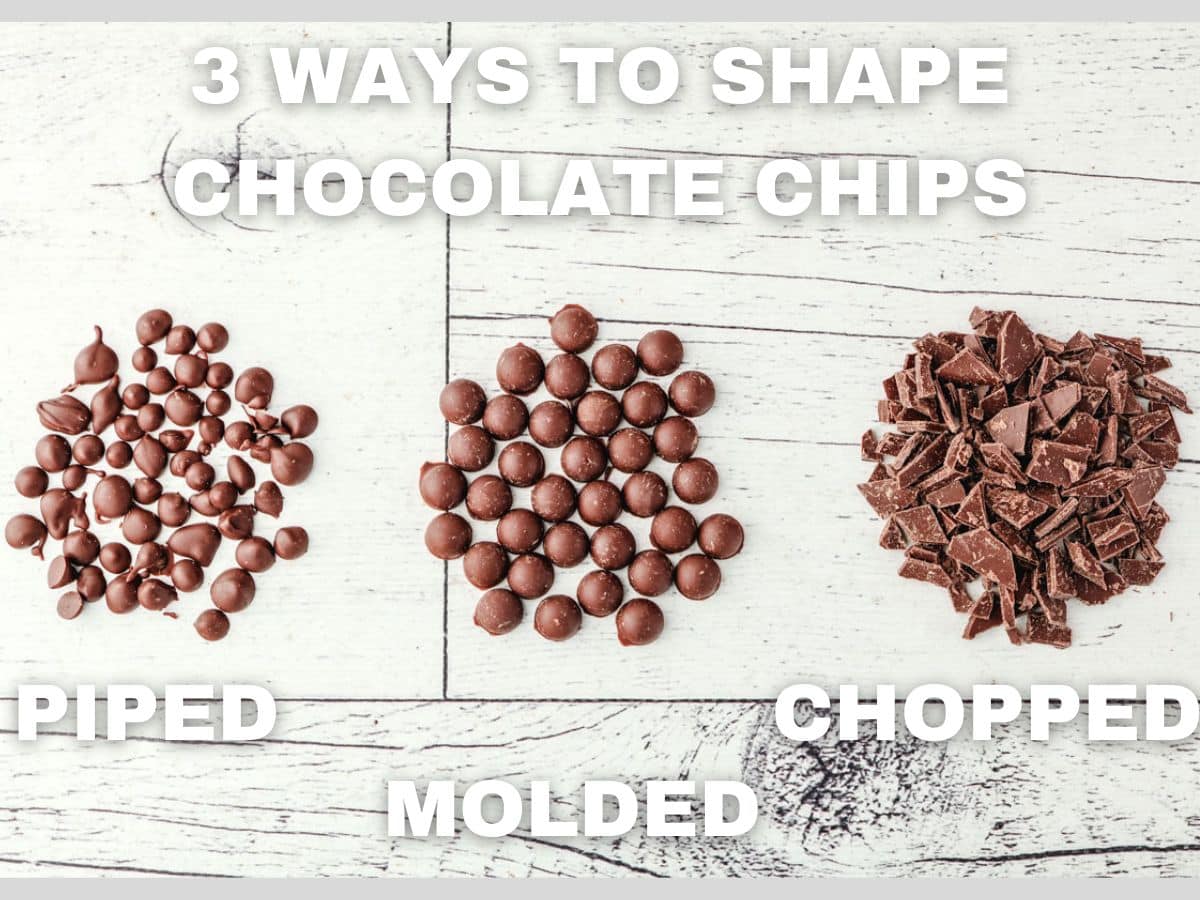
Molded: Pour the chocolate mix into the molds and spread with a spatula. Pop into the fridge for at least an hour to set, then pop out of the molds (this can take a while!).
Pipped: For the most chip shapped chips you can allow the chocolate to set slightly, then pipe invividual chips onto the baking paper.
Argulably the later gives the best shapped chips, but both the molded and piped method take considerably more effort and honestly they taste just as good not matter shape they are 🙂
How to serve
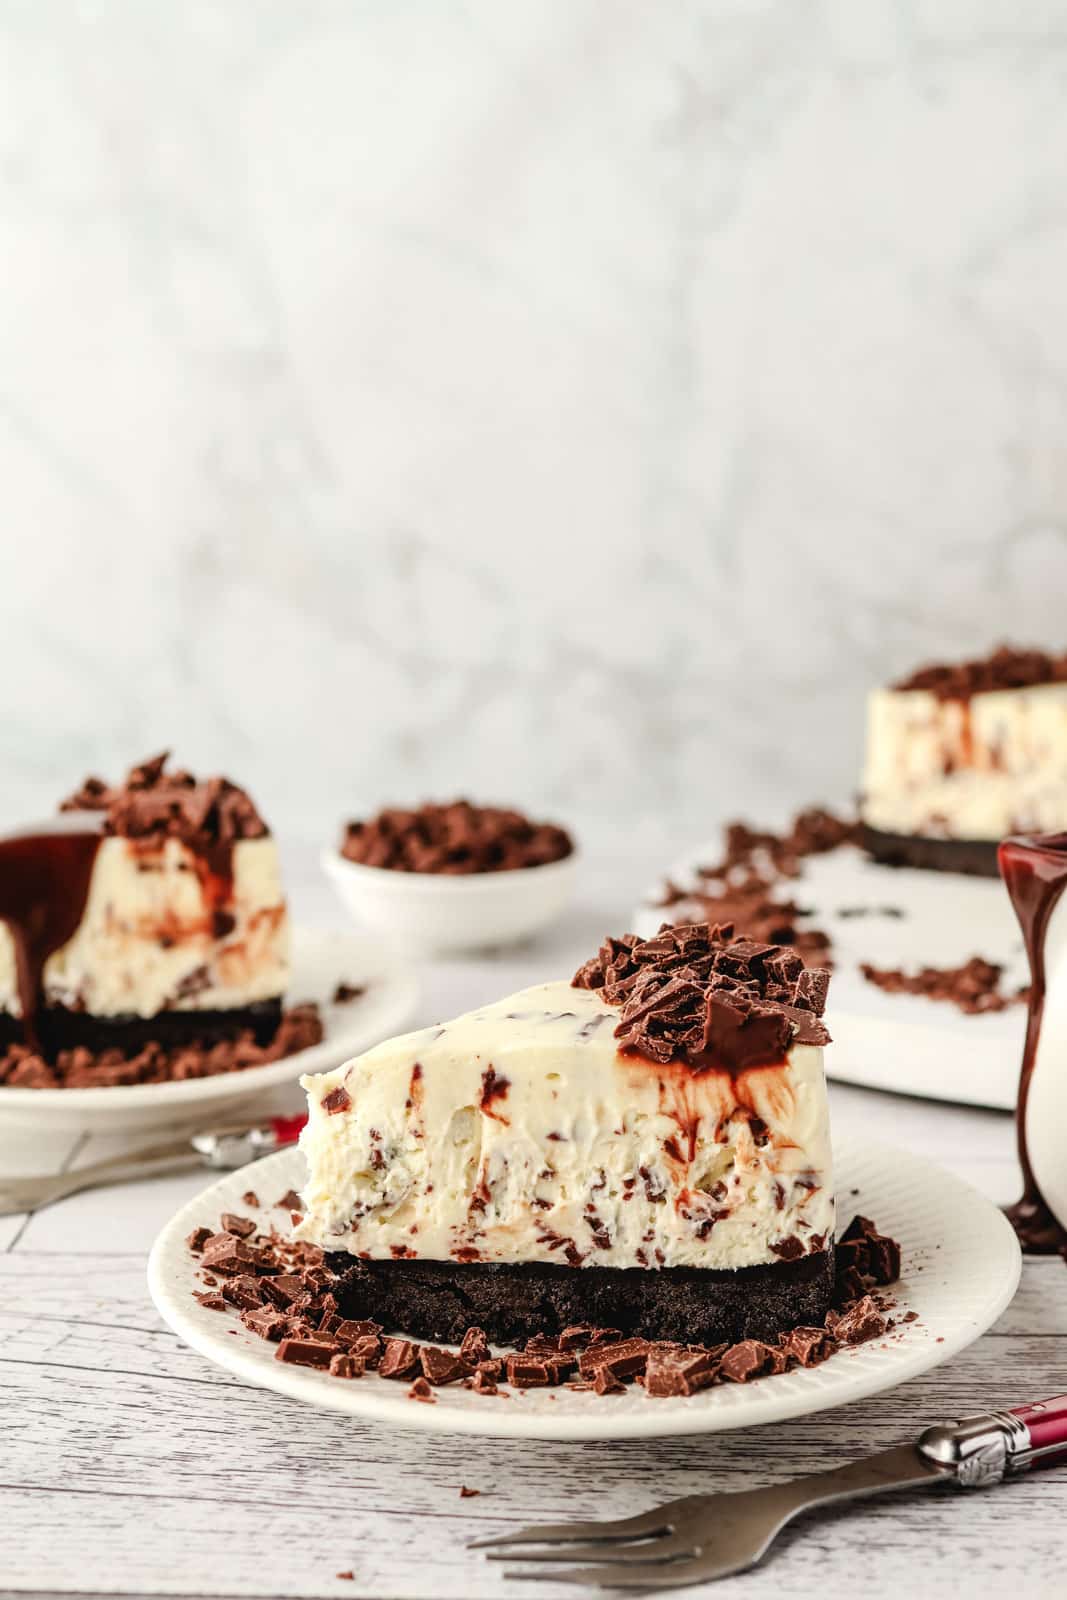
These homemade chocolate chips are perfect to use in all cold, frozen and no-bake desserts for that melt-in-your-mouth chocolatey deliciousness! Great in cheesecakes, ice creams, trifles and more. Or just eat them by the handful, quickly, so they don't melt!
How to store
Due to the low melt temperature of these chocolate chips I highly recommend storing them in the fridge or freezer to stop them from melting into a puddle!
In the fridge: in a covered container for up to three months.
In the freezer: in a freezer-safe bag or container for up to six months.
Tips for success and frequently asked questions
Can I use regular coconut oil in these?
Yes, but if you do, your chocolate chips will taste like chocolate coconut. Refined coconut oil, sometimes also called expeller-pressed coconut oil is best.
Can I use a different oil to make these? Like canola or olive oil?
The short answer: no
The long answer: still no. Coconut oil melts fast at body temp, is solid at room temperature, and firms up more when frozen.
Oils that are liquid at room temperature like canola or olive will make your chips to soft to set and turn the chocolate into an oily, unset mess. Not a good look.
The other reasonable alternative would be cocoa butter, but that's much more expensive and harder to find.
Can I use different chocolate?
In theory yes, but I haven't tested with different types. If you do and it works let me know in the comments below.
Can I make these more chocolate chip-shaped?
For more 'chip' shaped chips you can line an extra tray or two with parchment paper, pop the melted chocolate into a piping bag or zip lock bag and quickly 'pipe' individual chips. Be warned the chips will end up round and pretty flat. They don't have enough structural integrity to form nice little points.
You can also use choc chip shaped molds, I found some cute little ones that are like mini domes.
You see the photo in the method where I used the chop vs pipe vs mold method to make the chips.
But in all honesty chopped works just as well and gets the same great melt in your mouth taste and feel for a fraction of the effort. I'll leave it to you which method you prefer.
Can I use these chips in baking?
Look previously I would have said no, they won't hold their shap. But my youngest happen to find my extra chips when he was making a batch of chocolate chip cookies and threw them in.
Much to my surprise the chips were fine. Tasted just the same and did not turn into a melted puddle. So yes, in theory, you can use these chips in baking. But why would you want to?
More yummy chocolate dessert recipe inspiration!
Why not try making
- Cookie Dough Ice Cream with homemade chocolate chips
- Homemade Chocolate Sauce
- Chocolate Sundae
Remember to subscribe to the Keep Calm and Eat Ice Cream newsletter and follow me on Pinterest for more delicious recipes to tempt your taste buds!
Put any photos of your delicious creations on socials? Remember to tag @keep_calm_and_eat_icecream on Insta so I can see your delicious creations!
Have you made this recipe? Please leave a star rating and comment below 🙂 It helps other people find the recipe so they can share the deliciousness!
📋 Recipe
Chocolate Chips for Ice Cream
Ingredients
- Approx. 1 & ½ bars (standard 4oz baking bars, or approx. 5.3 oz or 150 gms total) semi- sweet chocolate
- 4 teaspoons (15 gms) refined coconut oil
Instructions
- Line a baking tray with parchment paper.
- Roughly chop the semi-sweet chocolate.
- Melt the semi-sweet chocolate in a microwave-safe bowl in the microwave in 30-second bursts until completely smooth.
- Add the refined coconut oil. Mix well.
- Pour the melted chocolate onto the tray. Spread into a thin, evensih layer.
- Chill in the fridge for about 2 hours until set.
- Once set, Chop into irregular chips sized pieces.
- Store the chips in the fridge or freezer until needed.
Nutrition
Nutritional Disclaimer
Nutritional information is an estimate based on an online database. The nutritional content of ingredients may vary by brand. If you require accurate nutritional information, you should calculate this based on the specific brands and products you are using.
Join the community!
Like Keep Calm and Eat Ice Cream on Facebook for more great recipes


Comments
No Comments