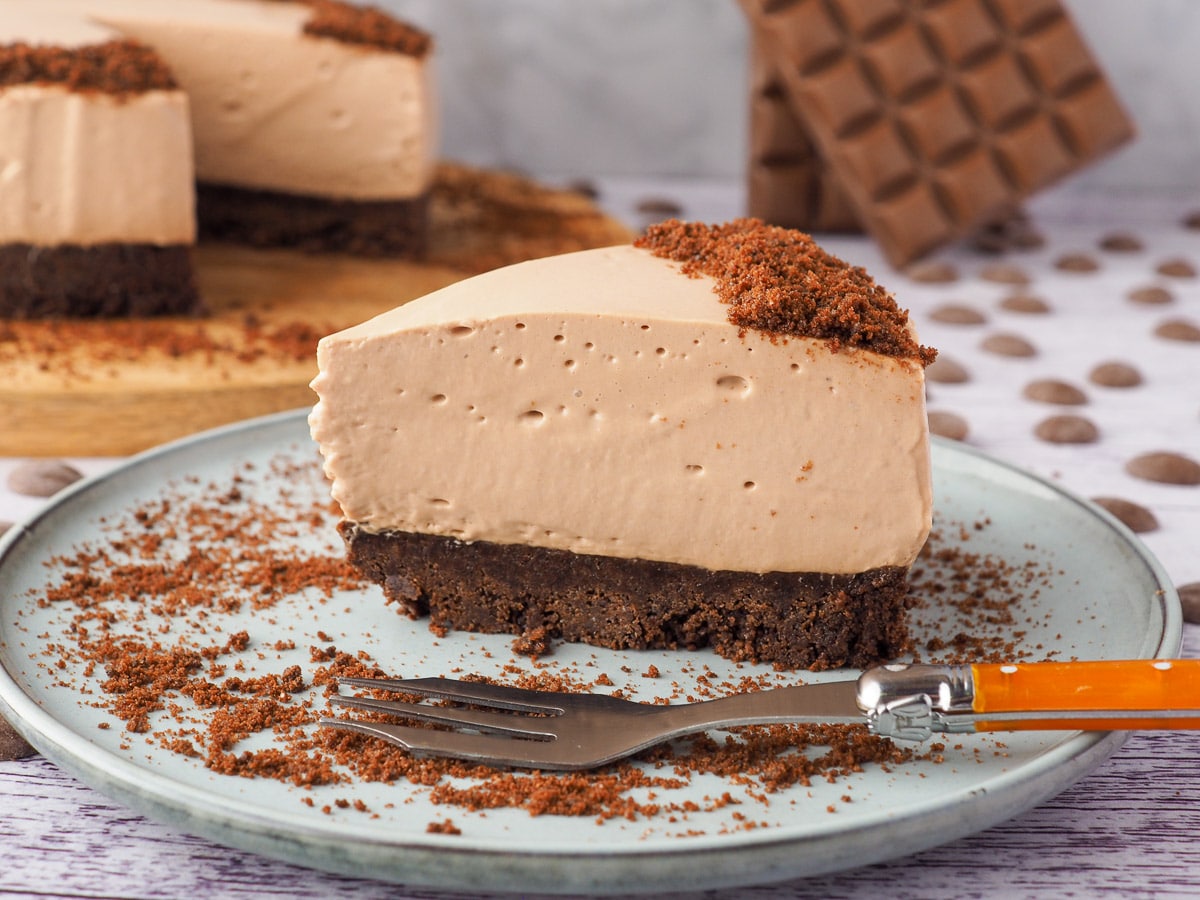
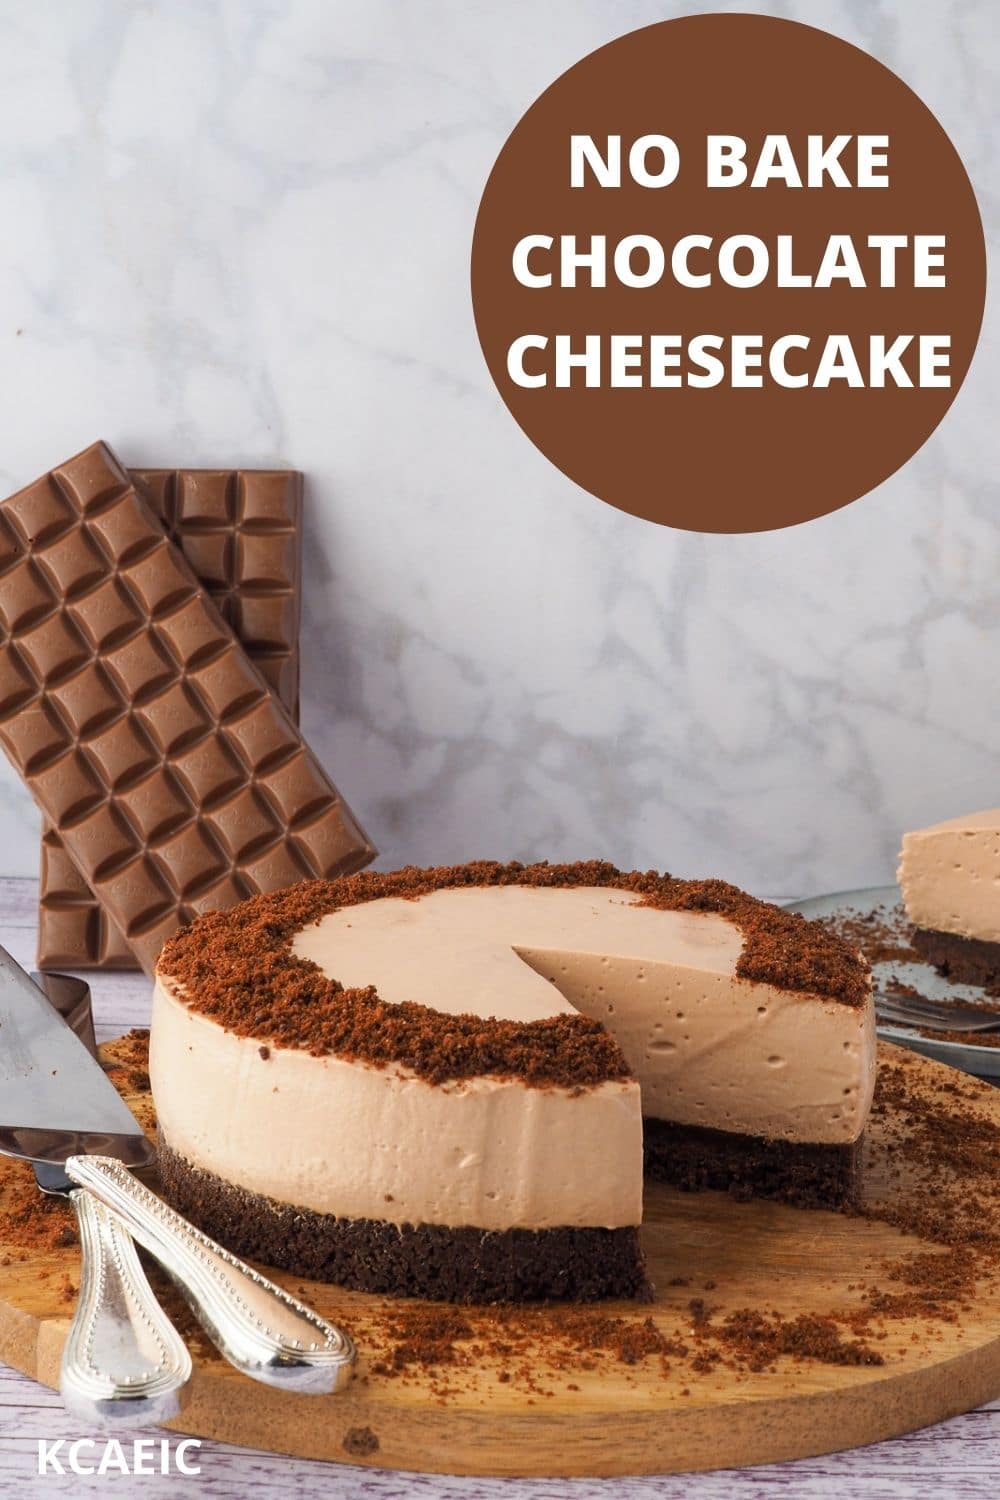
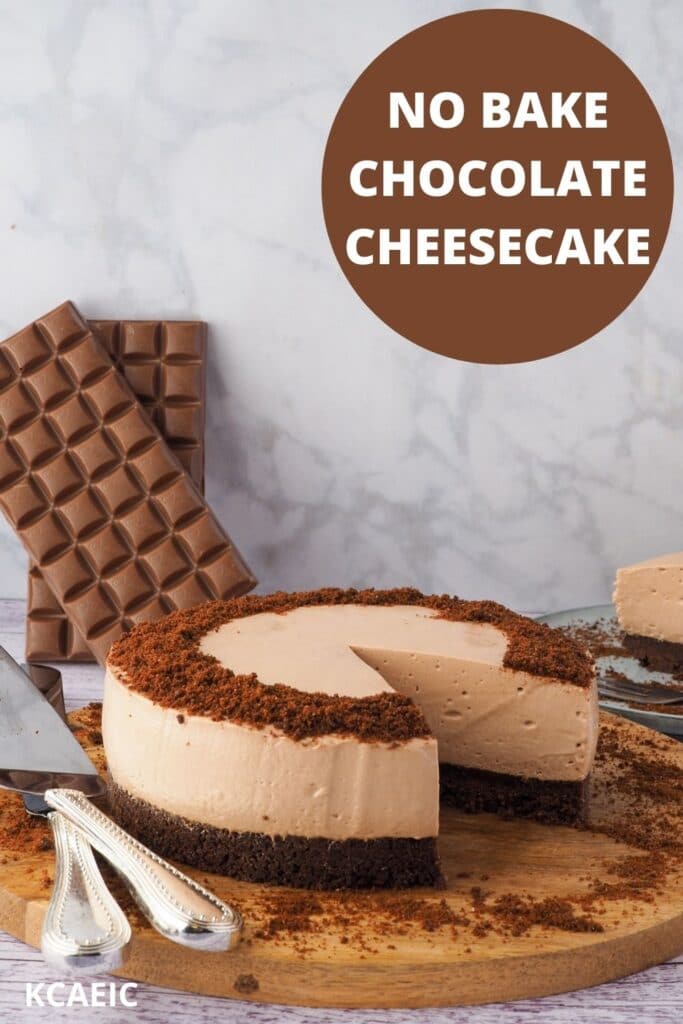
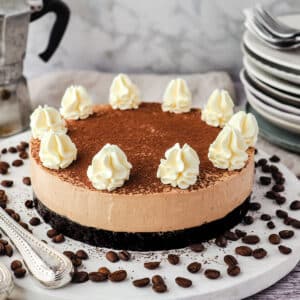
This decadent no bake chocolate cheesecake is full of all the good stuff; buttery chocolate base and creamy chocolate filling topped with a crunchy cookie crumb.
Jump to:
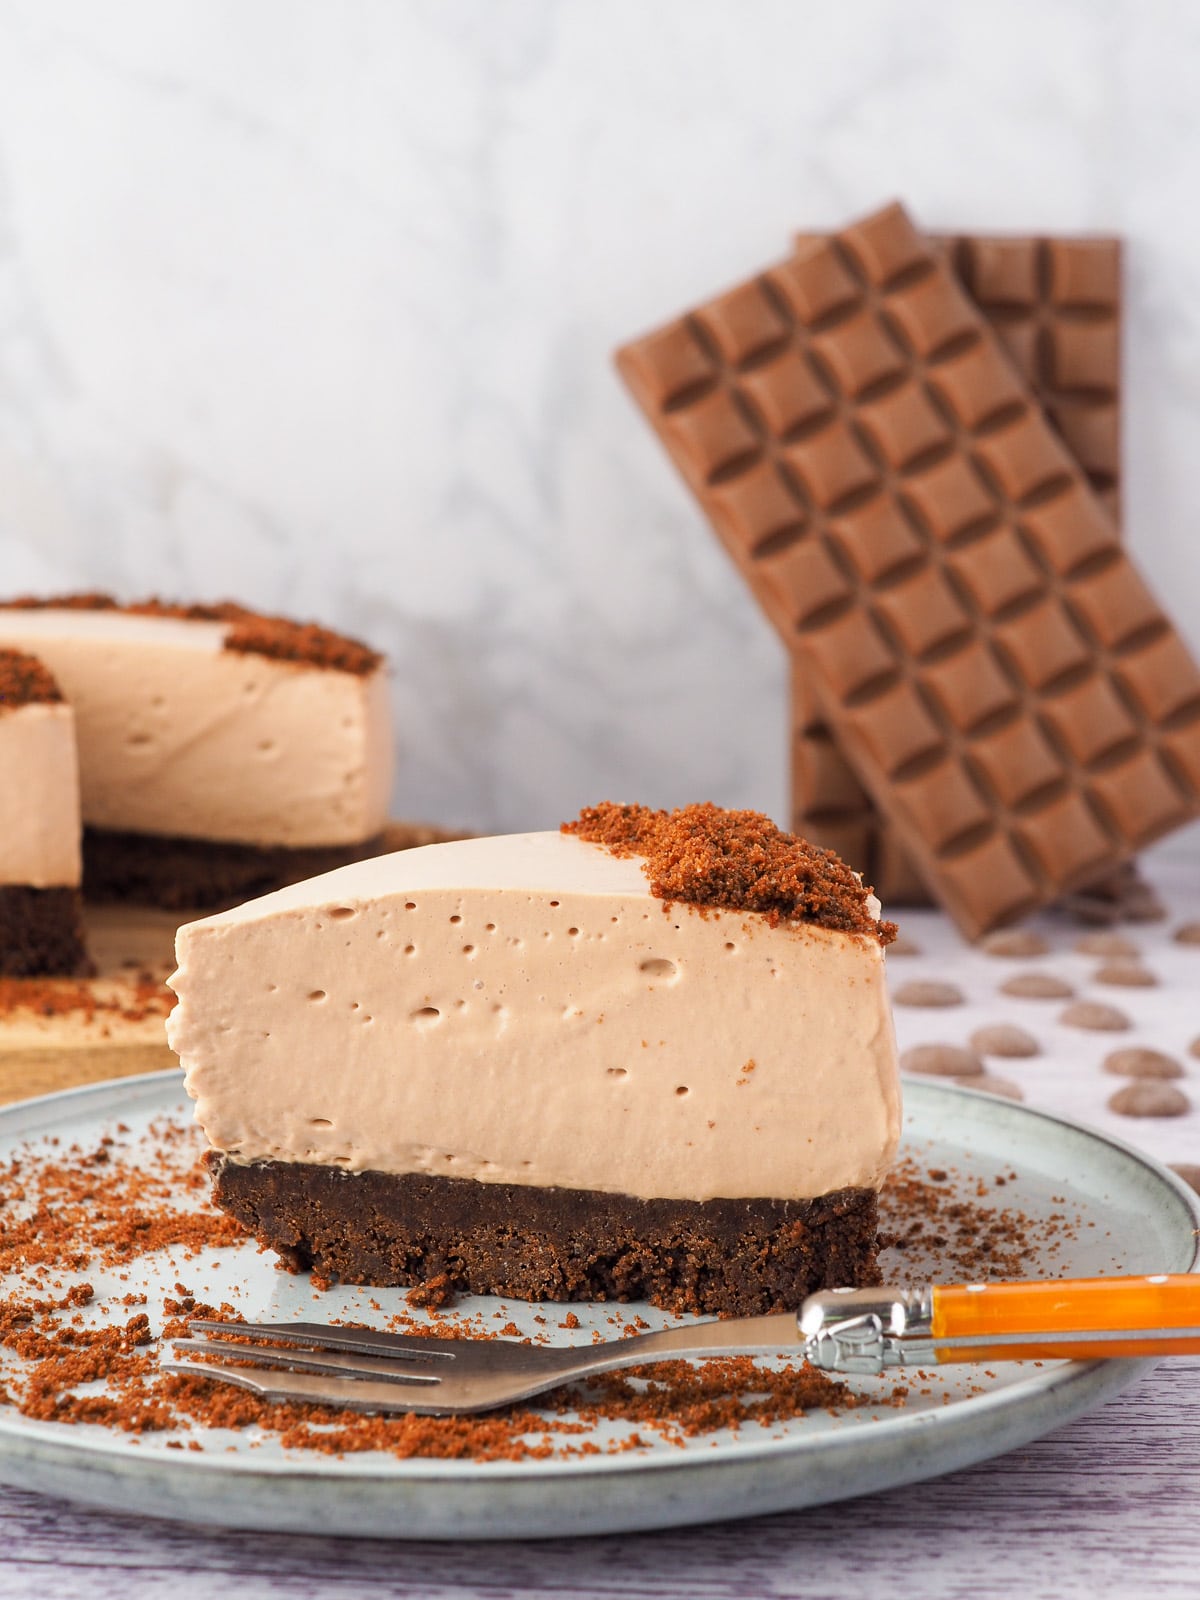
This fabulous chocolate cheesecake is the stuff cheesecake dreams are made of. To start there's a buttery, crushed chocolate cookie base. In the middle is a rich, creamy milk chocolate cheesecake filling. Then the whole thing is topped with a crunchy cookie crumb for texture and extra deliciousness! Put it all together and you have one epic chocolate cheesecake.
Want to step it up a level? This milk chocolate cheesecake goes wonderfully with one of my super easy fruit coulis. My personal favorite raspberry compote but is also amazing with my strawberry compote. Or for a fun summery twist you could try it with my plum compote.
Hungry for more decadent cheesecakes? You'll love my Toblerone cheesecake, chocolate orange cheesecake, epic Carmilk cheesecake (aka caramelized white chocolate cheesecake) or Biscoff Cheesecake. Delicious!
Why is my No-Bake Cheesecake not firm?
There's a couple of reasons your non-bake cheesecake is not firm.
- Have you let it chill in the fridge long enough? No bake cheesecakes usually take at least six to eight hours to chill and firm up, preferably 12 hours or overnight.
- There's too much liquid added. If making a fruit no bake cheesecake you can try cooking down the fruit to reduce the amount of water and concentrate the flavor and/or add something to help firm up the cheesecake, such as gelatin or agar agar.
How do you thicken a no-bake cheesecake?
There are a few different ways to thicken a no-bake cheesecake.
Try one of the following:
- Leave it in the fridge for longer, preferably overnight.
- Add something to the filling to help it set, such as gelatin or agar agar.
- Make sure your cream is whipped into thick peaks before adding it to the cream cheese.
- If all else fails, put it in the freezer for an hour or two until it's firmed up. You will lose some of the light texture this way but it will otherwise help save a cheesecake that's already made and runny.
Ingredients
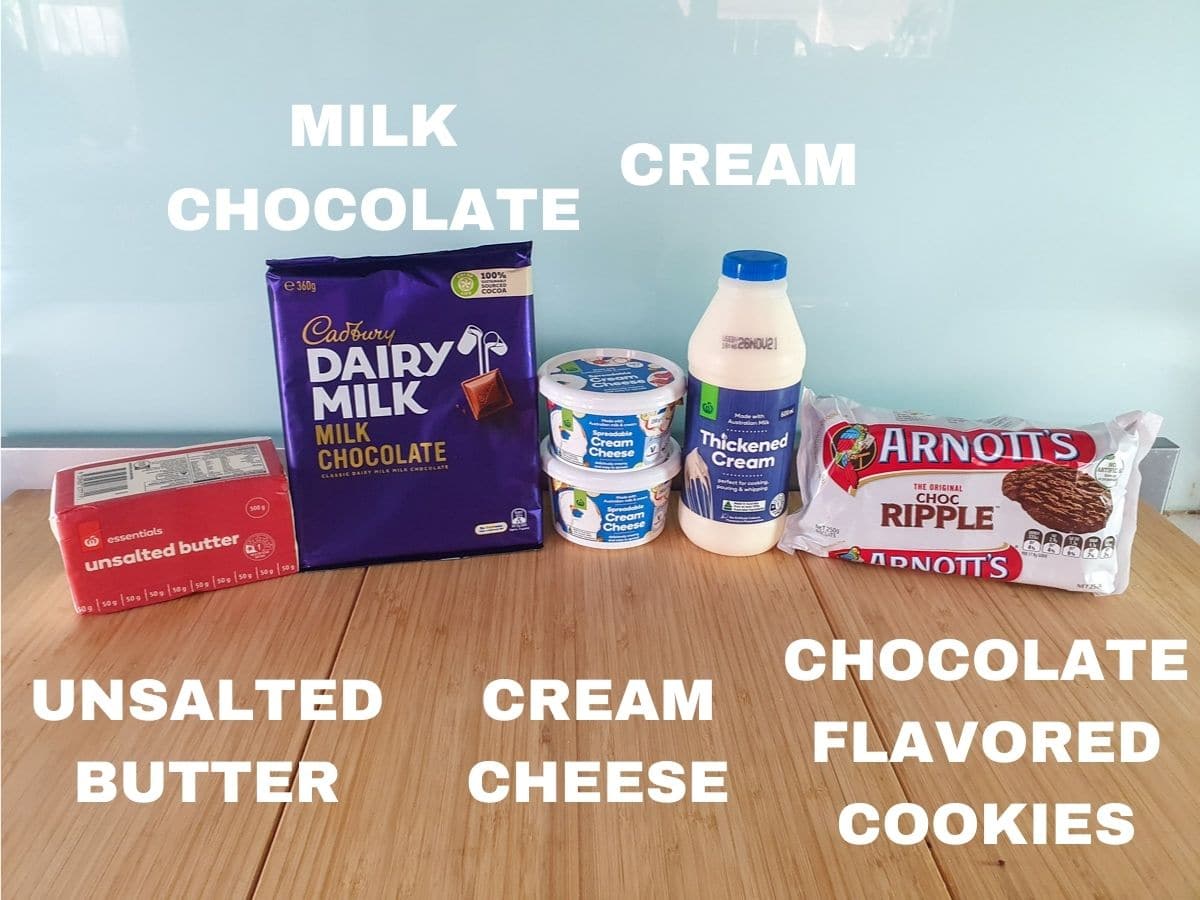
Milk chocolate: a good quality milk chocolate works best in this recipe. I've tried it with a mix of dark chocolate and milk chocolate but I found the dark chocolate gave the cheesecake to much of a bitter note. The milk chocolate adds enough chocolate flavor and sugars, so there's not need for any extra sugar.
Chocolate flavored cookies: adds an extra chocolate element to this chocolate cheesecake. In Australia I use chocolate ripple cookies. You could also use Oreo crumbs or if you can't get hold of them regular Oreos with the filling scraped out. Or if you want to go the whole hog on homemade you could try making a batch of my homemade Oreos without the filling.
Too much chocolate (never!)? You can replace the chocolate-flavored cookies with graham cracker crumbs or digestive biscuits for a more regular no-bake cheesecake base to tone down the chocolate, but that's crazy talk!
Cream cheese: full fat cream cheese is best for this recipe for that classic creamy cheesecake taste. If you use light cream cheese it may not set properly.
Cream: I use thickened cream which has a fat content of about 34%. You could also use heavy cream or heavy whipping cream which is similar.
Lemons: a dash of lemon juice helps balance the sweetness of the milk chocolate. Fresh is best, I don't recommend bottled lemon juice.
Butter: because butter makes most things taste better. In this recipe it binds and sets the base.
How to make no bake chocolate cheesecake
To make the base:
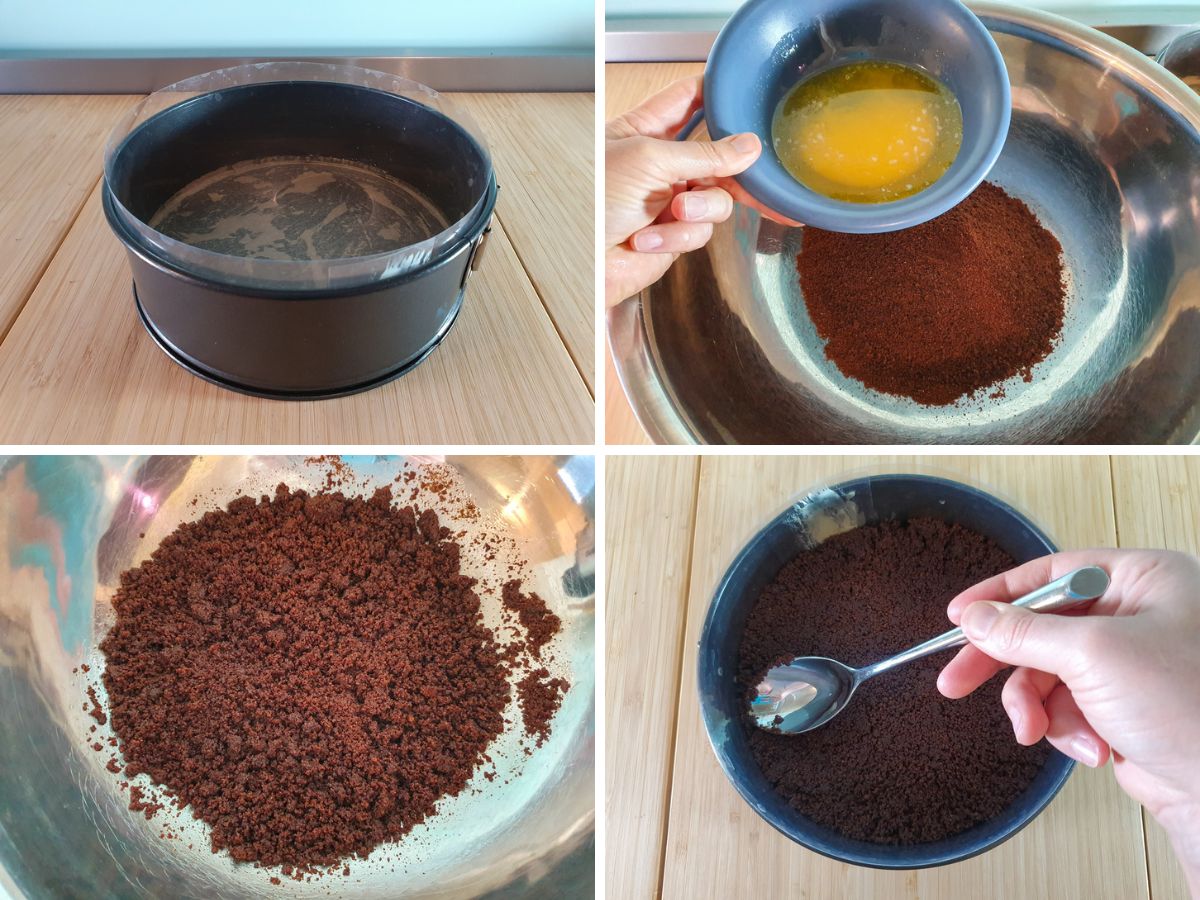
Grease and line your springform cheesecake pan. Break the chocolate cookies up and blitz them into crumbs in a food processor. If you don't have a food processor you can put them into a plastic bag on a chopping board, cover with a tea towel and bash (carefully) with a rolling pin, or even the base of a small pot.
Melt the butter in a microwave or in a pot on the stove. Add the butter to the crumbs and mix well. Tip into the line cake tin. Press down with the back of a spoon and chill for at least one hour, and up to twenty-four hours before filling. You want to press down firmly enough for the base to hold together but not To firmly to your base will be too hard.
Hot tip: do not skip chilling the base. If it's to hot when you add the filling it can make the filing weep, resulting in a soggy cheesecake base. If you are pressed for time on the day you can make the base the day before and store it in the fridge.
To make the filling
Chop the chocolate for the cheesecake filling into small pieces. Put in a microwave-proof bowl, preferably glass or ceramic and melt in the microwave in thirty seconds to one-minute bursts until melted. Stir and allow to cool but not set.
Whip the cream until firm peaks form.
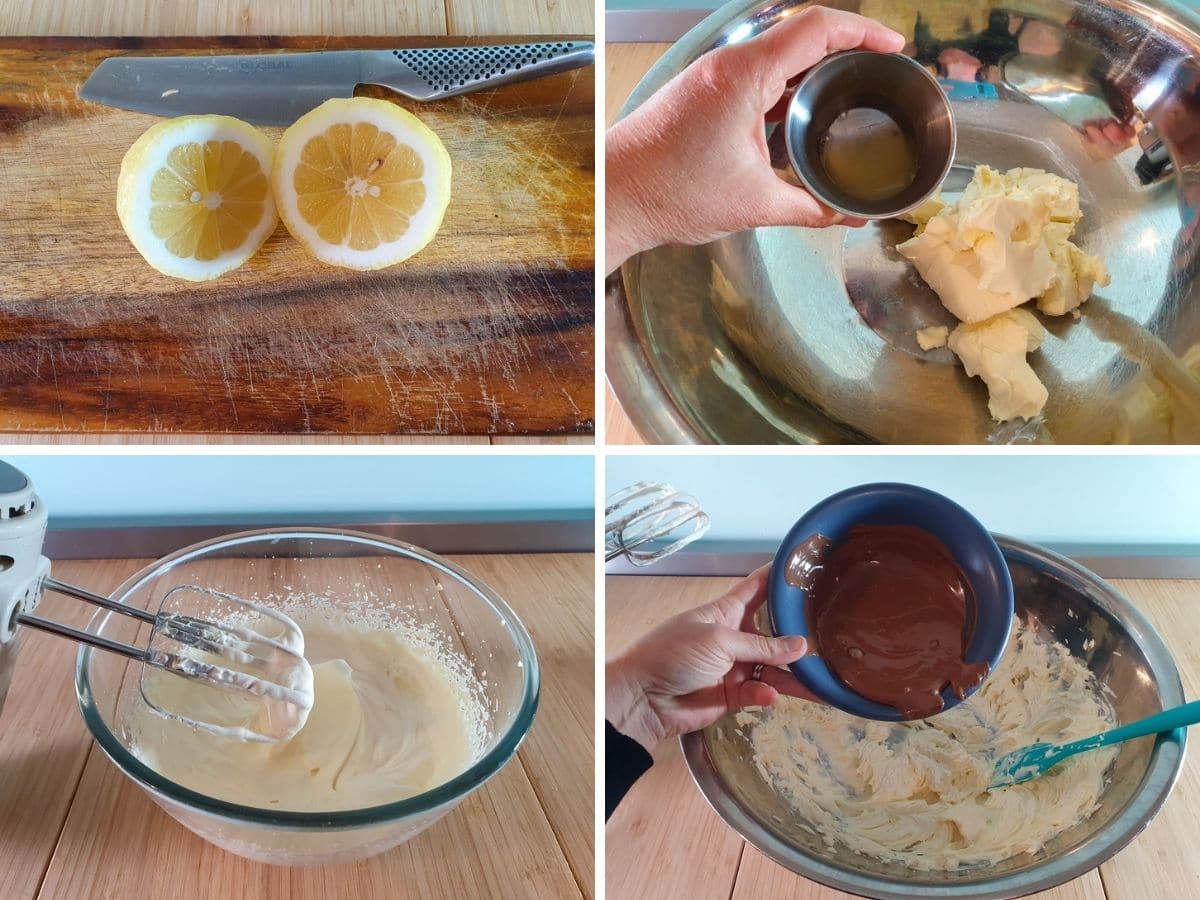
In a separate bowl add the lemon juice to the room temperature cream cheese and beat until combined. Add the cooled melted chocolate and beat in.
Hot tip: Make sure your cream cheese is at room temperature. This can take anywhere from thirty minutes to one hour depending on where you live. If your cream cheese is too cold it won't mix in properly and is one of the main causes of lumpy or grainy cheesecake.
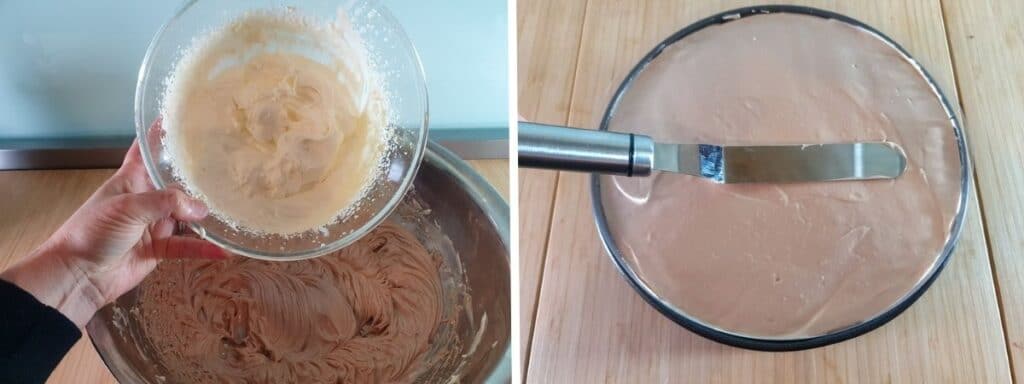
Fold the whipped cream into the cream cheese mix until well combined. Pour the cheesecake filling onto the prepared base and smooth down. The filling will be quite thick, so take are to smooth it down right to the edges and try to press out any bubbles in the mix. Chill in the fridge for at least six to eight hours, preferably overnight.
How to serve
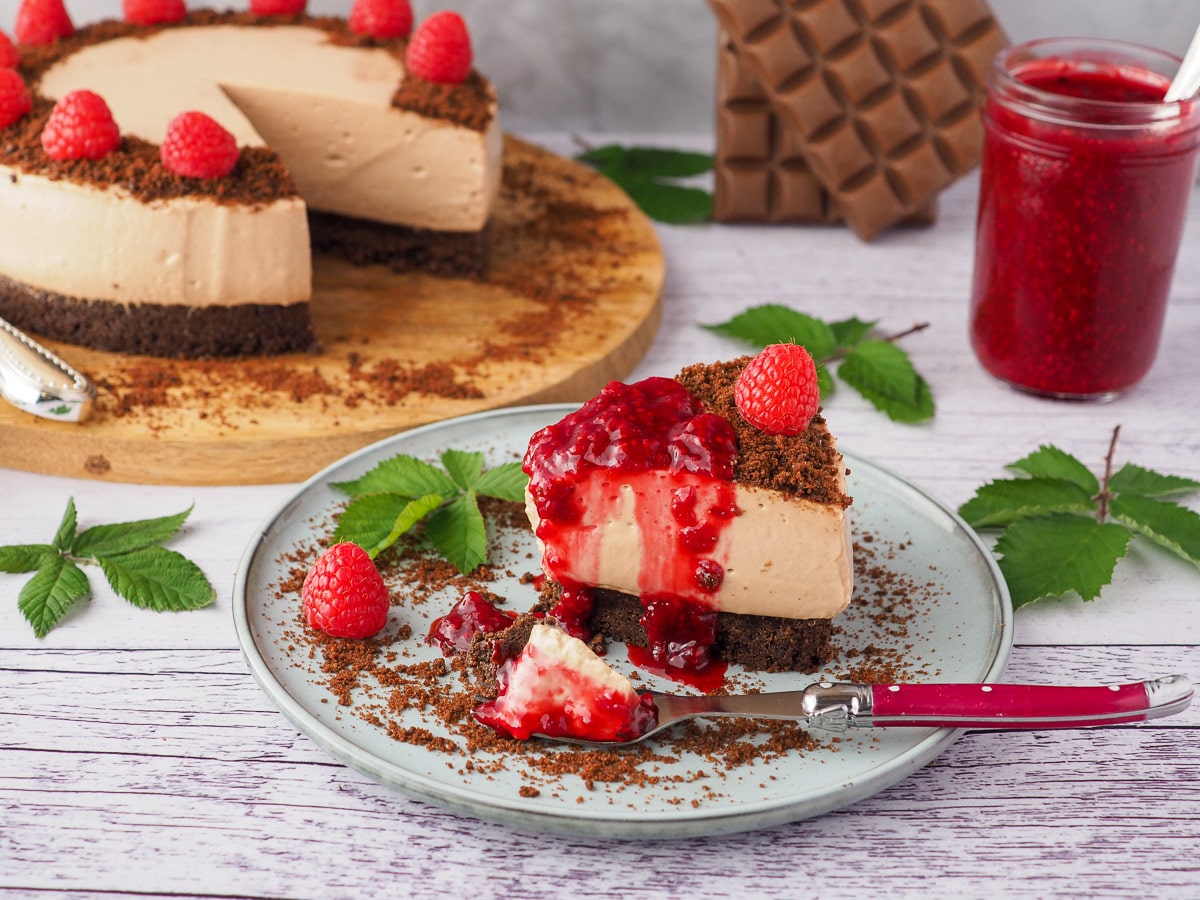
To serve pop onto a plate, slice and enjoy! To get a smooth slice you can dip a large sharp knife in hot water, dry it quickly then carefully slice the cake. It goes without saying the knife will be Hot. You may need to put a tea towel over the end to avoid burning your fingers on the hot metal. Perfect garnished with luscious fresh berries and drizzled with some of my fabulous raspberry compote or strawberry compote. Delicious!
Hot tip: I have kept this a gelatine-free cheesecake to keep it vegetarian-friendly. The milk chocolate should be enough to set the cheesecake, however on particularly hot and humid days the center can wilt a bit when sliced. It will still taste delicious but if is a hot and humid day I recommend taking it out of the fridge and slicing and serving straight away to prevent slumping!
How to store
This cheesecake will store well in the fridge for up to three days, preferably in a covered container.
Have you made this recipe? Tell me how it went in the comments below and tag me on instagram so I can see your delicious creations! @keep_calm_and_eat_icecream
Looking for more yummy dessert recipes?
Why not try making
- Toblerone Cheesecake
- Chocolate Orange Cheesecake
- Caramilk Cheesecake (caramalized white chocoalte)
- Biscoff Cheesecake
- Aero Mint Cheesecake
Follow me on Facebook or Pinterest for many more delicious recipes.
📋 Recipe
No Bake Chocolate Cheesecake
Equipment
- Spring form cake tin, 7" x 2.5" (18cm x 6.5cm)
- Electric hand beaters or stand mixer
- Stick/immersion blender with chopping bowl attachment or food processor
Ingredients
Cheesecake Base
- 2 & ⅓ cups (250gms) chocolate flavored cookies
- 1 stick/ ½ cup (115gms) unsalted butter
Cheesecake Filling
- 1 block (180gms) milk chocolate
- 1 cup (250mls) thickened cream
- 2 x 8 ounce tubs (450gms total) full fat cream cheese
- ½ tablespoon fresh lemon juice
Cheesecake topping (optional)
- 3 chocolate flavored cookies, crushed
Instructions
Cheesecake base
- Line the base and sides of a springform tin with baking paper.
- Break up the cookies and blitz briefly in a food processor into crumbs.
- Melt the butter by cubing, adding to a microwave proof bowl and microwave for a minute or two.
- Pour the melted butter into the biscuits crumbs and mix until it resembles fine bread crumbs.
- Pour into lined spring form tin and press down at the bottom to form the base. Do not press to firmly or your base may become to hard.
- Chill in fridge for at least one hour and up to overnight.
Cheesecake filling
- Chop the chocolate for the cheesecake filling into small pieces. Put in a microwave proof bowl, preferable glass or ceramic and melt in the microwave in thirty second to one minute bursts until melted. Stir and allow to cool but not set.
- Whip the cream untill soft peaks form.
- In a seperate bowl add the lemon juice to the room temperature cream cheese and beat until combined. Add the cooled melted chocolate to the cream cheese mix and beat in.
- Fold the whipped cream into the cream cheese mix until well mixed in.
- Tip the cheesecake filling onto the prepared base, taking care to press down the filling into the edges as you go to smooth down any bubbles. Chill in the fridge for at least six to eight hours, preferably overnight.
To decorate
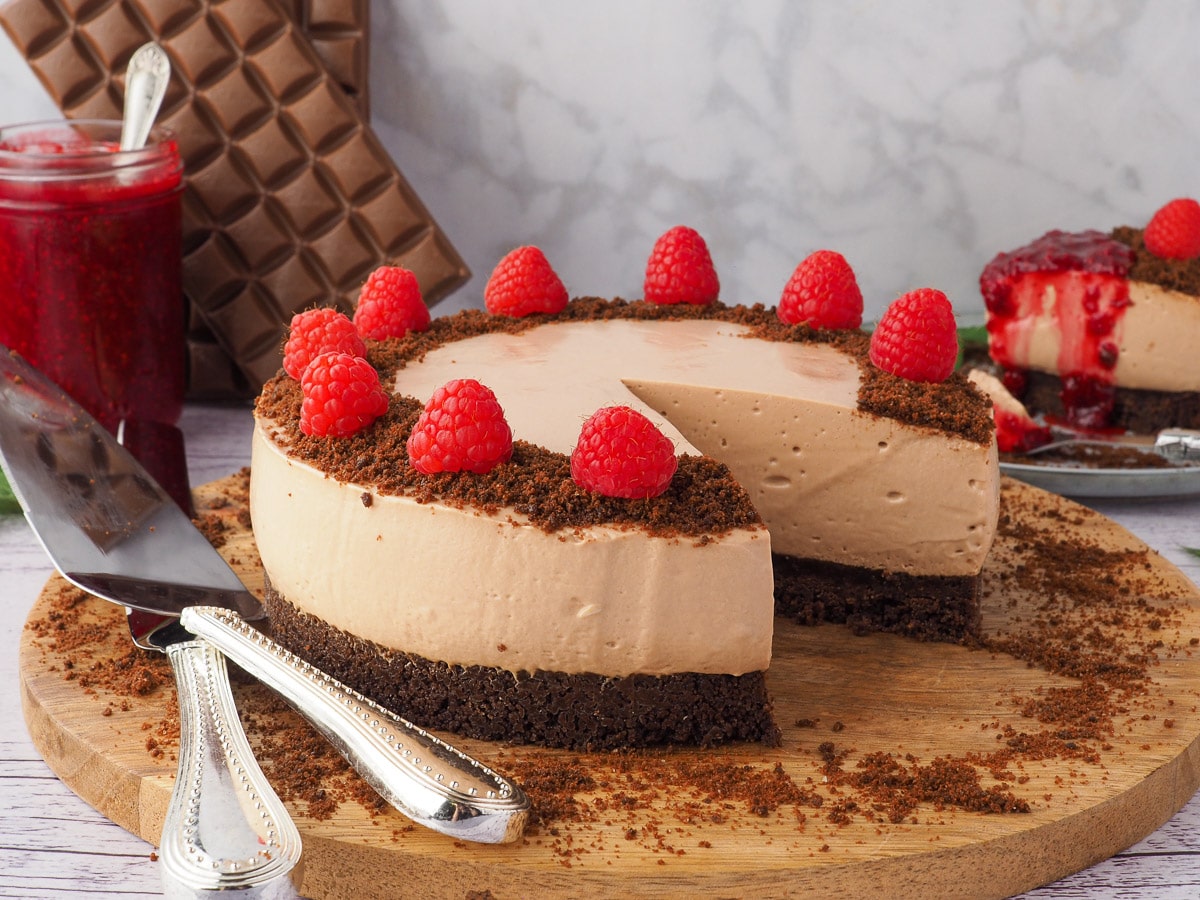
- Break up a couple of extra cookies into pieces. Blitz in a food processor until fine crumbs form. Sprinkle around the edge of the cheesecake and you're done! Fabulious on its own, or with some fresh raspberries and some of my raspberry compote spooned over the top. Delicious!
Notes
Nutrition
Nutritional Disclaimer
Nutritional information is an estimate based on an online database. The nutritional content of ingredients may vary by brand. If you require accurate nutritional information, you should calculate this based on the specific brands and products you are using.
Join the community!
Like Keep Calm and Eat Ice Cream on Facebook for more great recipes
Pin it for later!



Sylvie
Such an easy recipe for a cheesecake that looks impressive and tastes delicious! Perfect for the holidays too 🙂
Monika
The one cup of thickened cream that you call for - is that one cup BEFORE whipping or after?
Sarah Brooks
Hi Monika, sorry I've only just seen your question. That is one cup of thickened cream Before whipping. It will increase in volume as you whip it. Have a lovely Christmas 🙂