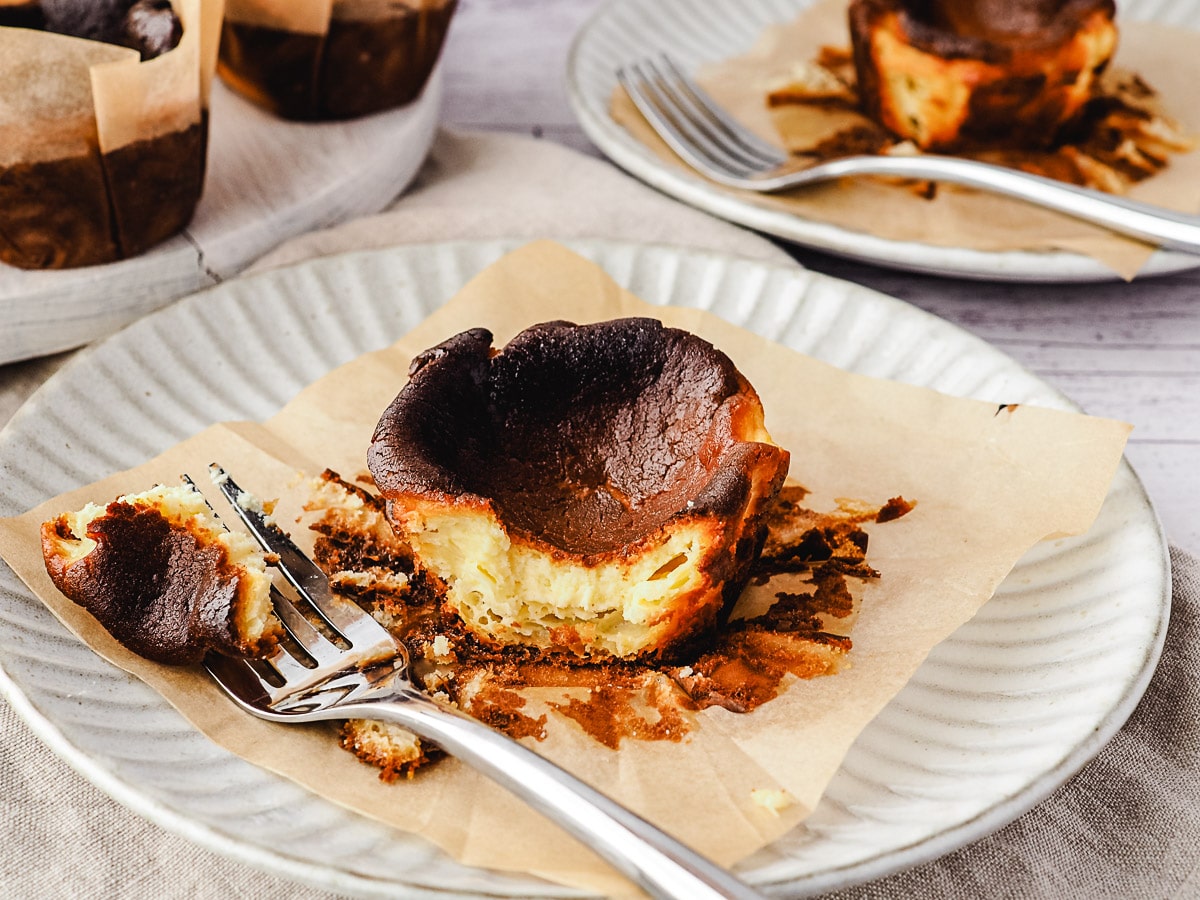
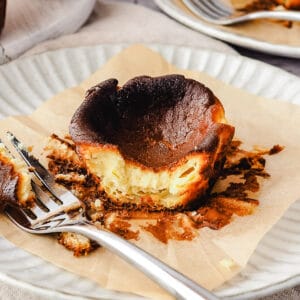
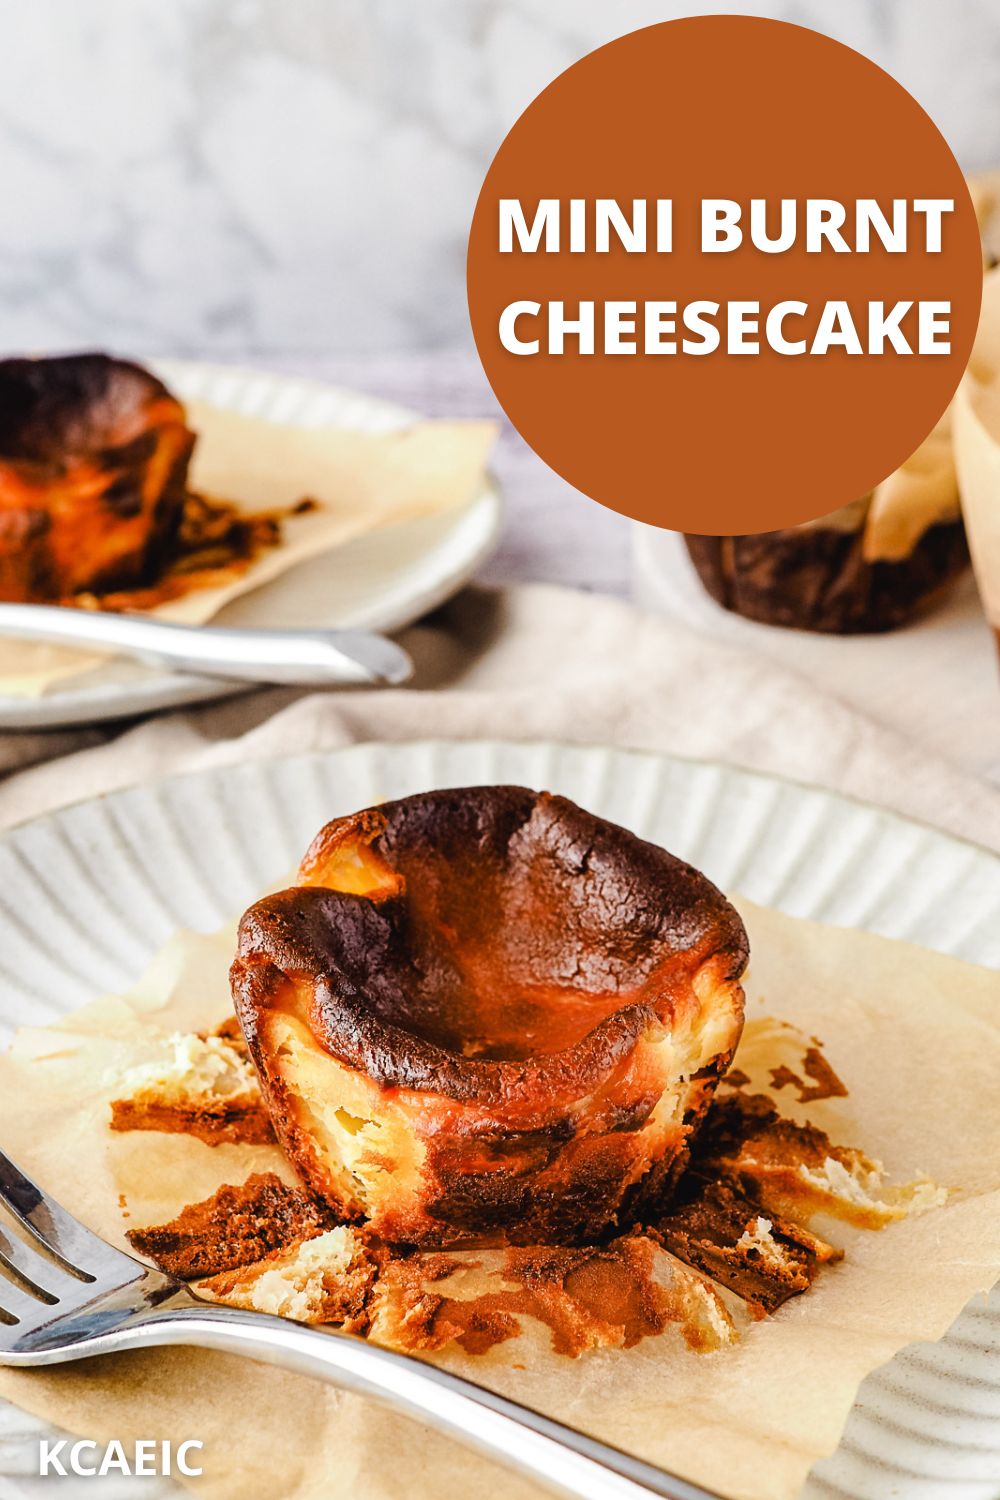
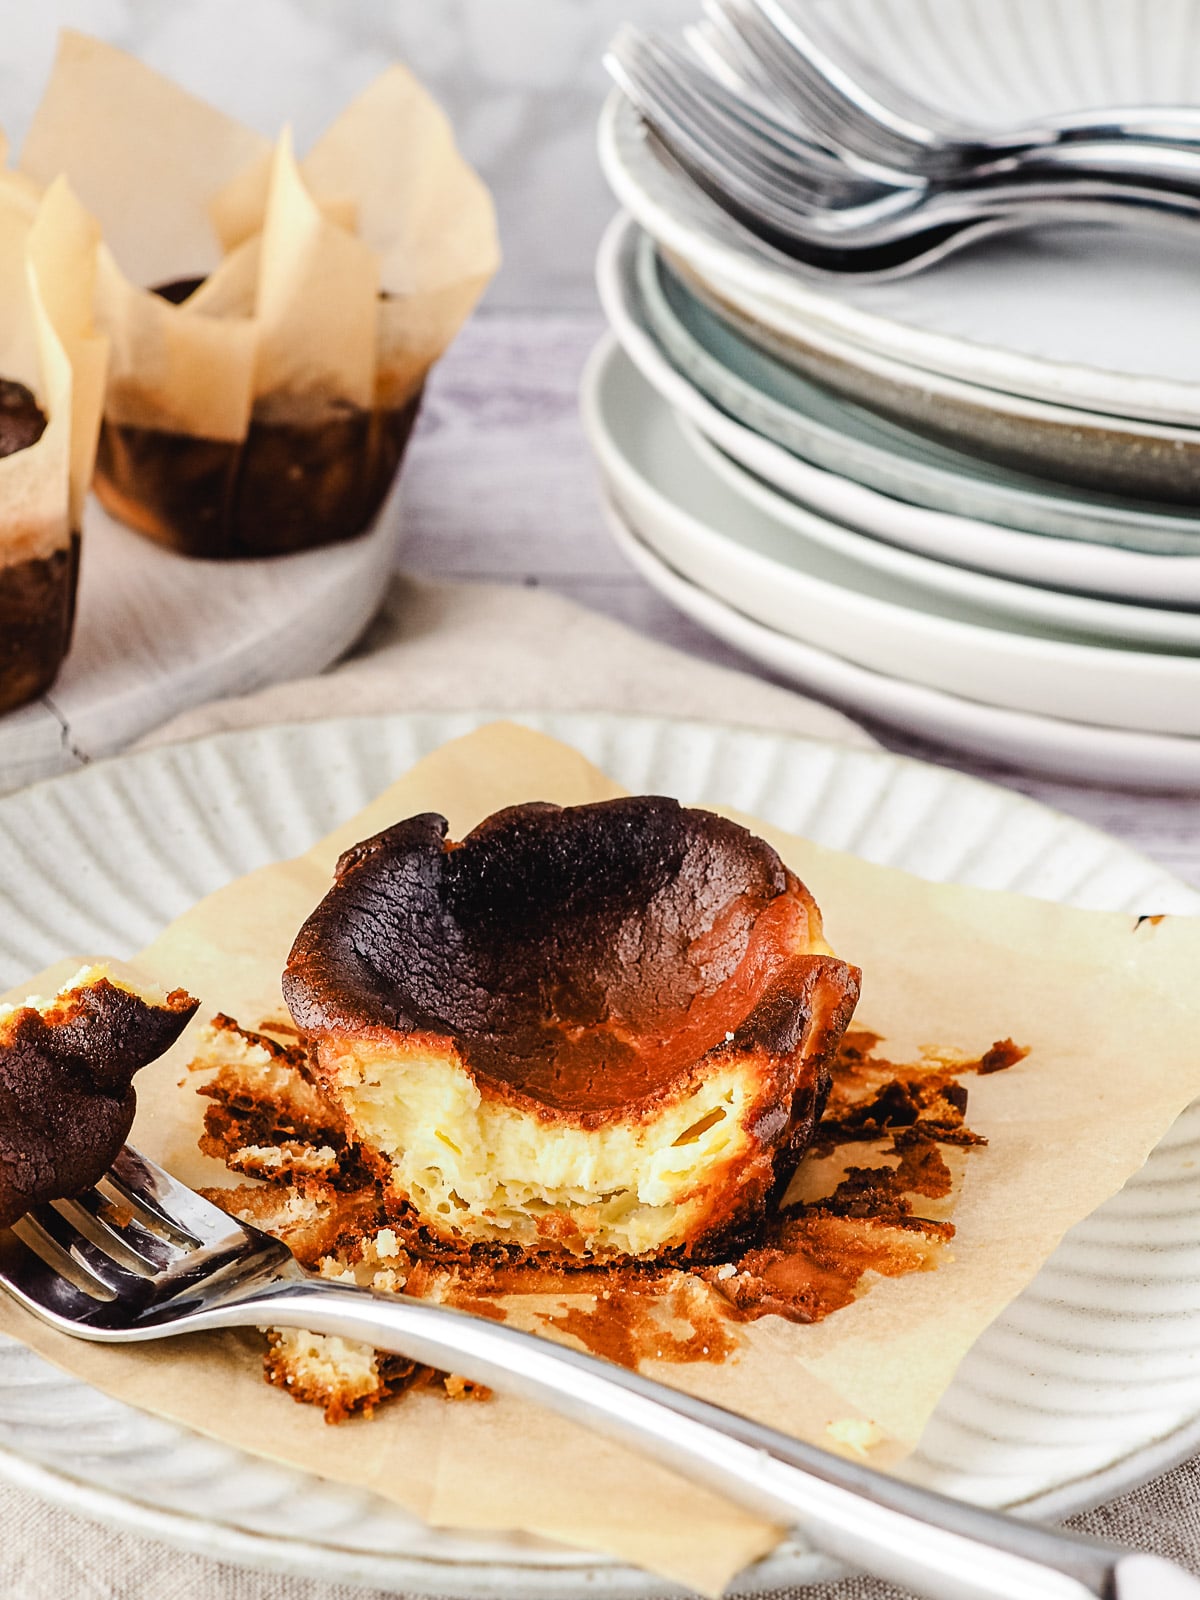
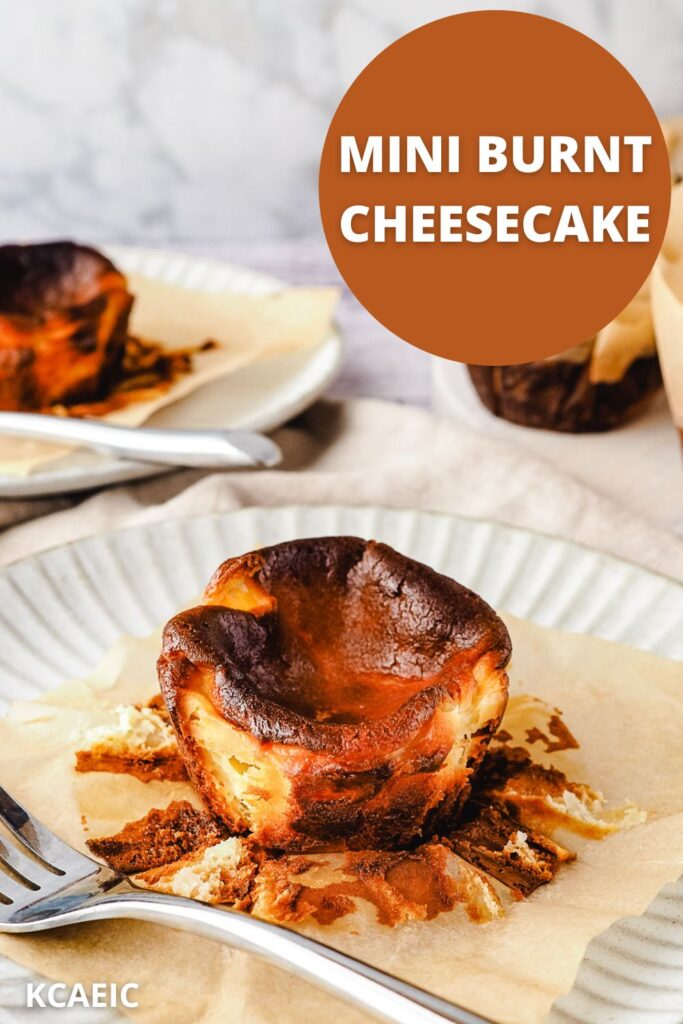
These easy mini burnt cheesecakes or mini basque cheesecakes are just like your favorite burnt cheesecake but in super cute individual serves.
Jump to:
Love burnt cheesecake but looking for a smaller version that's easier to serve? These mini basque burnt cheesecakes are the answer. With all the things you love about San Sebastian cheesecake - dark gnarly edges, cavernous creators and light creamy centers.
Recipe tips and frequently asked questions
What's the difference between Basque cheesecake and normal cheesecake?
Normally baked cheesecakes are known for their smooth-surfaced, light-colored, dense creamy filling and usually a cookie base. They are baked at low temperatures in a water bath and then cooled to ensure even cooking and that smooth unblemished surface. They have a reputation for being somewhat temperamental and prone to cracking.
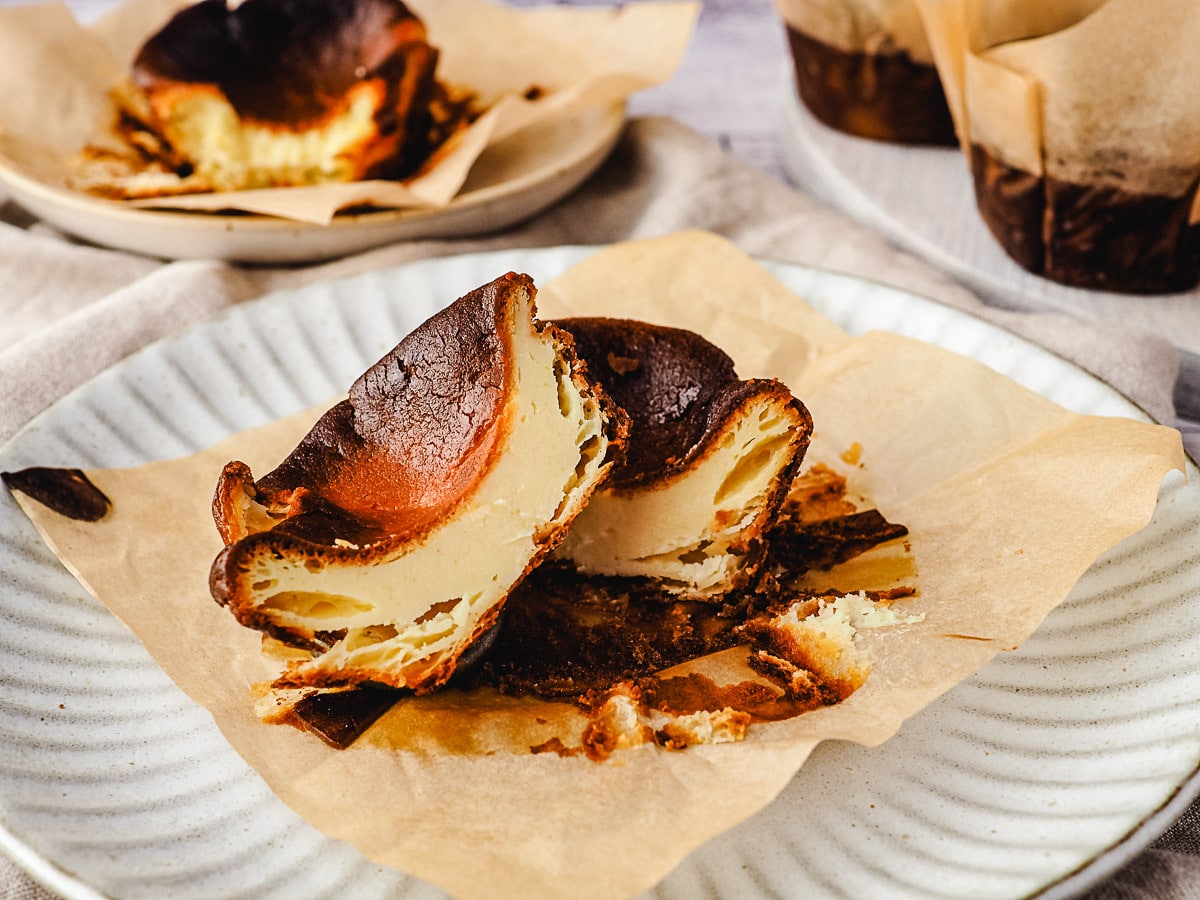
Basque cheesecake is none of these things. It's dark and it's pockmarked and it's wrinkly and it's imperfect. It's traditionally cooked in a tin that's roughly lined with baking paper, giving it rough rustic edges.
The light, creamy filling is baked at high temperatures forming a natural caramelized crust on the outside and giving it the 'burnt' look. The filling rises up immensely when baked, then falls back down to form a deliberate creator in the center. It is the antithesis of a perfectly baked normal cheesecake and is fabulously perfect in all its imperfections.
Why is my Basque cheesecake not burnt?
A couple of reasons. It was not baked for long enough, or in a hot enough oven. The amount of burntness is really a personal preference, from a light caramel color to a deep brown, verging on black color. I like to take my burnt cheesecake to right to the edge of being actually burnt as I find this gives the best flavor.
Ingredients
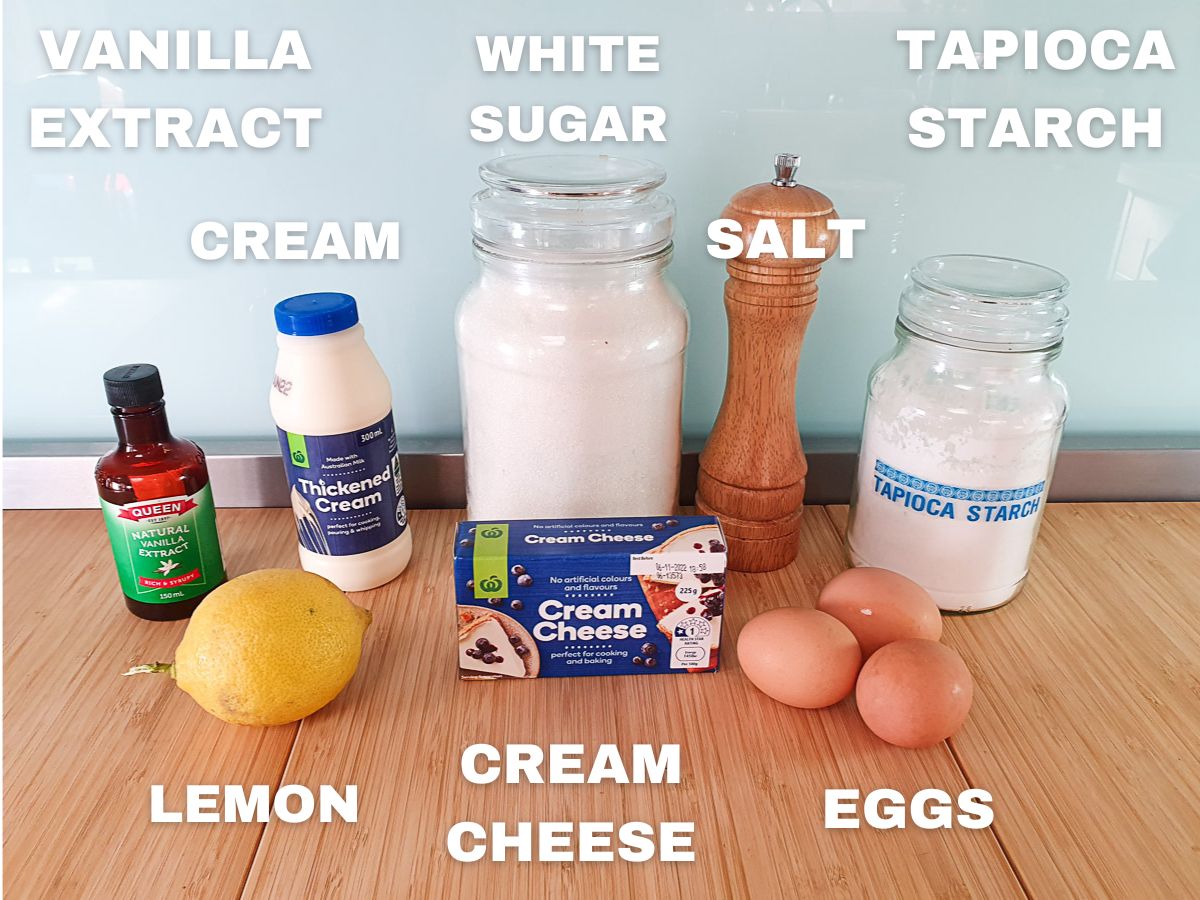
Cream cheese: full fat cream cheese is best for this recipe for that classic creamy cheesecake taste. If you use light cream cheese it may not set
Cream: I use thickened cream which has a fat content of about 34%. You could also use heavy cream or heavy whipping cream which is similar.
Eggs: I use large eggs in this recipe, approx. 55 gms each with shells before cracking.
White sugar: I've kept things clean and simple with white sugar. But you could absolutely experiment with other sugars such as turbinado (raw) sugar or brown sugar. Just make sure they are full dissolved in the cheesecake batter.
Tapioca starch: a small swap from the usual all purpose flour keeps this a gluten free cheesecake. The flour helps the cheesecake set. If you can't get tapioca starch you can use arrowroot powder or cornflour in the same volume.
Optional:
These ingredients are not in the original burnt cheesecakes but I find they give a better overall flavor.
Vanilla extract: sometimes also called vanilla essence, depending on where you live. You can use either, or imitation vanilla essence, depending on your preference and budget.
Lemons: a dash of lemon juice and lemon zest helps balance the sweetness of the cheesecake. You could try this with other citruses such as lime or orange.
How to make mini burnt cheesecake
See the full recipe card at the end of the post for ingredient amounts and instructions.
Hot tip: these cheesecakes rise a Lot then fall back down. Make sure you have sufficient room in your oven Before trying to put in your cheesecakes to bake. I recommend checking and re-arranging your oven trays before pre-heating your oven.
Preheat your oven to 440°F (225°C/205°C fan-forced). Line your muffin tins with large squares of baking paper. Put a small dab of butter at the bottom to help the paper stick. Push the folds on the edges so they are nice and smooth.
Hot tip: Make sure your cream cheese is at room temperature. This can take anywhere from thirty minutes to one hour depending on where you live. If your cream cheese is too cold it won't mix in properly and is one of the main causes of lumpy or grainy cheesecake.
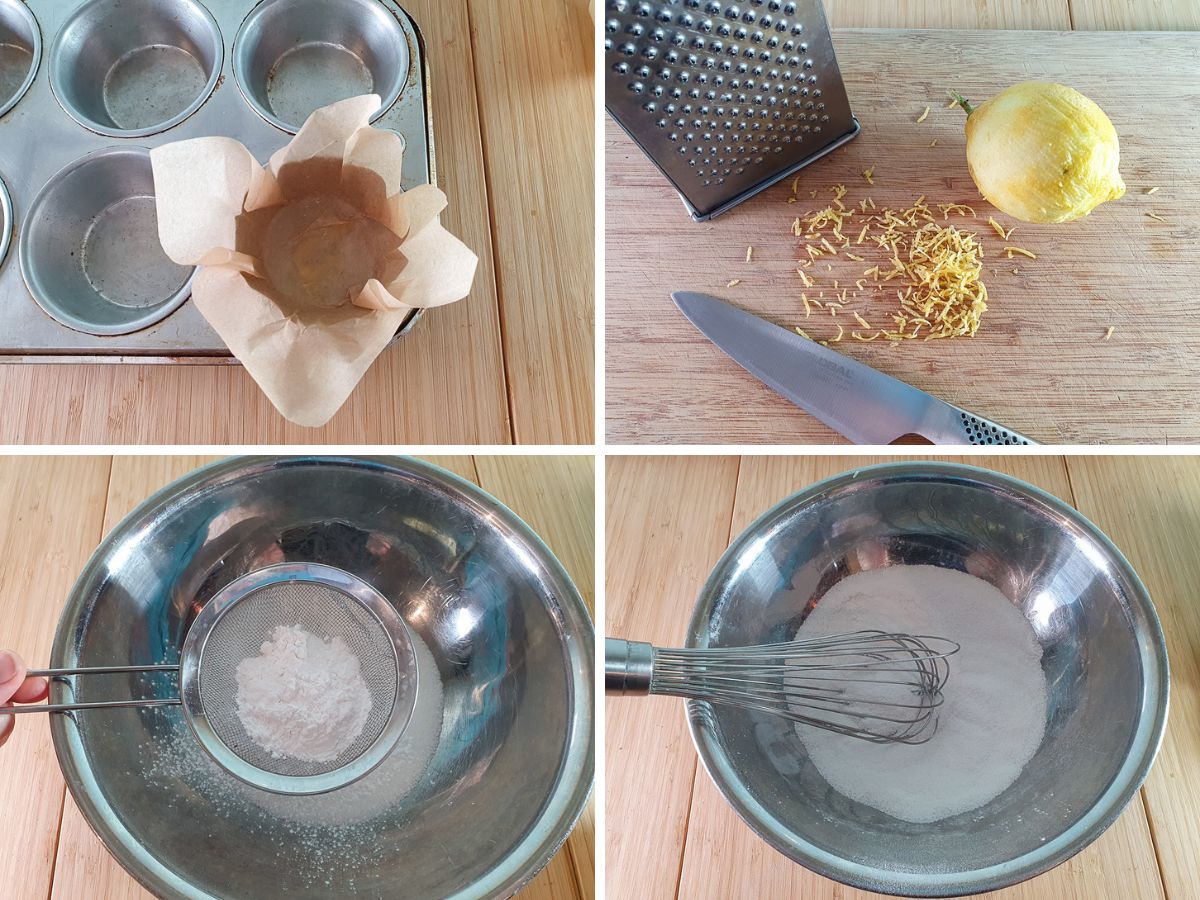
Zest and juice the lemon. Finely chop the lemon zest. Sift the tapioca starch into the sugar and mix well. Beat the cream cheese, sugar and tapioca starch together on low until smooth and the sugar is dissolved. Add the eggs one at a time, mixing well between each egg.
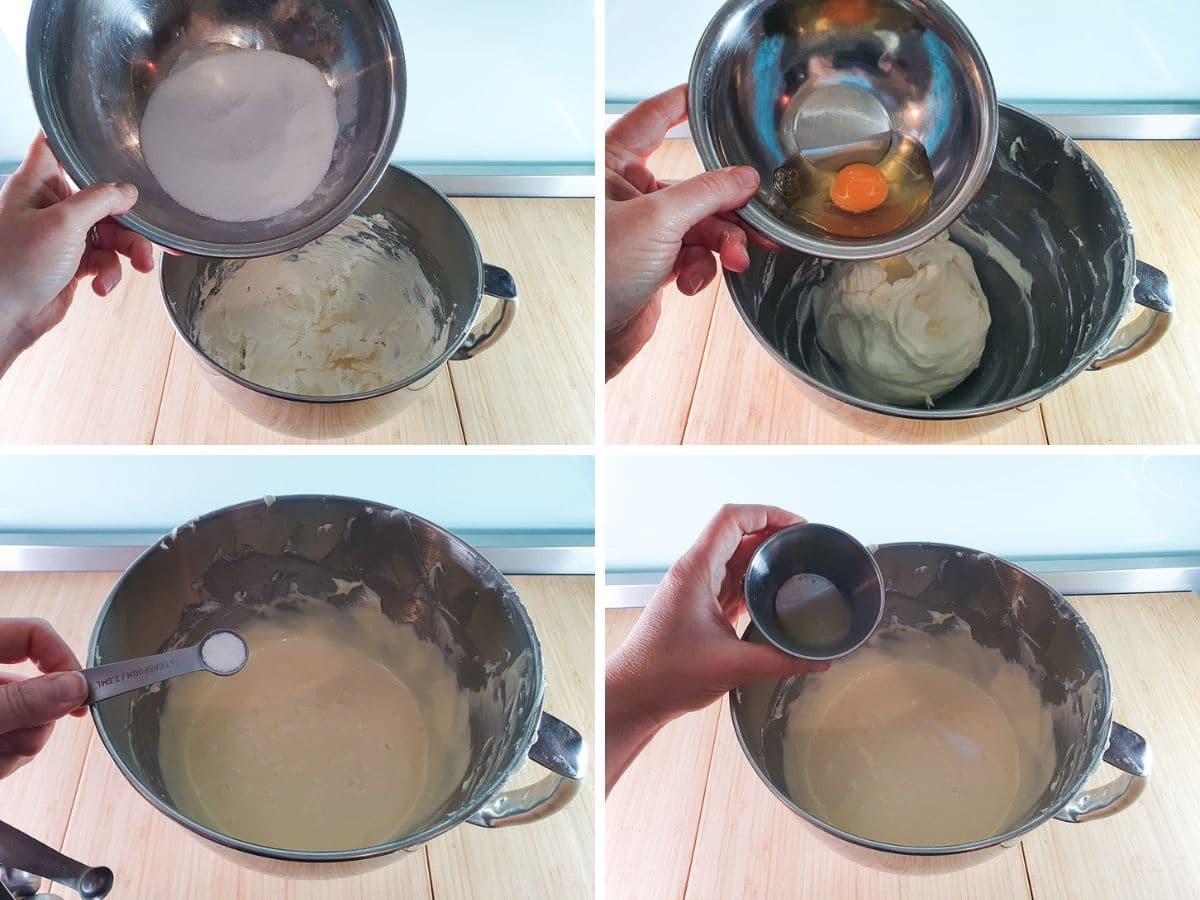
Add the cream, salt, vanilla, lemon juice and beat until very smooth.
Pour into lined muffin tins. Make for approx. 40 to 45 mins or until cheesecakes are golden to deep dark brown on the top and sides. They will have a sunken, creator like look, this is normal.
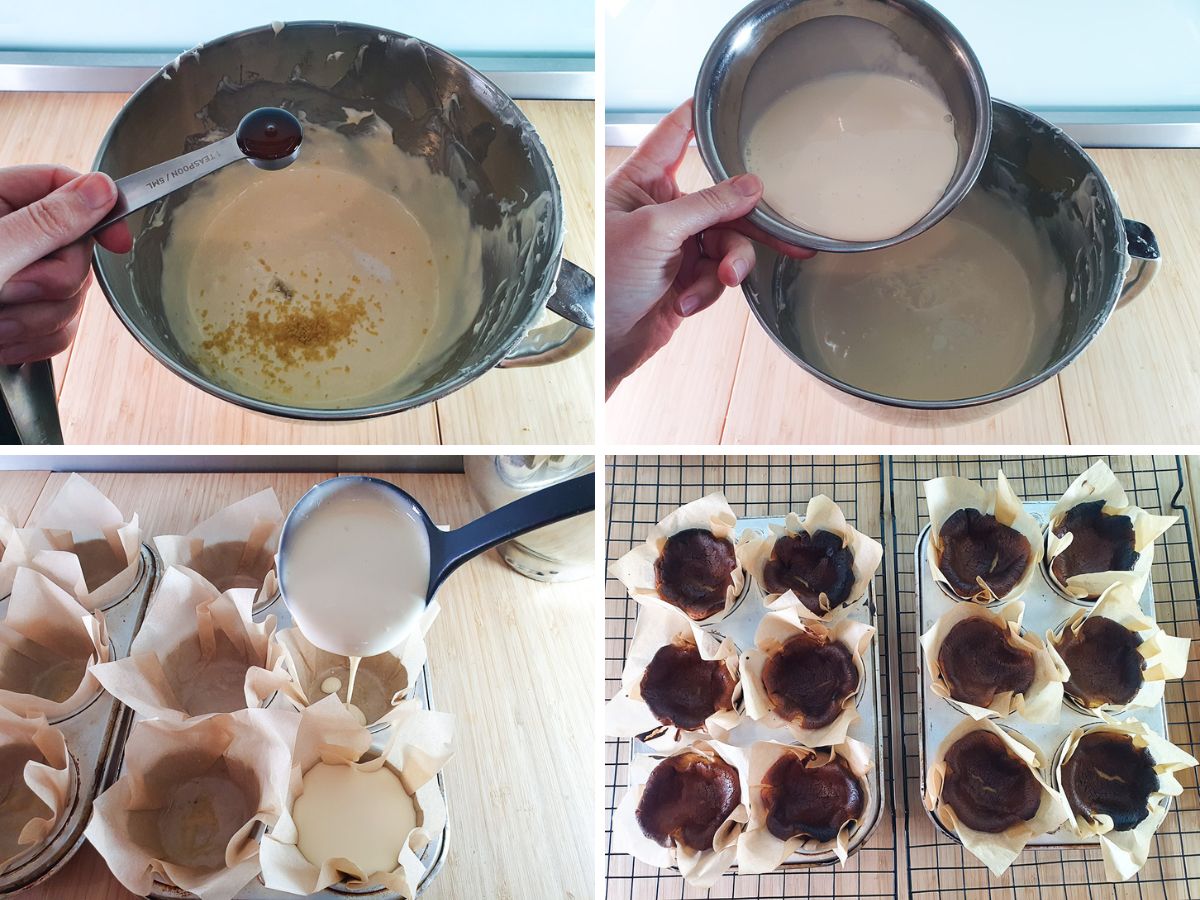
Remove from oven and allow cool completely to room temperature before serving.
How to serve
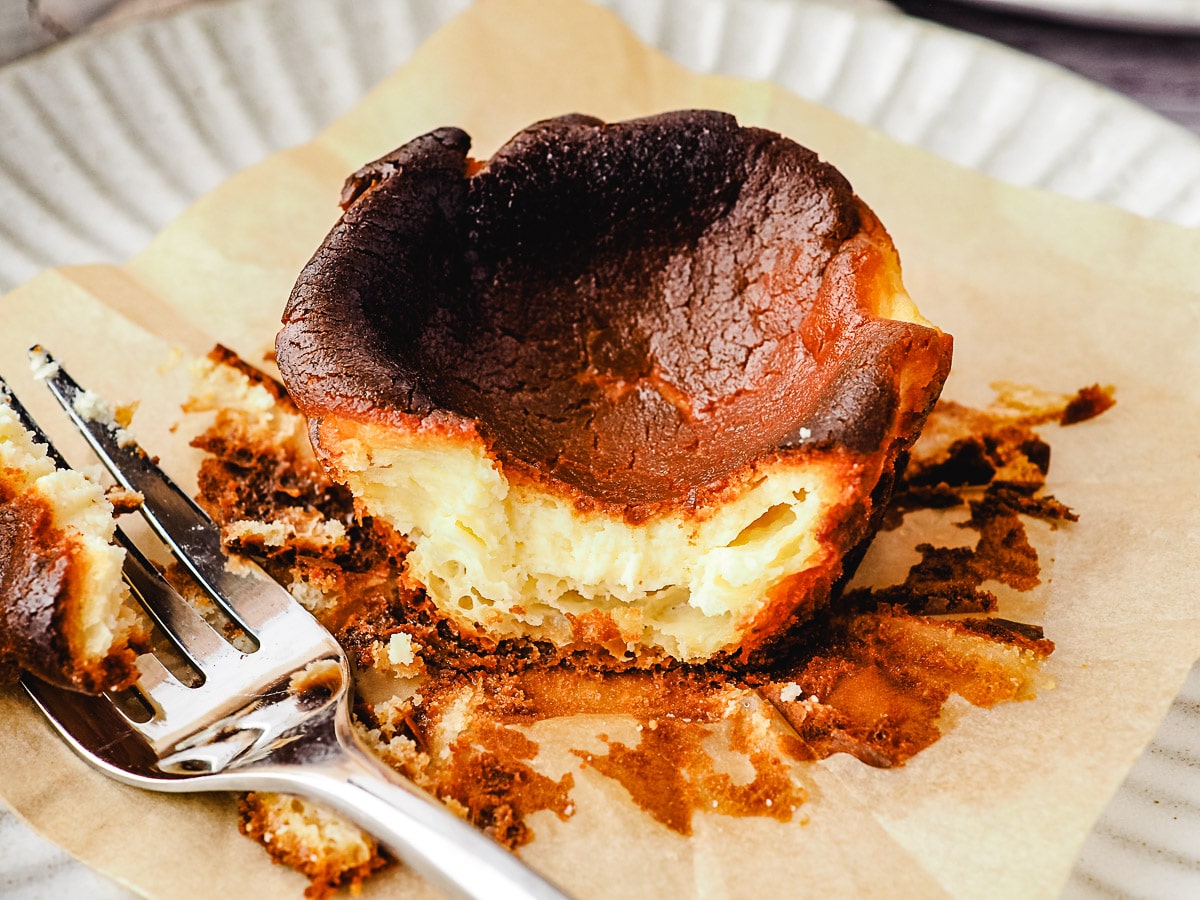
To serve these mini San Sabastian cheesecakes pop them onto a plate and enjoy! Fabulous on their own or drizzled with one of my fresh fruit coulis or compotes such as raspberry coulis, passion fruit coulis, mango coulis or a classic strawberry sauce. Delicious!
How to store
These mini burnt basque cheesecakes will store in the fridge for up to 4 to 5 days but will be fresher and taster if eaten within three days. But I very much doubt they will last that long!
I'm still working on freezer testing these cheesecakes and will update the recipe when I have more info!
Have you made this recipe? Tell me how it went in the comments below and tag me on instagram so I can see your delicious creations! @keep_calm_and_eat_icecream
Looking for more yummy dessert recipes?
Why not try making
- San Sebastian Cheesecake
- No Bake Mini Cheesecakes
- Philadelphia No Bake Cheesecake
- Mini Strawberry Cheesecake
- Biscoff Cheesecake
Follow me on Facebook or Pinterest for many more delicious recipes.
📋 Recipe
Mini burnt cheesecake
Equipment
- muffin tins or silicon molds for 14 mini cheesecakes
- baking paper or muffin cases
- Electric hand beaters or stand mixer
Ingredients
- extra butter, for greasing
- 2 x 8 ounce tubs (450gms total) full fat cream cheese
- ¾ cup (165gms) white sugar
- 2 tablespoons (20gms) tapioca starch or corn starch
- 3 large eggs
- 1 cup (250mls) thickened cream
- ½ teaspoon salt
- 1 teaspoon vanilla extract
- zest half a medium sized lemon
- 2 teaspoons fresh lemon juice
Instructions
- Make sure you have room in your oven for the high baking paper edges if using. Pre-heat your oven to 435°F (225°C/205°C fan-forced)
- Zest and juice the lemon. Line the tins with squares of baking paper or muffin cases. If using baking paper put a dab of butter on the bottom to help keep them in place.
- Add the tapioca starch to the sugar and whisk through to evenly distribute.
- Add the cream cheese to a bowl or stand mixer and mix briefly to soften.
- The sugar and tapioca start in a couple of batches, mixing between each addition until it's all added. Mix on low until the sugar has dissolved.
- Add the eggs one at a time, mixing well between each addition.
- Add the cream, lemon juice and zest, vanilla and salt and mix until smooth.
- Divide between muffin cases and bake for forty to forty five minutes until deeply golden brown and starting to turn very dark brown around the edges.
- Allow to cool completely to room temperature before serving.
- Serve at room temperature or a light, airy cheesecake or chill for a firmer, denser cheescake. Fabulous on their own or will one of my fruit compotes, curds or coulis. Delicious!
Notes
Nutrition
Nutritional Disclaimer
Nutritional information is an estimate based on an online database. The nutritional content of ingredients may vary by brand. If you require accurate nutritional information, you should calculate this based on the specific brands and products you are using.
Join the community!
Like Keep Calm and Eat Ice Cream on Facebook for more great recipes
Pin it for later!


Wendy
These were soooooo good! My friend described this as "knarley" and its so fitting - the honey toned caramelisation on the outside gives it that burnt look, and it's oh so tasty, but the inside is light, delicious and creamy. My tummy and taste buds thank you! 😋
Sarah Brooks
Yay, I'm so glad you loved these Wendy 🙂 the caramelized edges really make these a stand out.