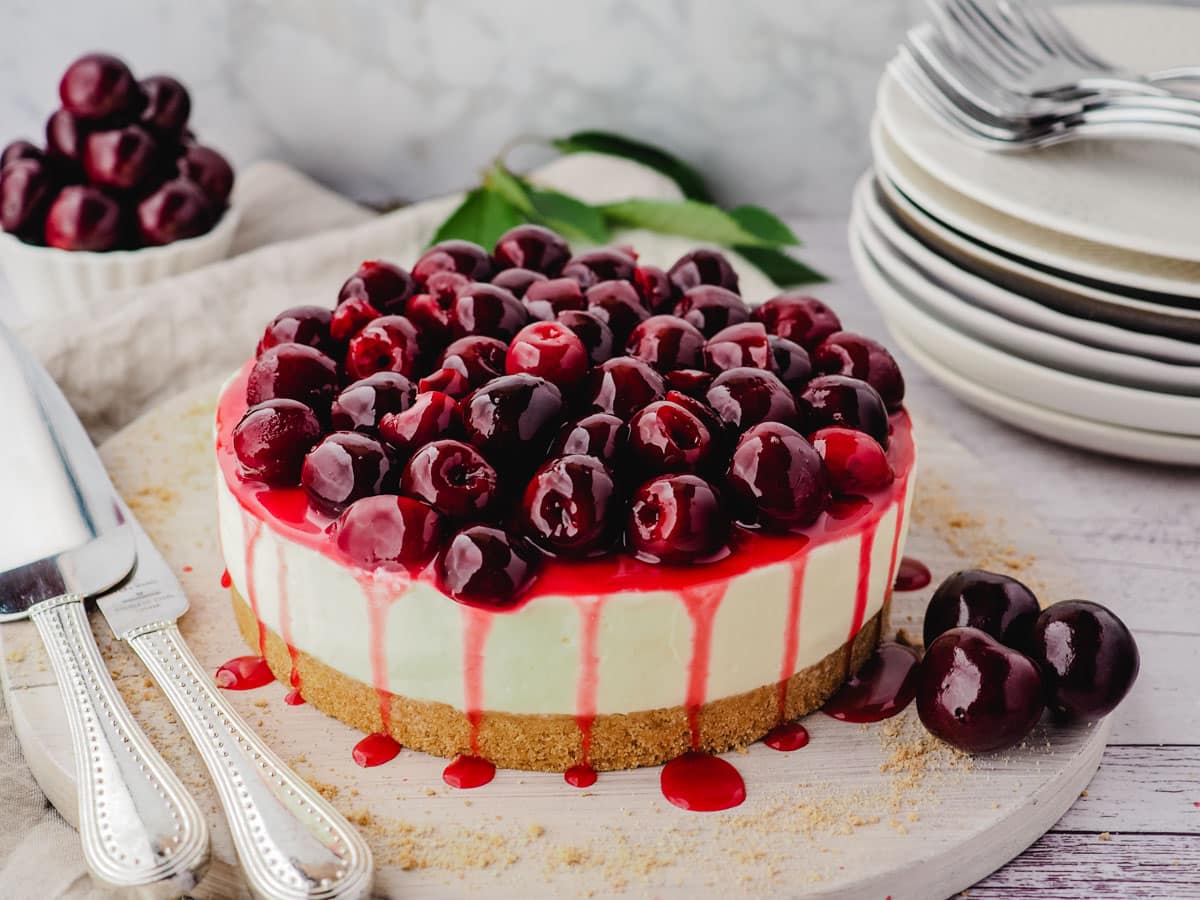
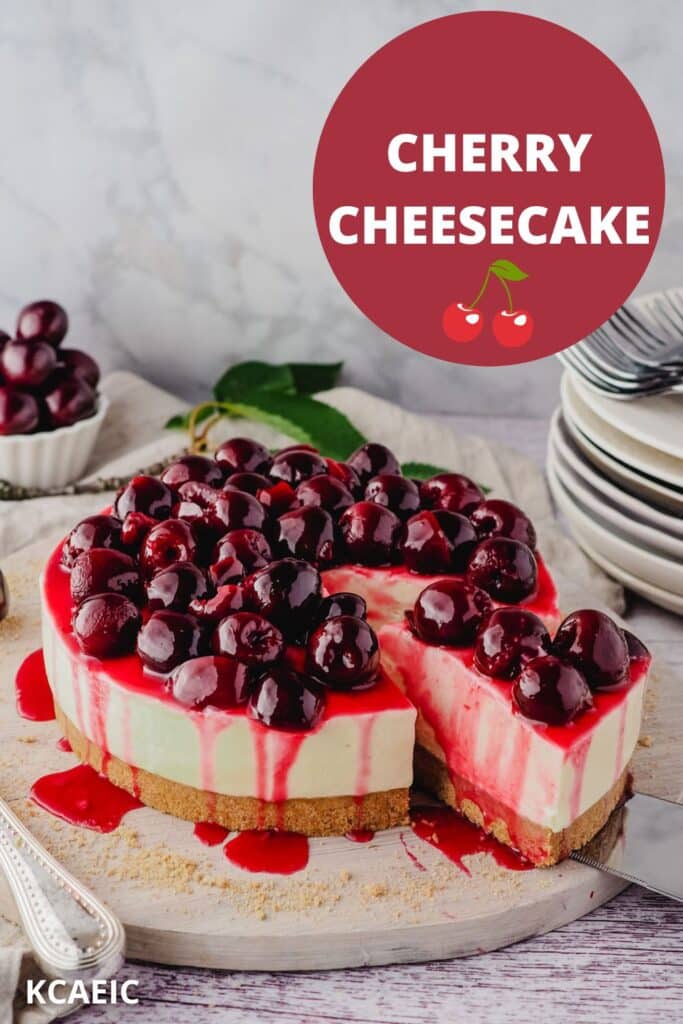
This easy no bake cherry cheesecake combines a classic Philadelphia cheesecake with juicy fresh cherry cheesecake topping, yum!
Jump to:
This homemade cherry cheesecake takes my no bake Philadelphia no bake cheesecake and combines it with a juicy cherry topping for a classic dessert that never goes out of style.
Why you'll love this recipe
- Nothing says summer like cherries and cheesecake!
- Make it ahead for easy entertaining.
- No baking and no oven needed.
- A great way to use seasonal, ripe, juicy cherries.
Looking for more fabulous cherry recipes? Why not try making my decadent black forest cheesecake, juicy pineapple cherry popsicles or simple cherry compote. Delicious!
Ingredients
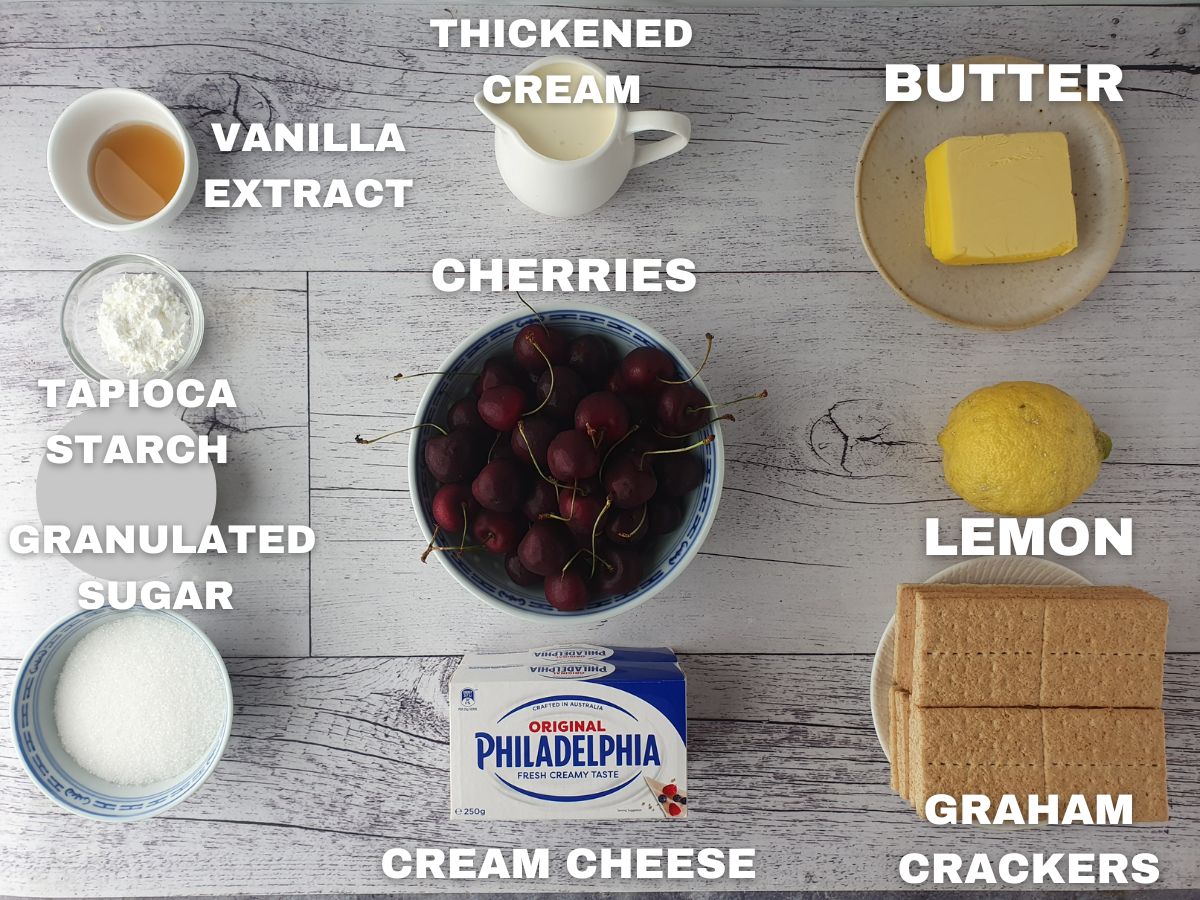
For the homemade cherry topping:
Cherries: this recipe works best with beautifully ripe, fresh, juicy cherries. If the cherries aren't nice enough to eat fresh, they won't taste good in the cherry topping for this cheesecake.
Granulated white sugar: adds some sweetness without overpowering the delicate flavor of the cherries.
Lemons: a dash of fresh lemon juice helps pump up the brightness of this cherry topping for the cheesecake.
Corn starch: also known as corn flour. A little helps thicken the topping.
For the Philadelphia cheesecake:
Philadelphia cream cheese: full fat cream cheese is best for this recipe for that classic creamy cheesecake taste. If you use light cream cheese it may not set properly. If you can't get Philadelphia you can try using a different brand.
Cream: I use thickened cream which has a fat content of about 34%. You could also use heavy cream or heavy whipping cream which is similar.
Vanilla extract: sometimes also called vanilla essence, depending on where you live. You can use either, or imitation vanilla essence, depending on your preference and budget.
Lemons: a dash of lemon juice helps balance the sweetness of the cream cheese frosting filling. Fresh is best, I don't recommend bottled lemon juice.
Graham Crackers: are a type of sweet plain cookie with wholegrain which are the classic cheesecake base. It also works well with most types of sweet cookies, including Digestive, Nila wafers or chocolate-flavored cookies such as Oreos.
Unsalted Butter: because butter makes most things taste better. In this case it binds and sets the base.
How to make cherry cheesecake
See the full recipe card at the end of the post for ingredient amounts and instructions.
To make the graham cracker crust
Grease and line your cheesecake tin. Break up the Graham crackers into smaller pieces. Blitz in a food processor until they resemble bread crumbs.
Melt the butter in the microwave or a small pot on the stove. Add the melted butter to the Graham cracker crumbs and mix well.
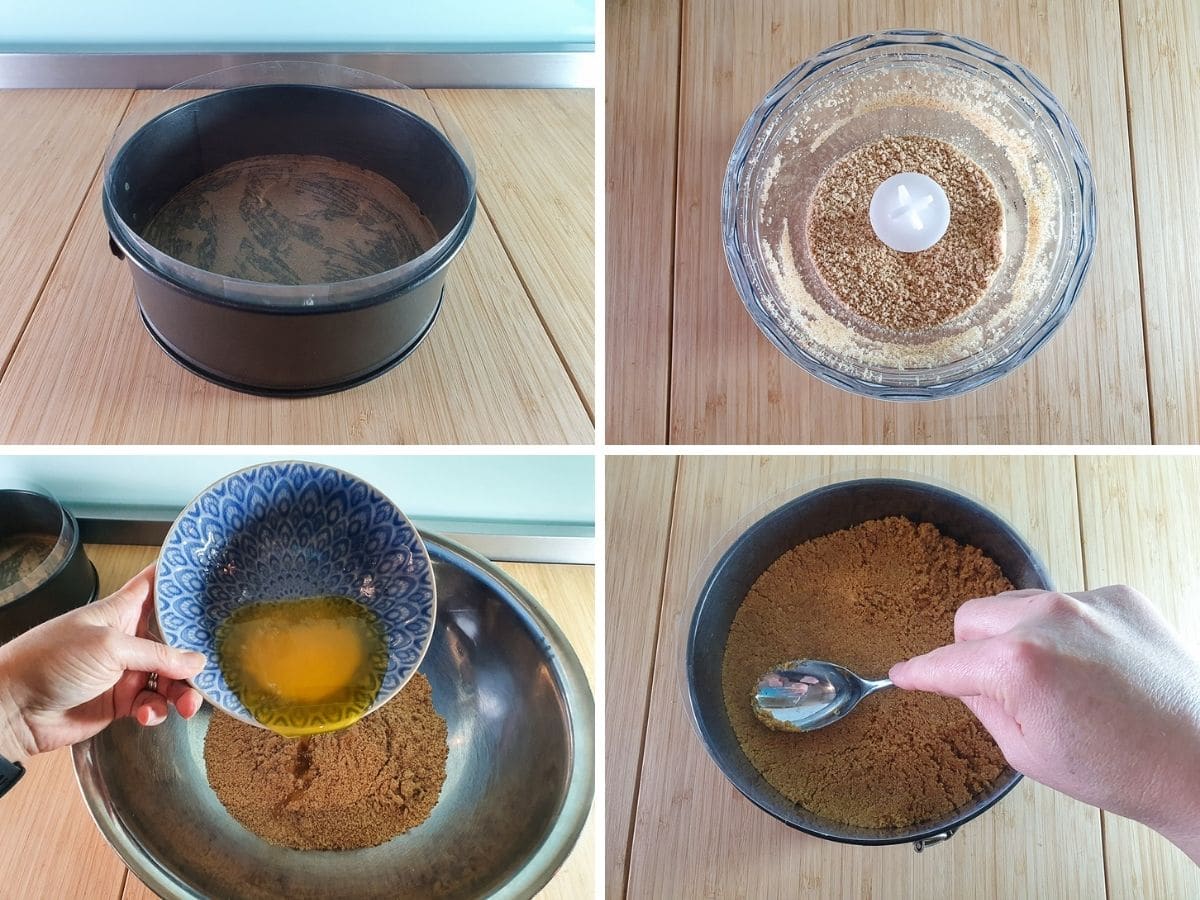
Tip the base mix into the lined cake tin. Press down with the back of a spoon or cup. You need to press firmly enough for the base to hold together, but not too firm or your base will be difficult to cut and eat.
Chill the base in the fridge for at least one hour and up to overnight before filling.
To make the cheesecake filling
Juice the lemon. Beat the cream cheese briefly to soften it. Add the sugar, lemon juice and vanilla essence. Mix on low until the sugar is dissolved.
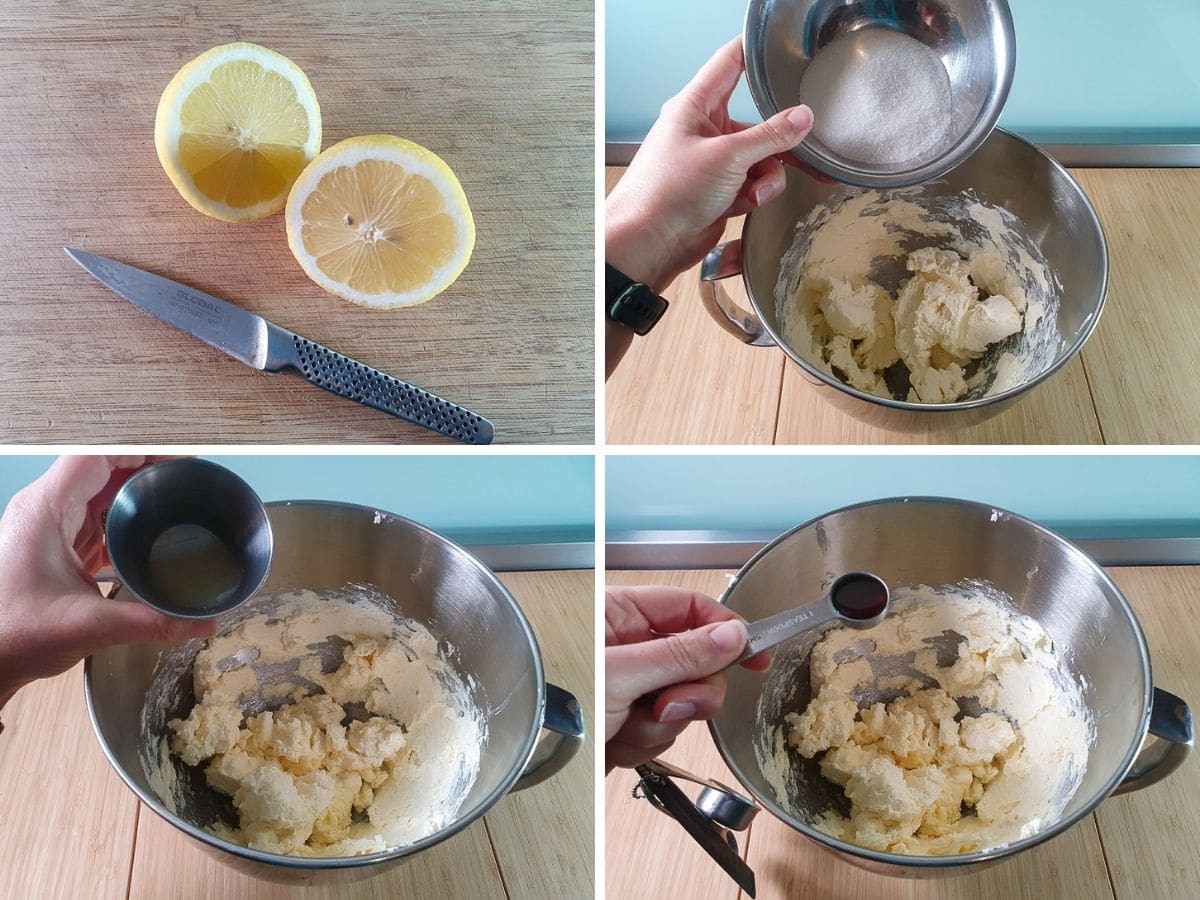
In a separate bowl whip the cream until it forms firm peaks. Gently fold the whipped cream into the cream cheese mix, taking care not to knock out the air from the whipped cream.
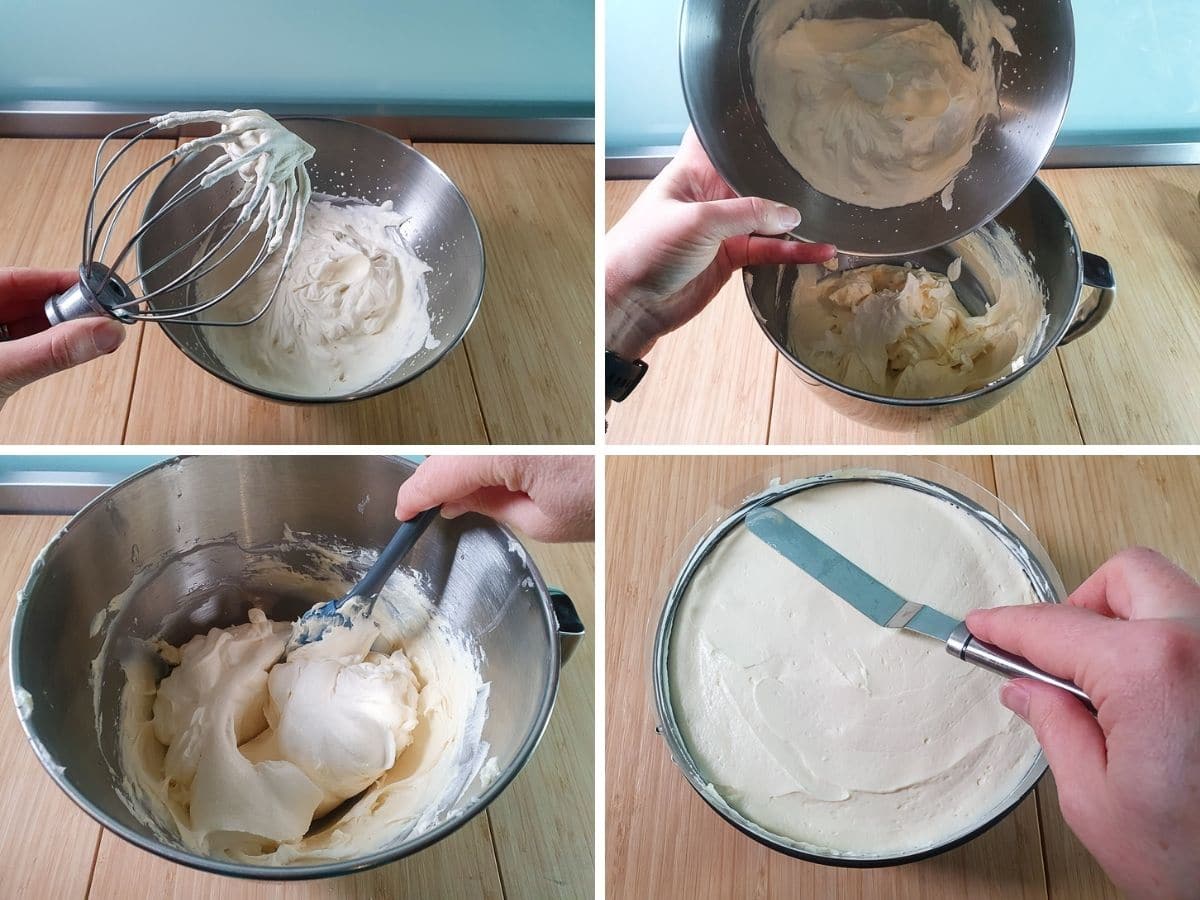
Tip the cheesecake mix into the chilled base, taking care to smooth out the air bubbles. Smooth the top of the cheesecake with an offset spatula.
Chill the cheesecake in the fridge for a minimum of four hours, preferably overnight.
To make the cherry topping for the cheesecake
Put a small bowl into the freezer to chill.
Pit the cherries. This is easiest with a cherry pitter. If using frozen cherries defrost them first.
Hot tip: the cherries are prettier if left whole, but easier to eat if cut in half or quarters.
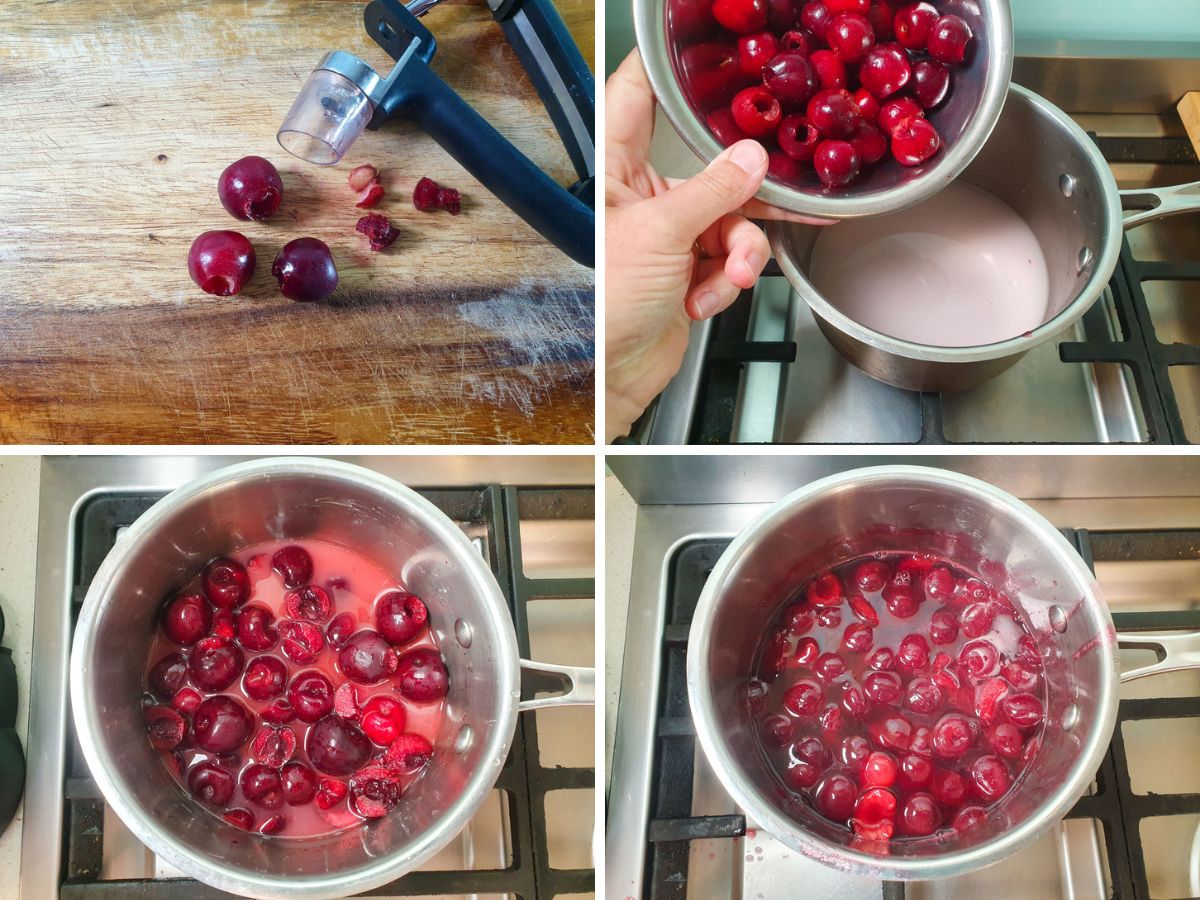
Add the sugar, lemon juice tapioca starch and water to a small pot on the stove. Whisk well to combine. Add the pitted cherries. Heat on medium heat, stirring frequently. The liquid will start out a milky opaque color and will turn a lovely dark, glossy red as the topping cooks and thickens.
To test if the sauce is thick enough take a small spoonful and tip it onto the edge of the chilled bowl. It should cool and thicken enough to drip. If the sauce is still too liquid cook it down for a few minutes to thicken, then retest.
Allow the sauce to cool.
To assemble the cheesecake
Remove the cheesecake from the tin. Use a spatula to smooth down the sides if you like. Slide a knife between the base and the parchment paper and carefully transfer the cake to a plate or serving board.
Just before serving spoon the cooled cherry sauce and you're done!
How to serve
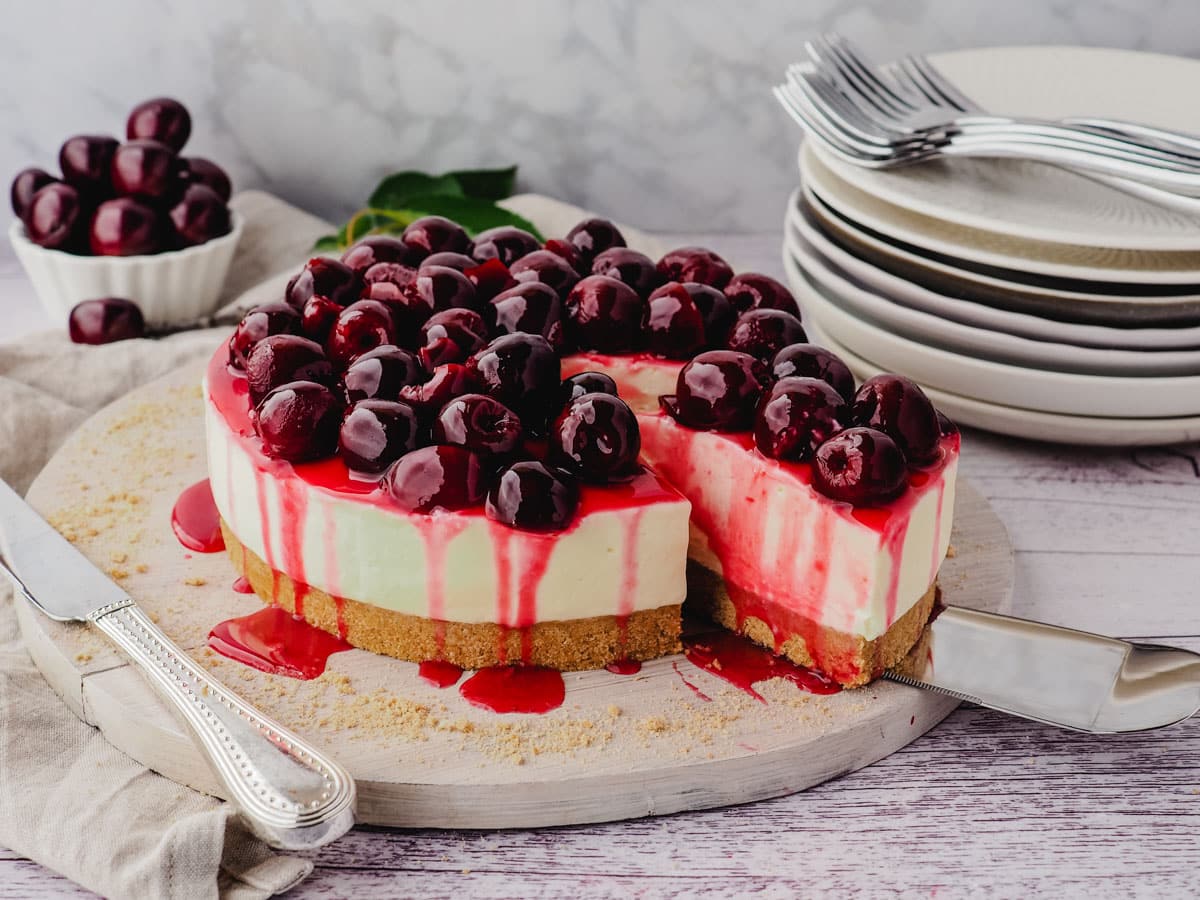
To serve this no bake cheesecake pop it onto a plate, slice and enjoy! To get nice clean slices it helps to gently heat a large knife, wipe dry and slice. You will get cleaner slices if you nudge the cherries out of the way before slicing, otherwise they may dig into the cake as you slice.
The cherry topping can soak into the cheesecake and make it go soft overtime, so I recommend adding it just before serving.
How to store
Undecorated this cheesecake will store well in the fridge for up to five days. It can also be wrapped and stored in the freezer for up to two months, but best eaten within a month for best texture.
Recipe tips and frequently asked questions
Is cherry cheesecake gluten free?
No, cherry cheesecake is not gluten free, unless it has specifically been made with a gluten free crust or base.
Can you freeze cherry cheesecake?
Can I use frozen or canned cherries for the topping?
Yes you can. Make sure the cherries are pitted or you will need to pit them.
Frozen or canned cherries may have more liquid, so you may need to turn down the heat and cook the compote for longer to thicken it up.
Canned or tinned cherries may contain a lot of sugar and other ingredients. Look for low or no added sugar with minimal other ingredients if possible. You may need to reduce the amount sugar or not add any at all if the canned cherries you are using contain a lot of sugar.
Can I use sour red cherries for the topping?
Also known as tart or morello or red cherries. You can replace fresh cherries in the same quantity, but you will need to test the topping and may need to add some more sugar. Alternatively you can use the sour cherry topping from my black forest cheesecake instead.
Can I use a can of cherry pie topping?
Sure, but it probably won't taste as good as making it yourself 🙂
Have you made this recipe? Tell me how it went in the comments below and tag me on instagram so I can see your delicious creations! @keep_calm_and_eat_icecream
Looking for more yummy dessert recipes?
Why not try making
Follow me on Facebook or Pinterest for many more delicious recipes.

📋 Recipe

Cherry Cheesecake
Equipment
- Spring form cake tin, 7" x 2.5" (18cm x 6.5cm)
- Electric hand beaters or stand mixer
- food processor
Ingredients
For the cheesecake base
- 2 & ⅓ cups (250gms) Graham cracker crumbs
- 1 stick (½ cup/ 115gms) unsalted butter
For the cheesecake filling
- 2 x 8 ounce tubs (450gms total) full fat cream cheese
- ½ cup (110gms) white sugar
- 1 & ½ teaspoons vanilla essence
- 1 tablespoon lemon juice
- 1 cup (250mls) thickened cream
For the cherry topping
- 1 teaspoon tapioca starch
- 1 & ½ tablespoons granulated white sugar
- 2 teaspoons lemon juice
- 2 tablespoons water
- 4 cups (1 & 1.3 lbs/600gms) Fresh cherries
Instructions
To make the cheesecake base
- Line the springform cheesecake tin with parchment paper or food safe acetate.
- Break the cookies into smaller pieces and blitz briefly in a food processor into crumbs.
- Melt the butter by adding to a microwave proof bowl and microwave for a minute or two, or in a pot on the stove.
- Pour the butter into the cookie crumbs and mix until it resembles fine bread crumbs.
- Pour into lined tin and press down to form the base. Do not press to firmly or your base may become to hard.
- Chill in fridge for at least one hour and up to overnight.
To make the cheesecake filling
- NB Make sure your cream cheese is at room temperature.
- Beat the room temperature cream cheese briefly to soften it. Add the lemon juice, sugar and vanilla to the room temperature cream cheese and beat on low until combined and the sugar has all dissolved.
- In a separate bowl whip the cream until firm peaks form. Gently fold the whipped cream into the cream cheese mix until well combined.
- Put the cheesecake filling onto the prepared base and smooth down. Chill in the fridge for at least four hours, preferably overnight.
To make the cherry topping
- Put a small bowl in the freezer to chill.
- If you are using fresh cherries remove the pits. If you are using frozen cherries defrost them first.
- Leave the cherries whole or cut them in half, as you prefer. Whole cherries are pretties, halved cherries are easier to eat!
- Put the sugar, lemon juice, tapioca starch and water in a small pot on the stove and whisk to combine.
- Add the cherries and mix well. Heat on medium heat for about five minutes, stirring well. The sauce will start and opaque milky colur and become dark and glossy as the sauce thickens.
- To test if the sauce is thick enough take a small spoonful and tip it onto the edge of the chilled bowl. It should cool and thicken enough to drip. If the sauce is still too liquid cook it down for a few minutes to thicken, then retest.
- Remove from the heat, allow to cool and then chill in the fridge until ready to serve the cheesecake.
To assemble the cheesecake
- NB the cherry sauce is best added just before serving the cheesecake.
- Remove the cheesecake from the springform pan and carefully peel the parchment paper. Smooth the sides of the cheesecake with a spatula.
- Use a large sharp knife to carefully seperate the base of the cake from the parchment paper and transfer it to a serving plate or board.
- Just before serving pour the delicious cherry sauce over the top and you're done!
Notes
Nutrition
Nutritional Disclaimer
Nutritional information is an estimate based on an online database. The nutritional content of ingredients may vary by brand. If you require accurate nutritional information, you should calculate this based on the specific brands and products you are using.
Join the community!
Like Keep Calm and Eat Ice Cream on Facebook for more great recipes



Comments
No Comments