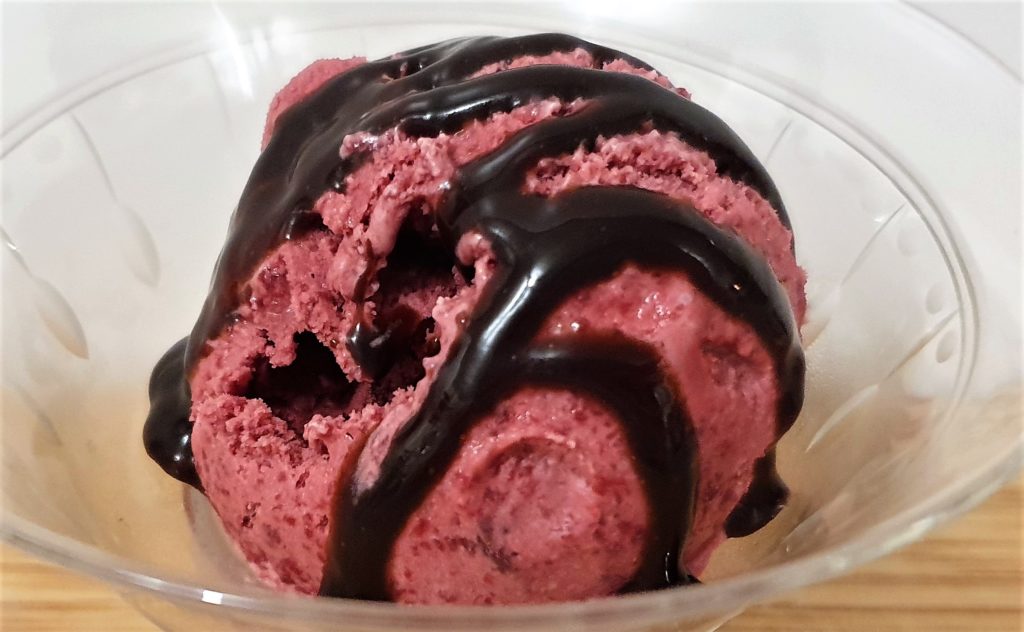
This roast cherry ice cream is bursting with fresh cherry flavor and makes the most of this fabulous fruit while it's in season.
Jump to:
It's cherry season and I simply had to kick things off by taking you through one of my favorite recipes, roast cherry ice cream. This recipe is adapted from Serious eats with my own adaptations.
This recipe is not hard but is time-consuming, fiddly, and despite all this totally worth it. It's simply divine, and only available seasonally which makes it all the more special.
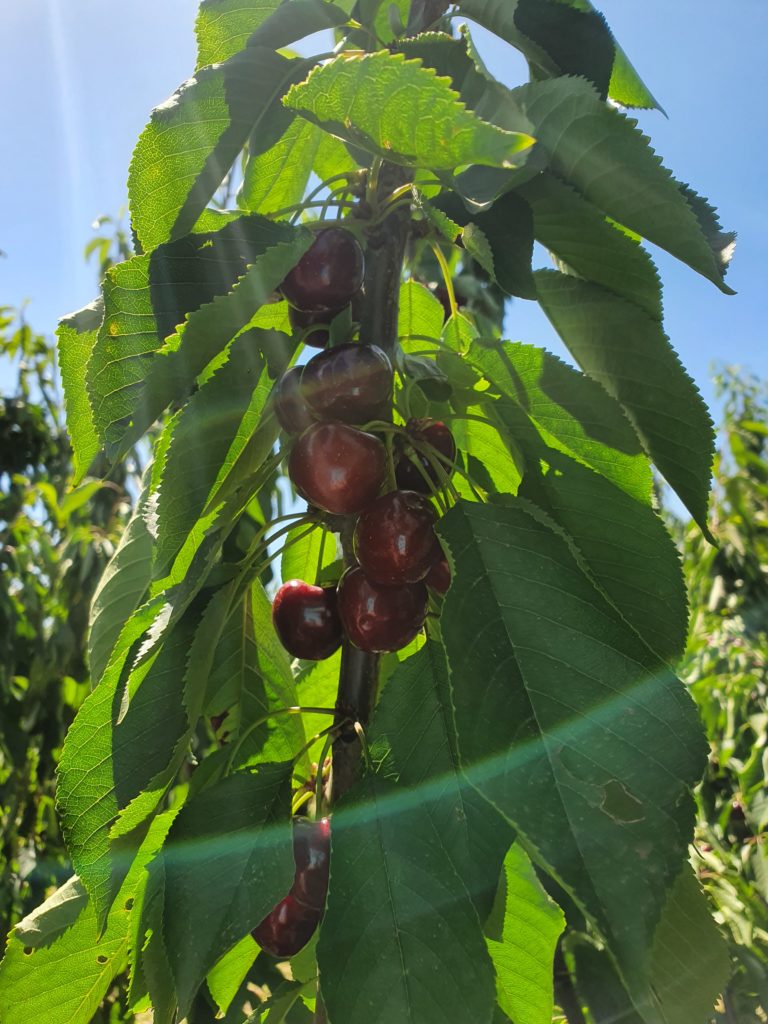
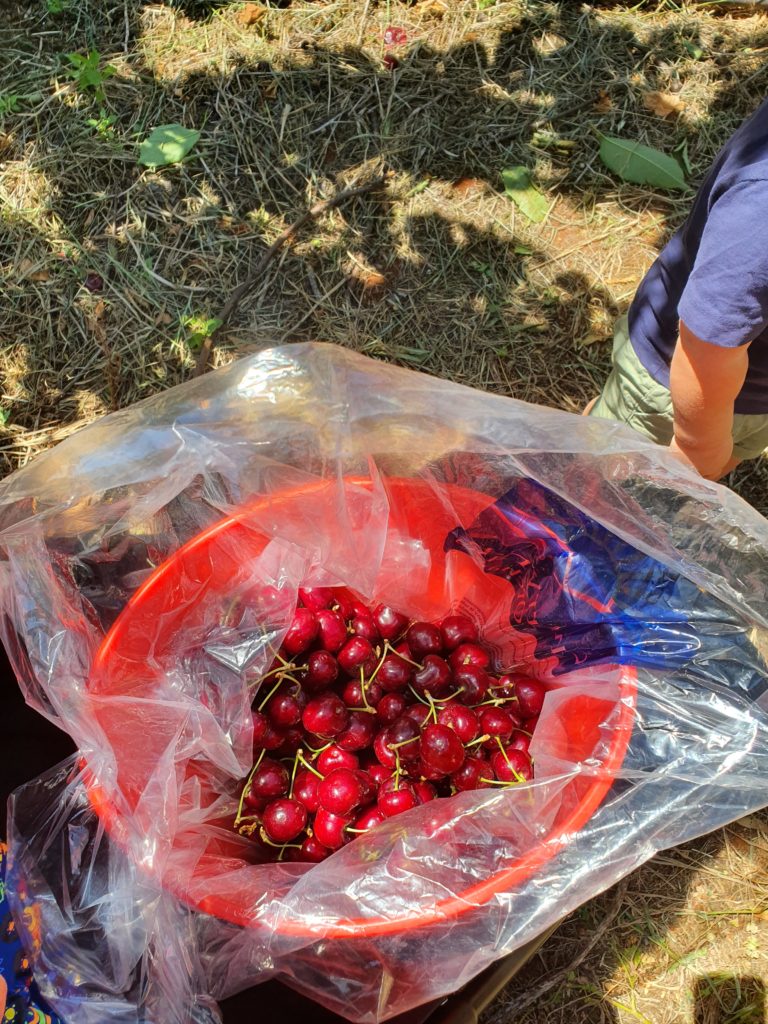
Last year my family and I went cherry-picking on New Year's Day. We had so much fun we went again this year and it's rapidly developing into a bit of a New Years' Day tradition.
The best cherries have a lovely rich dark purply red color and if you leave the stems on they’ll keep much better. On a warm day, it's also useful to have a cooler to bring your cherries home in.
Love cherries? You'll love my black forest ice cream. Decadent chocolate ice cream with a tangy cheery swirl, delicious!
Or if you're in the mood for more delectable ice cream check out my full collection of Cuisinart ice cream maker recipes (that work well in other brands ice cream makers too!).
How to make roast cherry ice cream
Remove the stems but LEAVE THE PITS IN.
You read that right. Leave them in. You’ll remove them later but right now leave them where they are.
Put your cherries into an ovenproof frypan or dish.
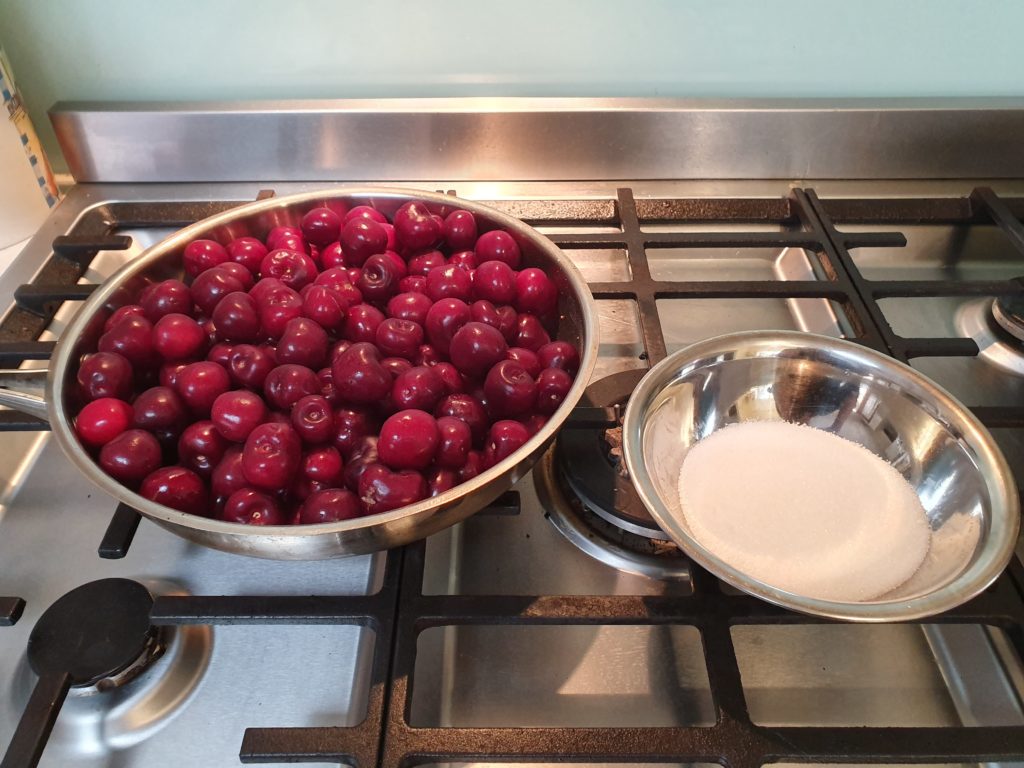
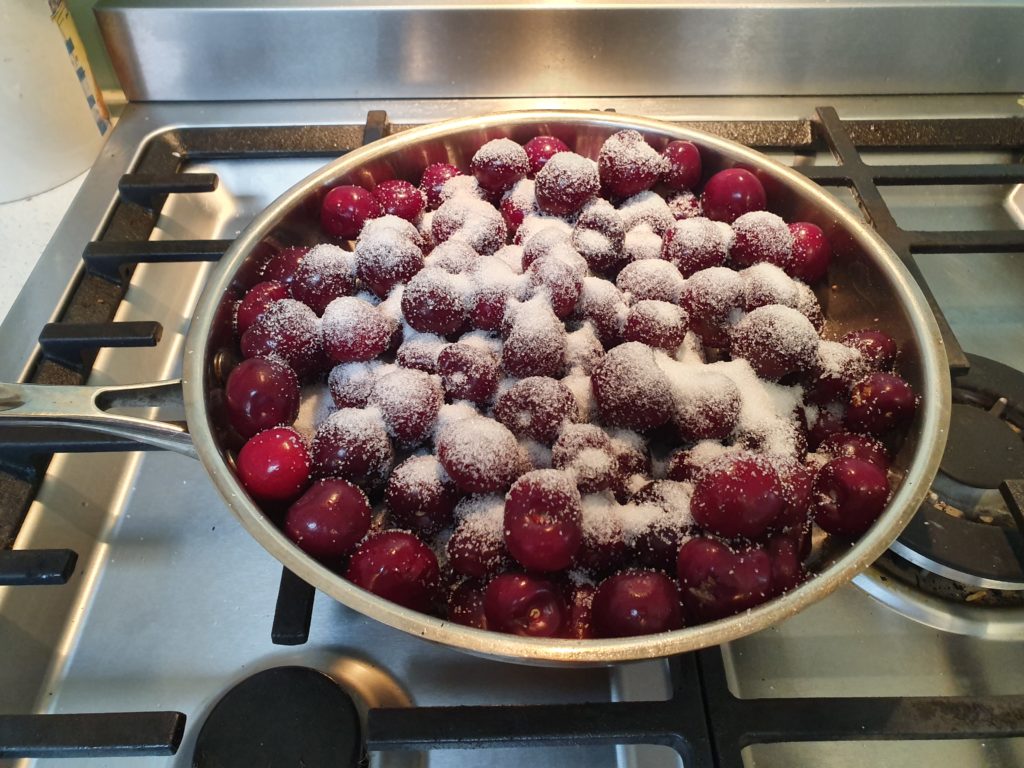
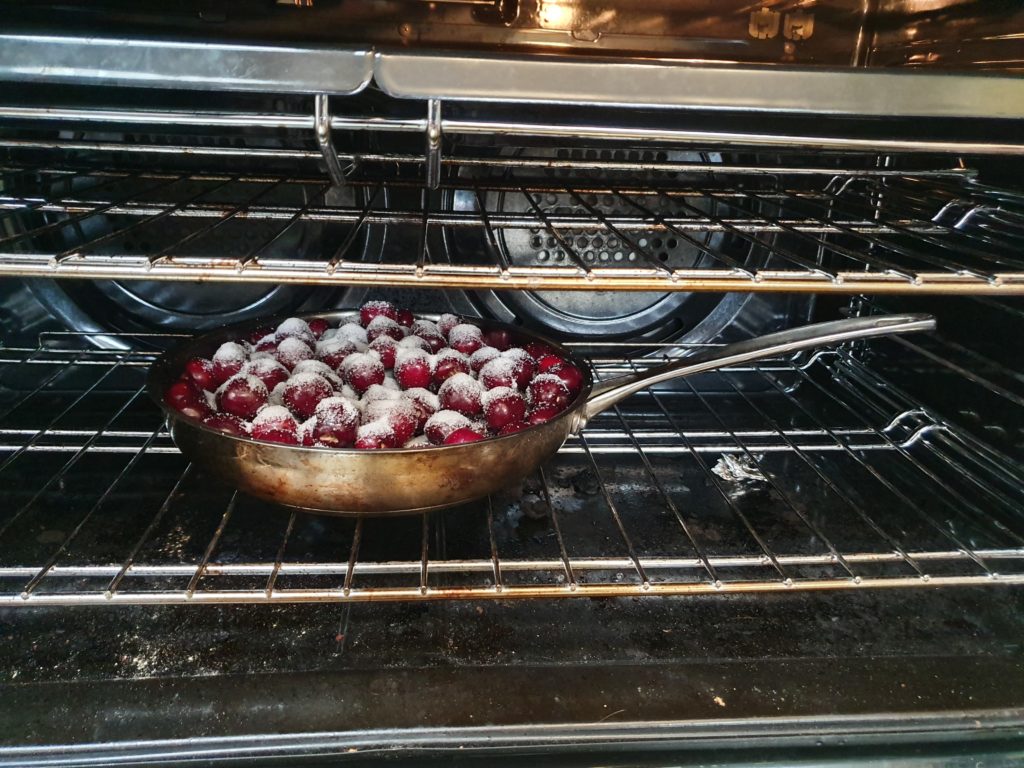
Sprinkle over ½ cup of sugar and pop into a preheated oven at 230C. Check after 30 to 40 mins. You want the tops to be starting to brown off and to go nice and roasted. Give it a stir and pop back in for about 10mins ISH.
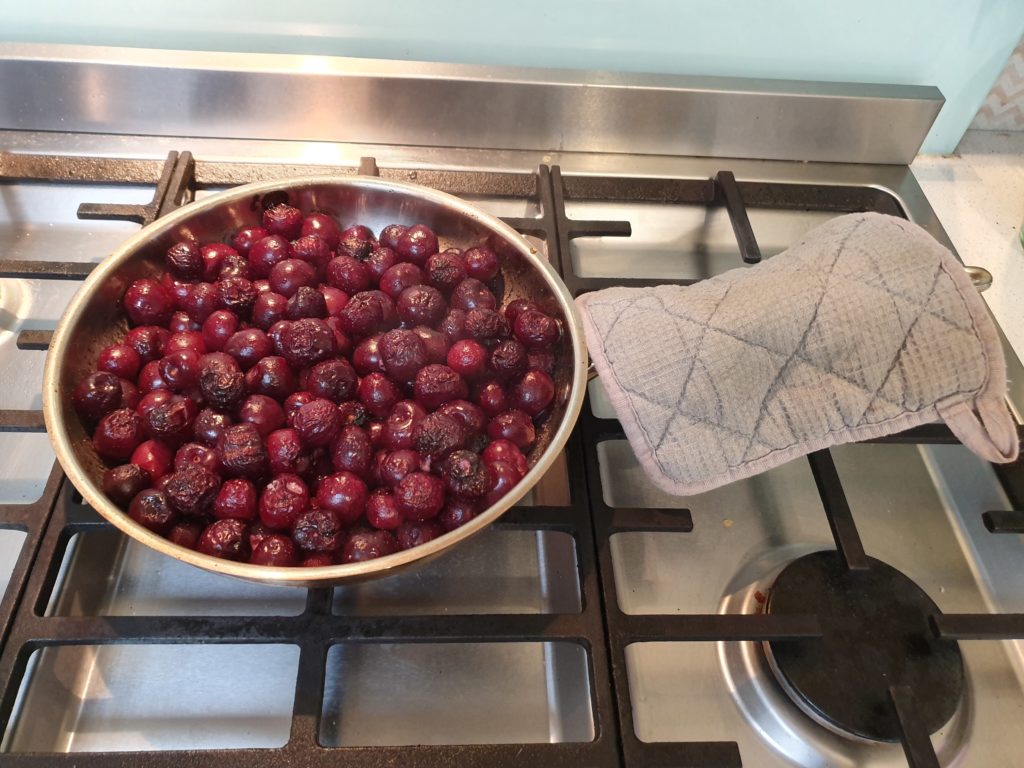
Remove from the oven Carefully – it goes without staying but it will be incredibly hot. Leave to cool.
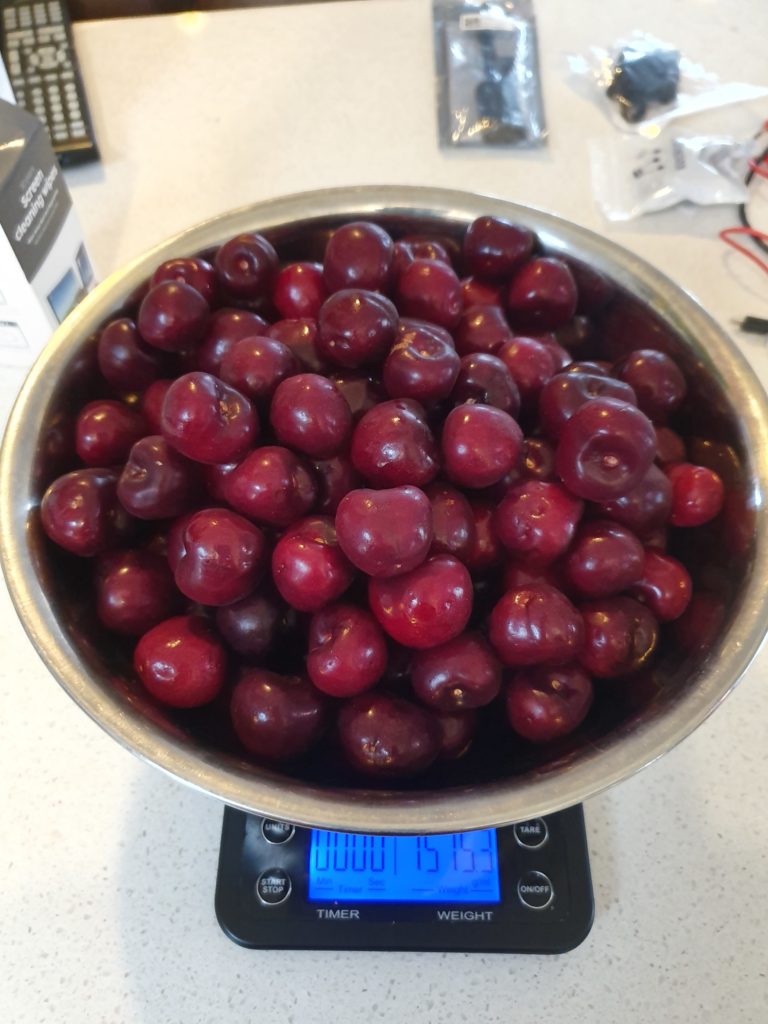
Now you can pit the cherries. All 1.5 kgs of them. I told you it was fiddly. Pop on some gloves, grab a cherry pitter (no really, you need one for this recipe), and work your way through it.

Pop the pits into a small saucepan and the pitted cherries into a bowl. It doesn’t matter if the pits still have a bit of cherry flesh on them, you can remove this later.
Put your pitted cherries into a high-sided container and blitz briefly with a stick blender. To be honest I’ve probably blitzed this too much but it still worked. You want to break up the fruit to release all the good stuff, but not pure it completely.
Put your blitzed cherries back into your pan and pop them on the stove. You want to cook it down a bit to concentrate the flavors and give it a lovely jammy quality.
Allow to cool a bit, then strain. This is another fiddly bit. You’ll need to push the flesh through the strainer. I started with a spatula but found a plastic cup worked better.
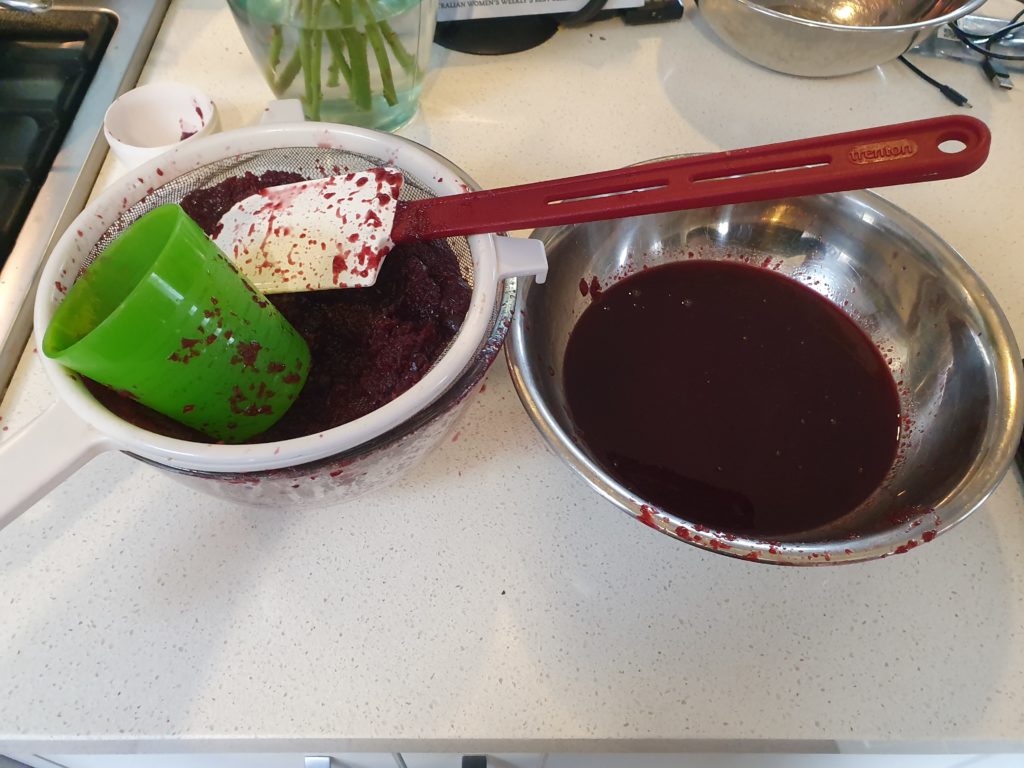
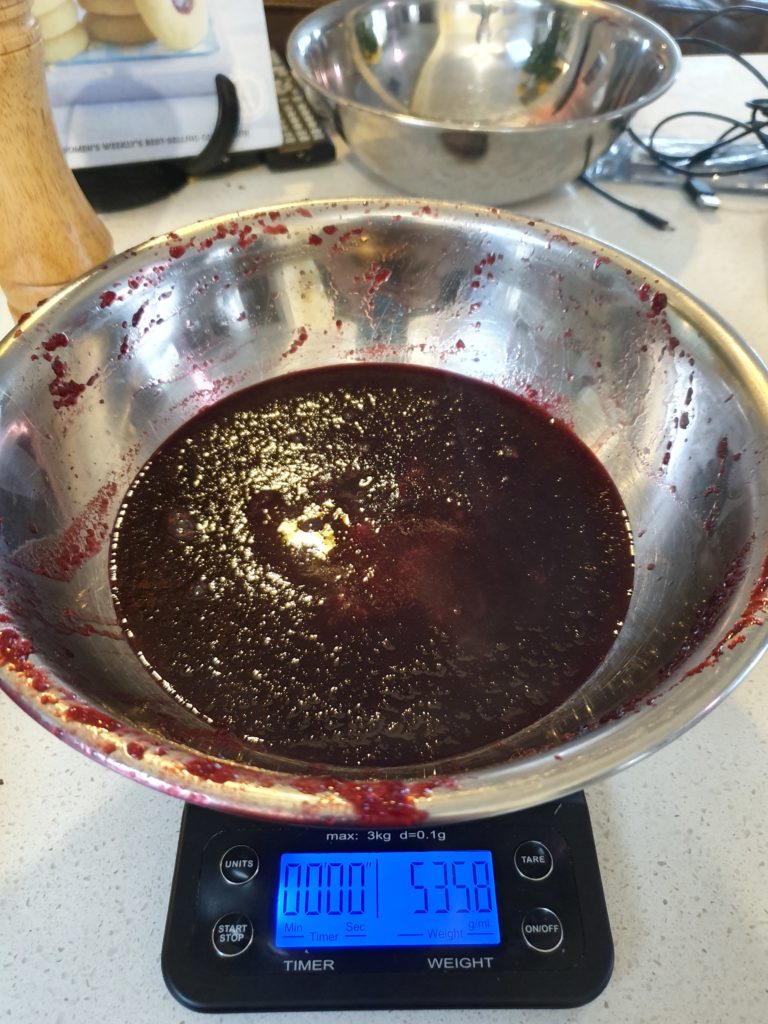
When you’ve got most of the fluid output it on another bowl to weigh it. You need about 560 grams of liquid. If you don’t have enough, keep straining. If you just can’t get any more you can top up with water, but to be honest you’ll be better off to keep working at it.
If you have too much, put the liquid back into the pan and cook off some liquid until you’ve reduced it down a bit. Then cool and weigh again.
In the meantime, add your cream (1 and ¾ cups) to the pits and simmer gently for about 10 mins, then leave to cool.
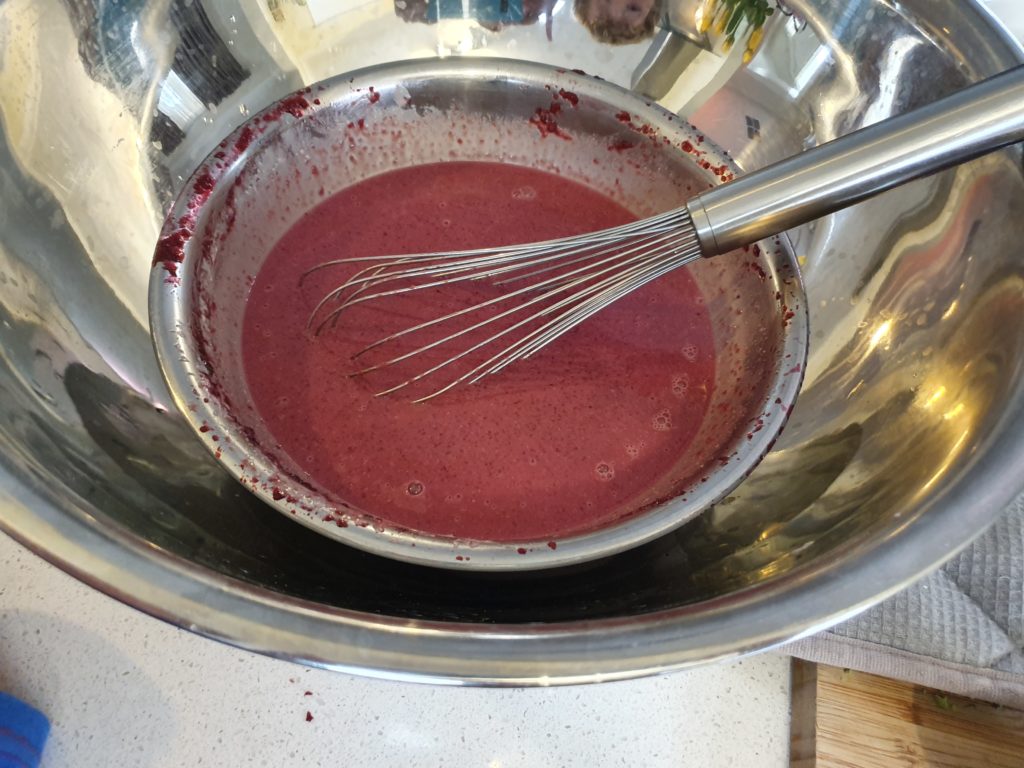
Once you finally have the right volume of cherry liquid, leave it to cool. Pop a bowl into an ice bath, add your cherry liquid and strain the cherry pit cream into your cherry liquid. Add salt (⅛ teaspoon) and 1 tablespoon of lemon juice and whisk until smooth. Leave to cool in the ice bath, stirring occasionally.
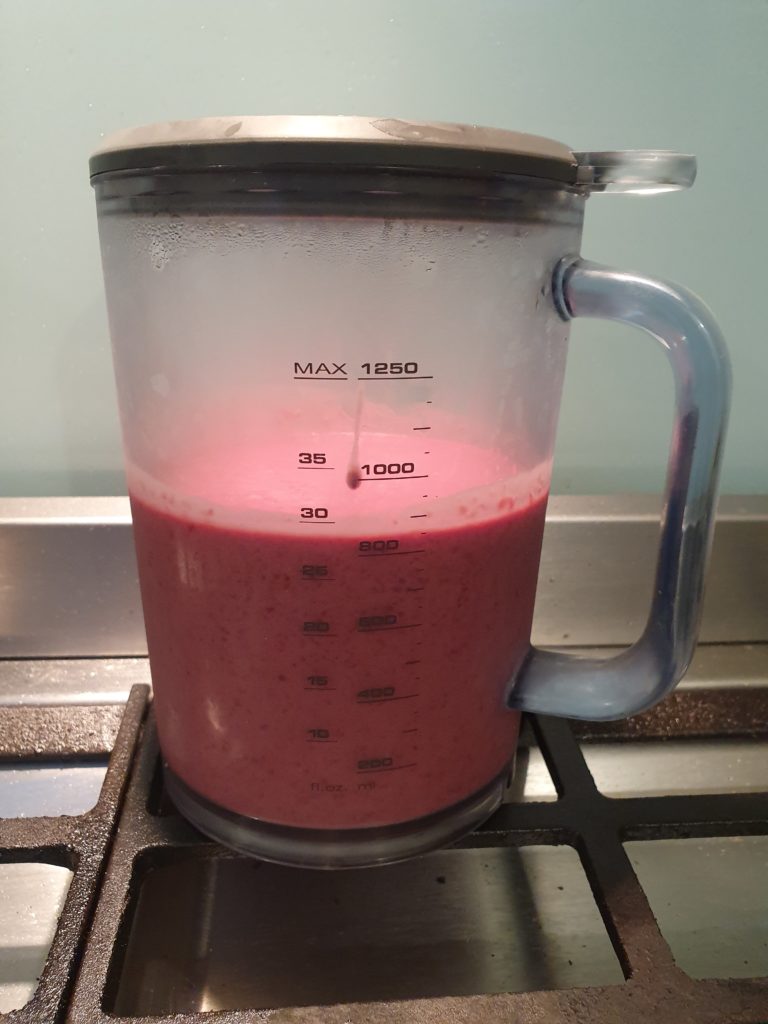
Put your mix into the fridge to chill. This will take a couple of hours at least.
If you don’t have time to churn it today the mix will keep for a few days in the fridge.
If you have a self-refrigerating ice cream churn (more about these later), turn it on for about 10 mins to cool first.
Give your mix a good stir, then pour it into your ice cream maker.
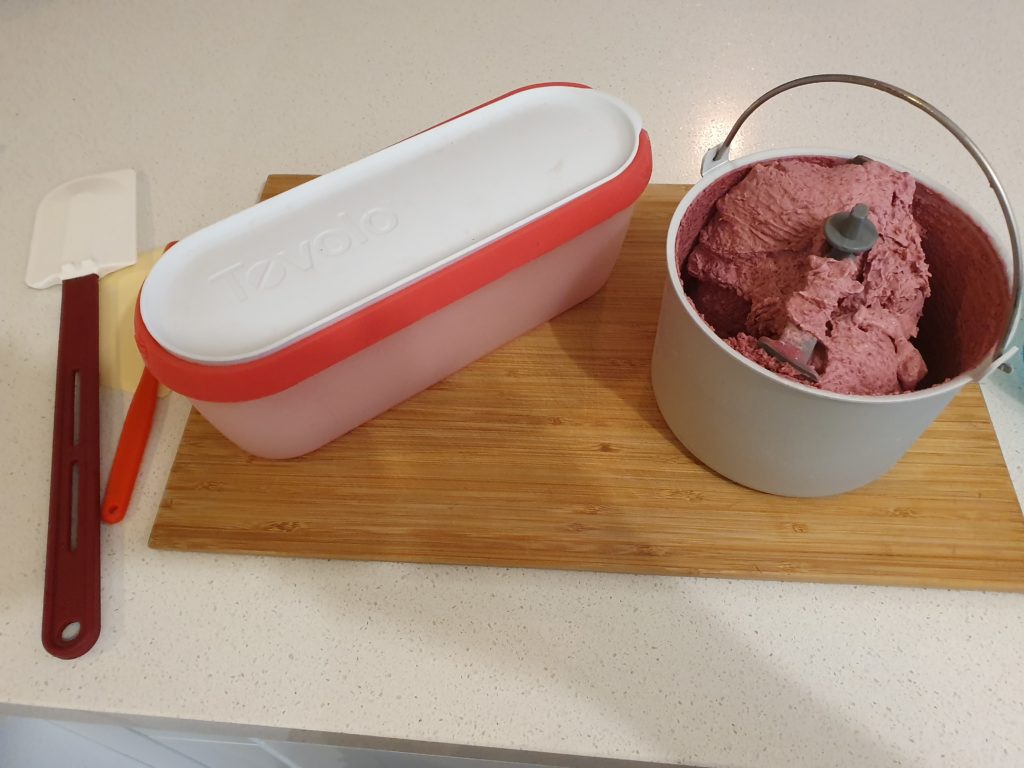
Depending on your machine the ice cream will take about 20mins to churn. It should increase in volume and be thick like a soft serve.
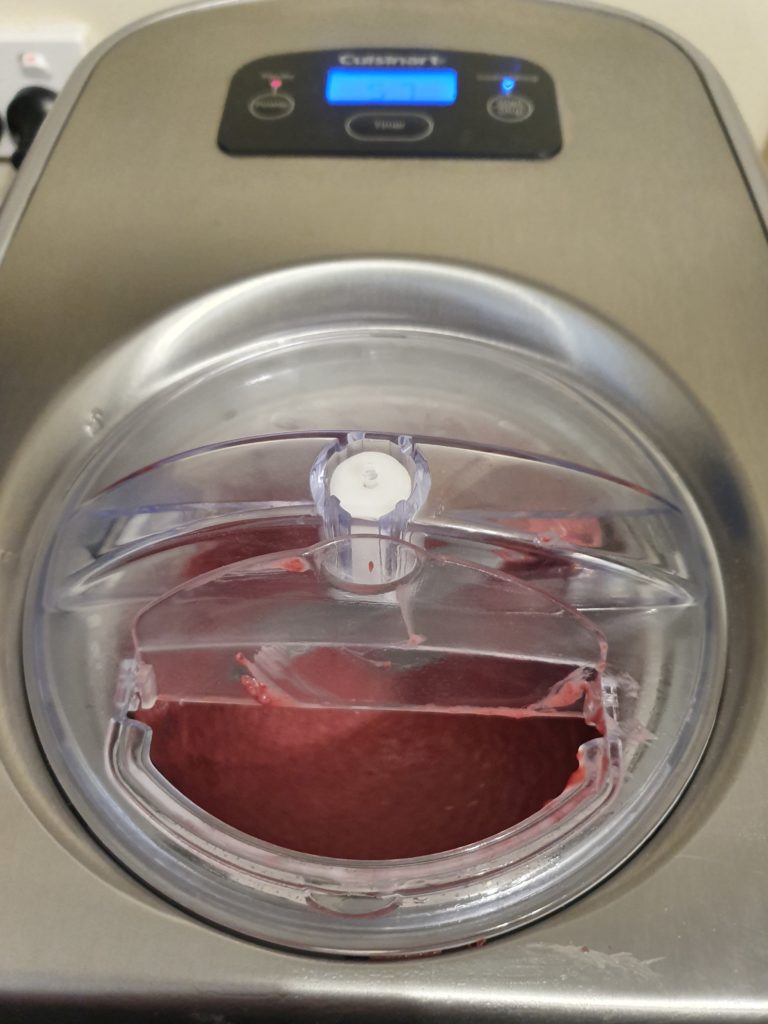
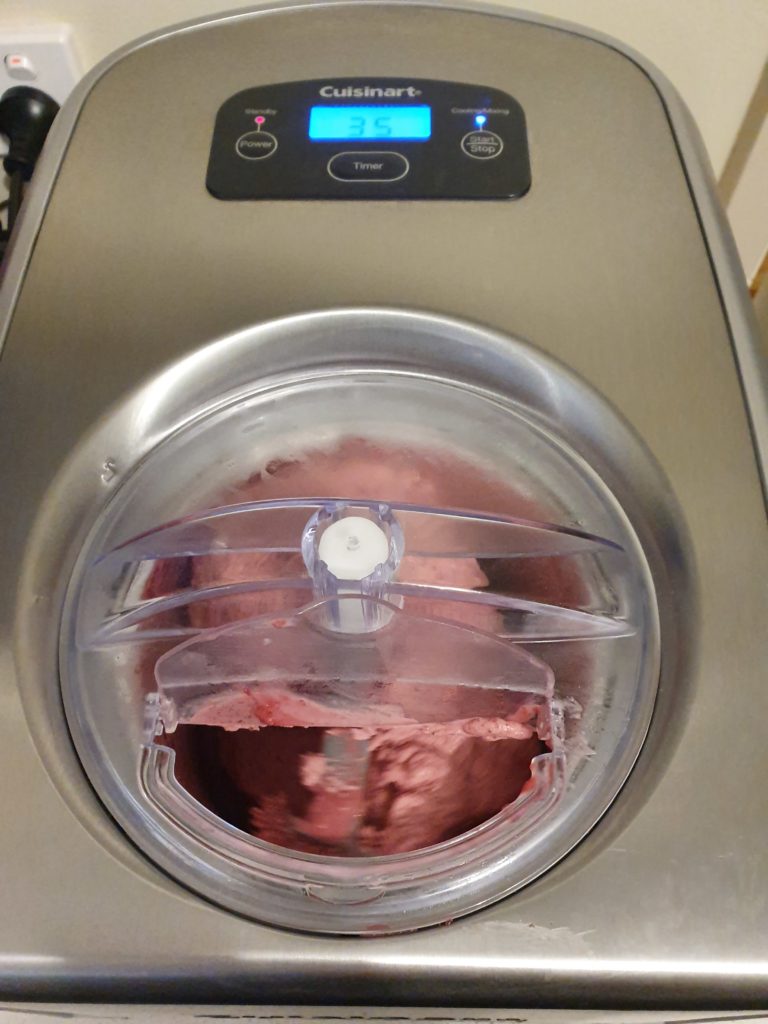
I used to poke at mine through the door to try and get to churn evenly but I found if I just leave it alone it doesn’t make much difference.
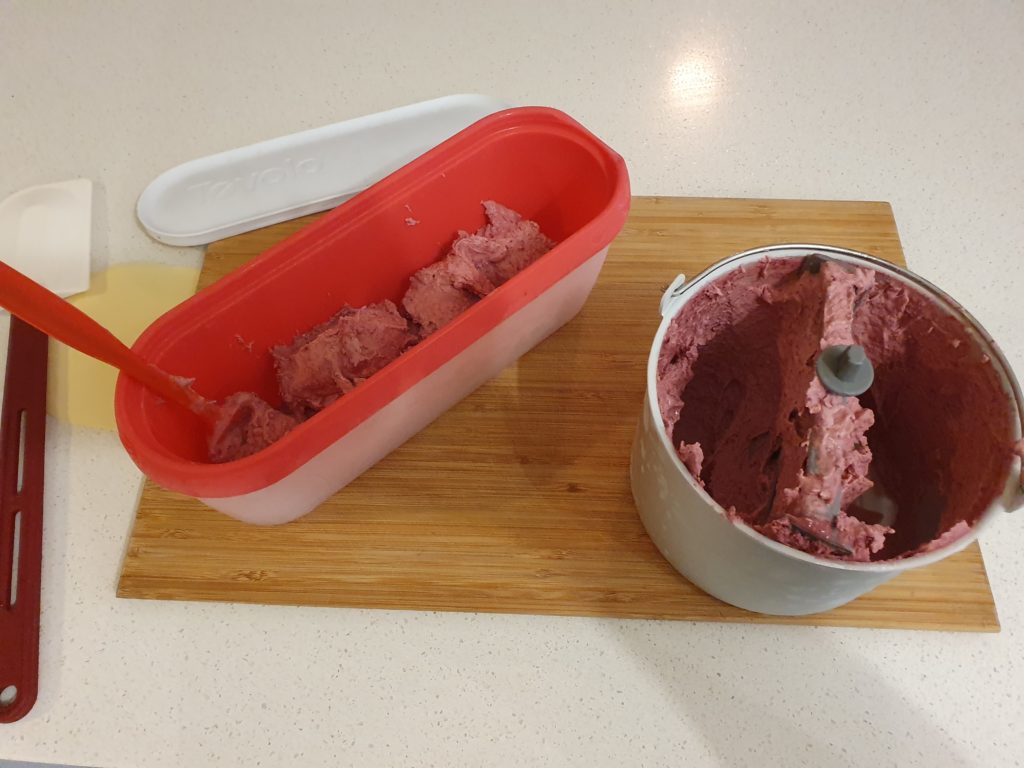
Pop into a pre-chilled container and into the freezer for a few hours to firm up, but it's also delicious straight out of the churner.
How to serve
This ice cream is simple but so so so delicious. Tastes amazing on its own, or with a drizzle of chocolate sauce.
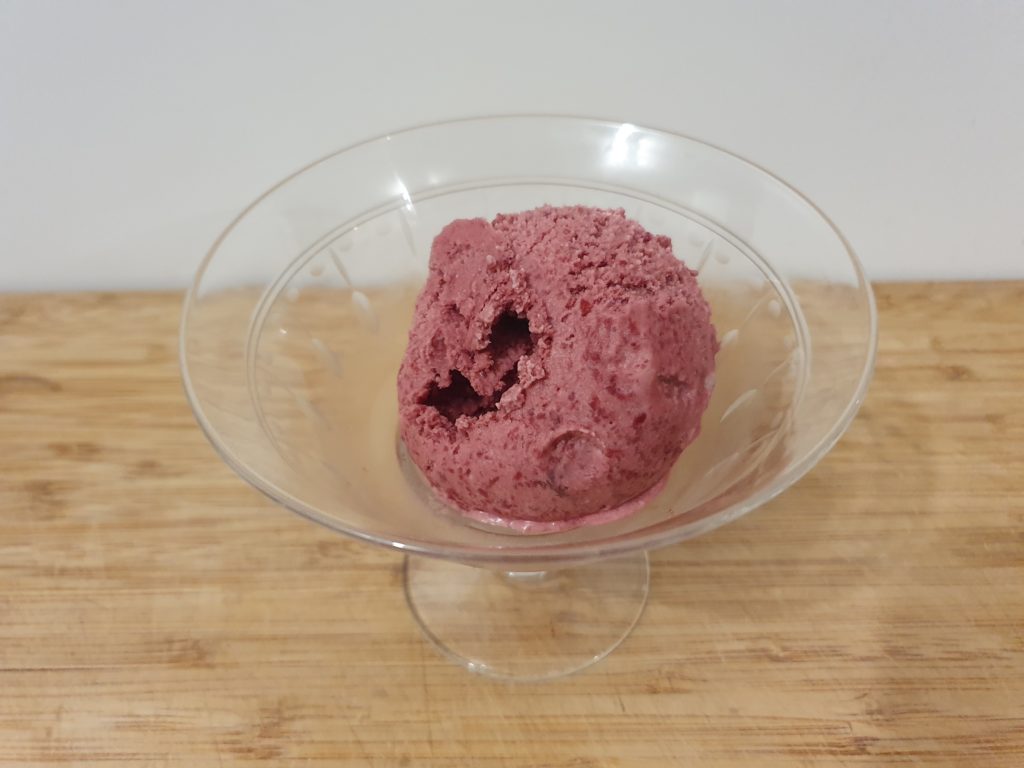
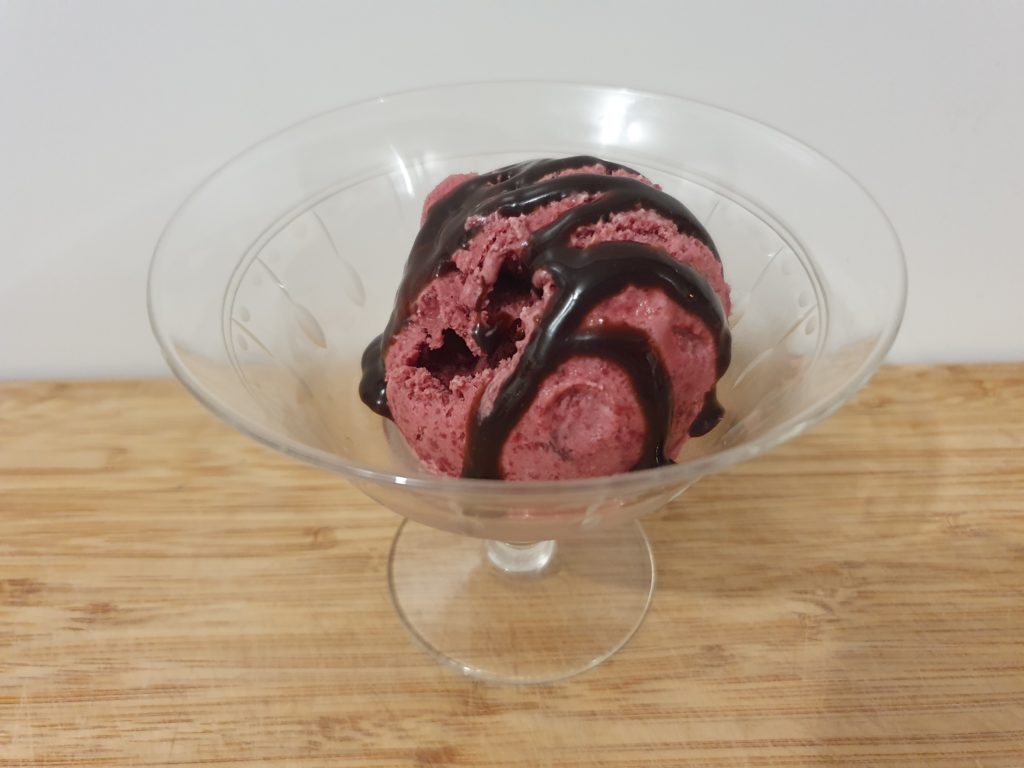
Calm yourself down and eat some of this divine cherry ice cream!
Have you made this recipe? Tell me how it went in the comments below and tag me on Instagram so I can see your delicious creations! @keep_calm_and_eat_icecream
LOOKING FOR MORE YUMMY DESSERT RECIPES?
Why not try making
- Black Forrest Ice Cream
- Traditional Black Forest Cake
- Raspberry ice cream
- Strawberry ice cream
- Strawberry compote (strawberry sauce)
Follow me on Facebook or Pinterest for many more delicious recipes.
📋 Recipe
Roast cherry ice cream
Equipment
- ice cream churner
- oven and stove top proof pan
- small saucepan
- strainer
- cherry pitter
- kitchen scales
Ingredients
- 56 ounces (1.5 kg) whole fresh cherries, pits in approx. 10 cups
- ⅔ cup (145 gms) caster sugar
- 1 & ⅔ cups (400ml) thickened cream
- 1 tbsp (15ml) lemon juice about half a medium lemon, juiced
- 1 pinch table salt
Instructions
- Pre heat oven to 445°F (230°C)
- Remove the stems and weigh your cherries. You will need approx. 1.5kg but leave the pits in
- Put cherries in an oven proof and stove top compatible frypan or dish. Sprinkle over ½ cup sugar
- Put dish in oven. Roast for 30 - 40mins until tops are starting to roast and caramelise. Stir and return to oven for a further 10mins.
- CAUTION: HANDLE WILL BE VERY HOTRemove from oven al allow to cool
- Pit cherries. Place pits in high sided bowl and pits into a small saucepan.
- Blitz pitted cherries with a stick blender or similar to coarsely chop but preferably not pure.
- Return blitzed cherries to pan. Put on stove top on medium heat and reduce until jammy.
- Allow to cool. Strain off liquid. You will need to press the cherries to get as much juice out as possible until you have approx. 550gms of liquid. If you have to much liquid, return to pan until reduced enough. If you have to much you can top up with water but this is unlikely, just keep working at the cherries to get more juice out. Set aside
- Add cream to cherry pits in saucepan. Simmer on low heat for approx. 10 - 15mins string occasionally. Allow to cool.
- Strain pits out of cream. Put a bowl into an ice bath, add cherry liquid, strained cream, lemon juice and salt. Whisk until smooth.
- Once mix has cooled refrigerate. Mix will keep in fridge for 2 days if you don't have time to churn it straight away.
- If needed prechill your churner and pre freeze your ice cream storage container
- Pour ice cream into churner and churn for approx. 30mins or untill desired consistency is reach. It will have a soft serve like texture. Eat straight away or put into container in freezer to firm up.
Nutrition
Nutritional Disclaimer
Nutritional information is an estimate based on an online database. The nutritional content of ingredients may vary by brand. If you require accurate nutritional information, you should calculate this based on the specific brands and products you are using.



Helen
I too am obssessed with ice cream and this sounds delicious! Does leaving the pits in concentrate the flavour? well done on the blog idea and design Sarah!
Sarah Brooks
It is Helen, totally worth the faff! Leaving the pits in gives it a deeper more complex flavour, a subtle nuttyness. Sort of like roasting meat on the bone.
Narelle
Sounds delicious 😋
Sarah Brooks
It's amazing 😋🍒🍨
Arvin
Looks yum, thanks for sharing Sarah.