Get into the holiday spirit with these Christmas snowflake cookies. Perfect for holiday cookie exchanges, homemade gifts or a fabulous festive dessert table.

Jump to:
These snowflake sugar cookies make a magical addition to your desserts this Christmas. The beautiful pointed snowflakes are decorated with gorgeous edible glitter that is sure to make your celebrations sparkle this Christmas!
Why you'll love this recipe
- Beautiful, elegant cookies sure to impress friends and family.
- Delicious tender sugar cookie base.
- Easy fondant decoration option - no piping skills needed!
- Perfect for holiday cookie exchanges or cookie boxes.
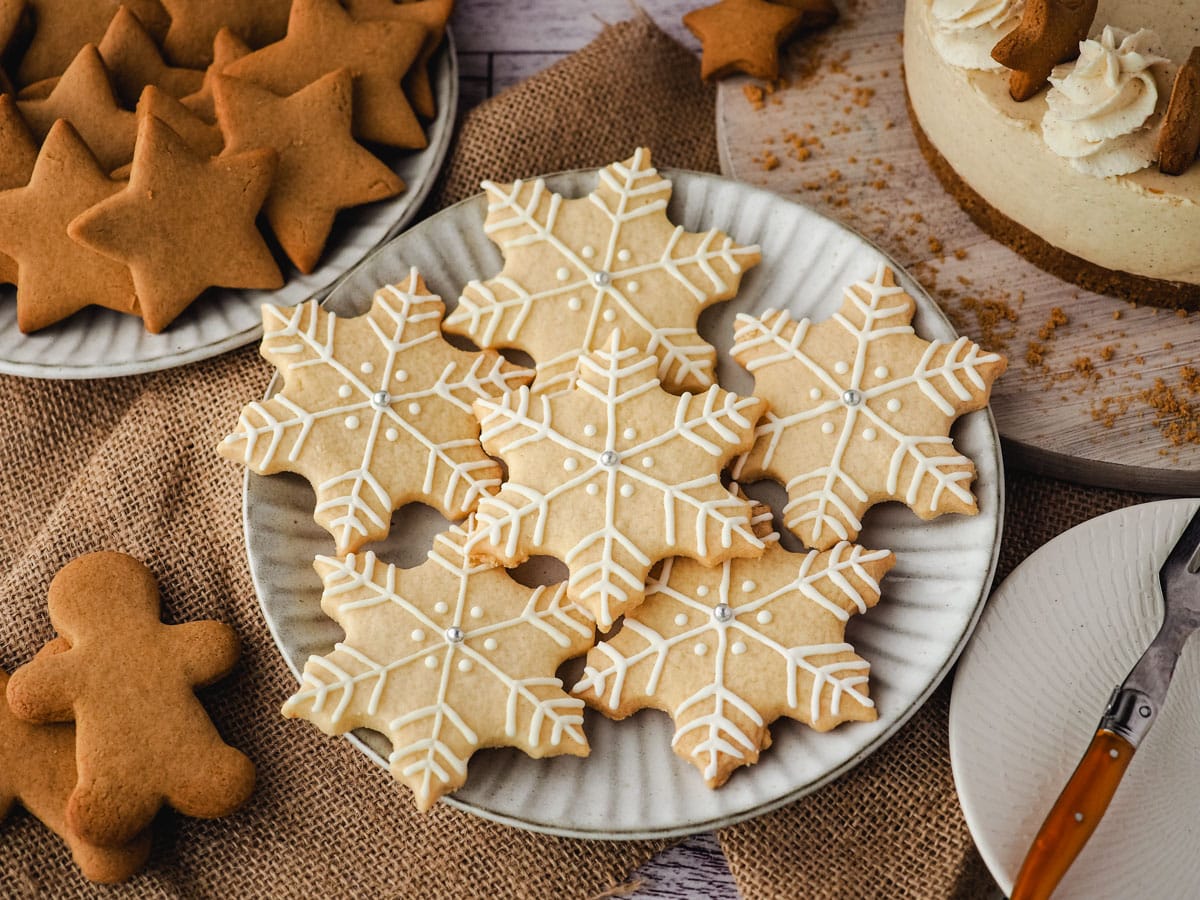
Looking for more fabulous festive Christmas desserts? Why not try making my warming gingerbread cheesecake, easy no-bake candy cane hearts or fresh peppermint stick ice cream (recipes coming soon!). Delicious!
Ingredients
For the sugar cookies:
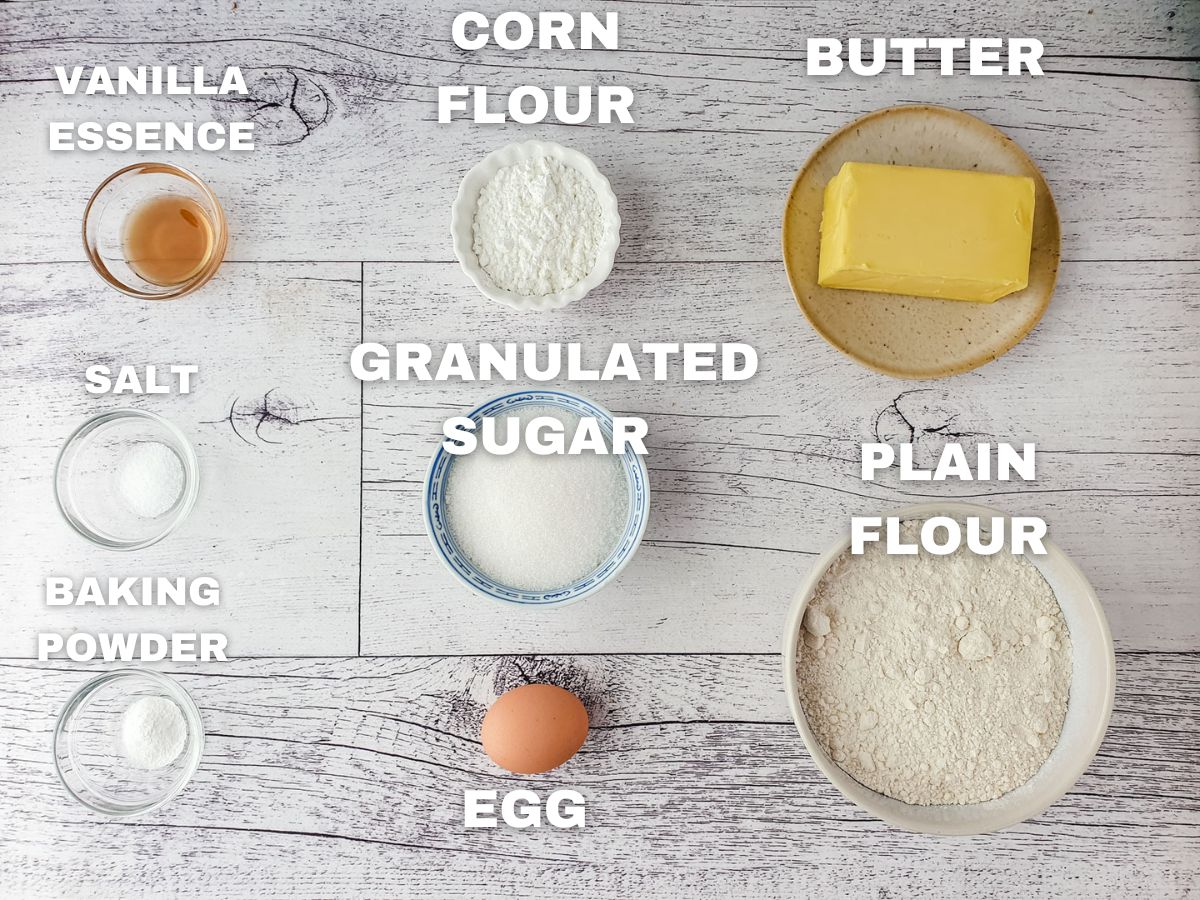
Granulated white sugar: white sugar is best in this recipe. You could use castor sugar if you prefer. I don't recommend using other types of sugar, they will be hard to dissolve and will compete with the flavors.
Plain flour: is best in this recipe. You can also use all-purpose flour. It's important to use flour that does not have any rising agents as we will be adding our own in the right amounts for these cookies.
Corn flour: also known as corn starch and can be labeled as wheaten cornflour or corn (maize). The cornflour makes the cookie crumb softer and makes for a lighter, crumblier cookie.
Vanilla extract: sometimes also called vanilla essence, depending on where you live. You can use either, or imitation vanilla essence, depending on your preference and budget.
Butter: unsalted butter is best or your risk your cookies being too salty. It's important your butter is a room temperature before you start baking so your dough comes together.
Eggs: I used a large egg in this recipe, approx. 2 oz (55 gms) each with shells before cracking.
Optional:
Almond extract: a little almond extract really enhances the flavor of these cookies. You could mix things up with different flavors such and peppermint or orange for a fun festive twist.
To decorate the cookies
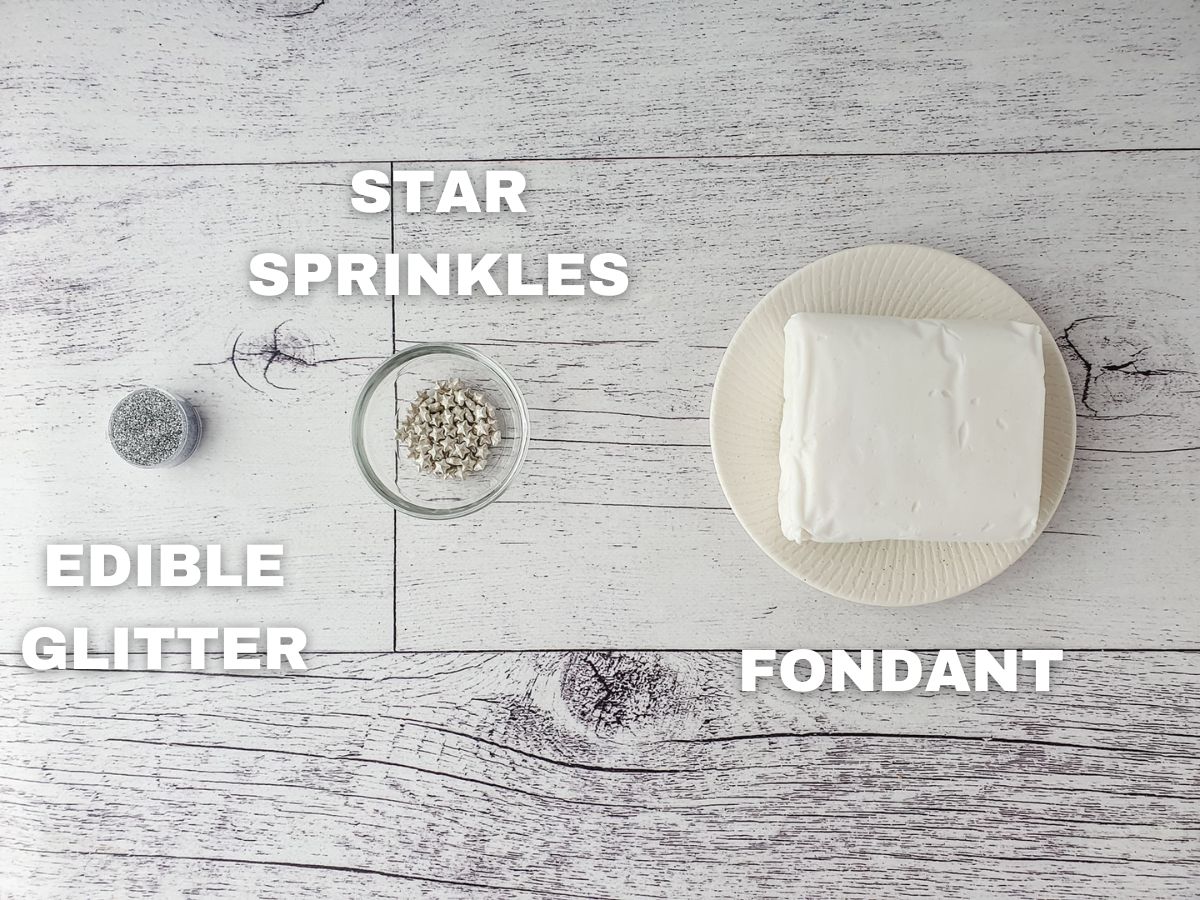
Fondant: is an easy way to decorate these festive cookies. I like classic white but they would also look good in frosty blue or pretty pink.
Edible glitter: a touch of edible glitter adds some easy sparkle to these cookies and really makes them pop.
Edible star sprinkles: likewise some simple silver star sprinkles adds another pretty element to these cookies.
Optional:
Glucose syrup or light corn syrup: can help the fondant and decorations stick.
How to make snowflake cookies
See the full recipe card at the end of the post for ingredient amounts and instructions.
To make the cookies
Grease and line your baking trays.
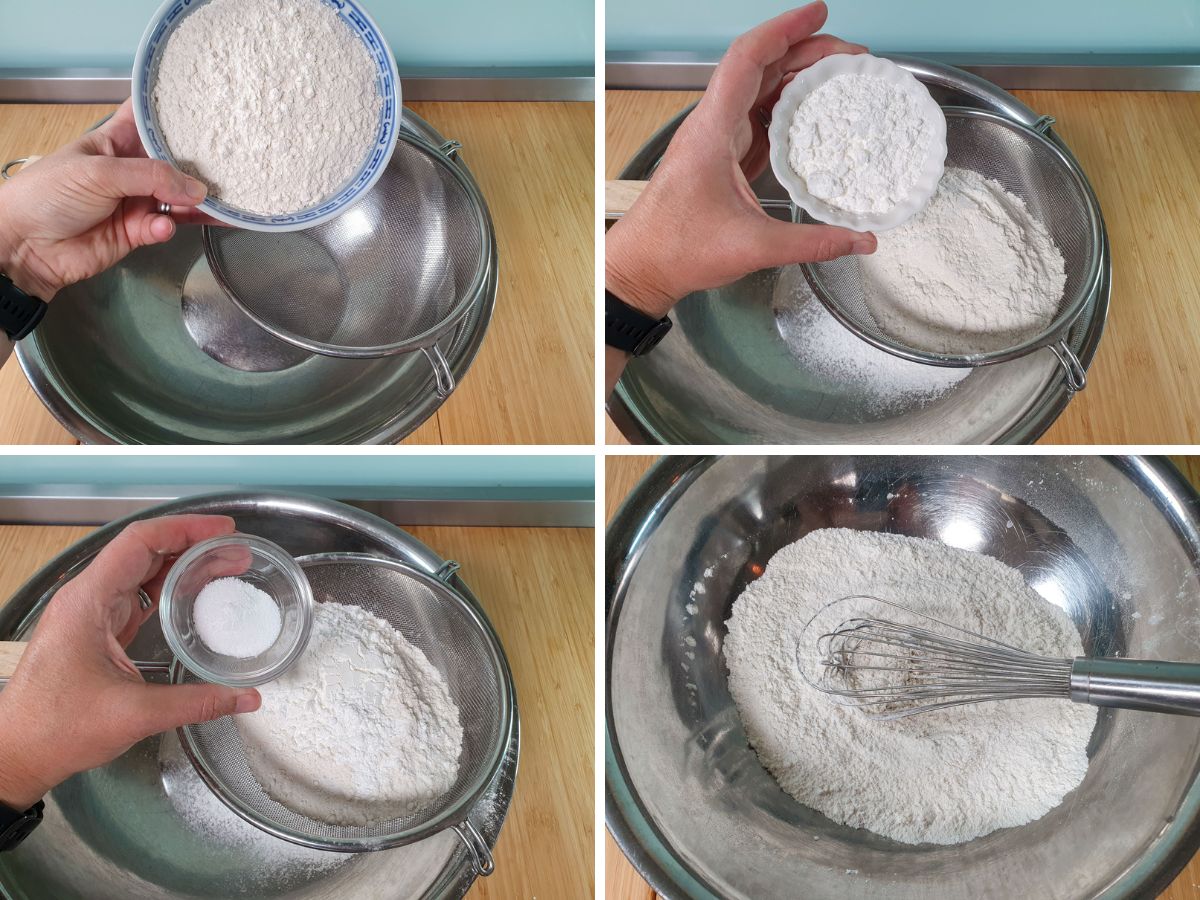
In a separate bowl measure and sift the dry ingredients together and mix well. Cream the butter and sugar together. Add the egg, vanilla and almond essence to the butter and sugar mix and mix well.
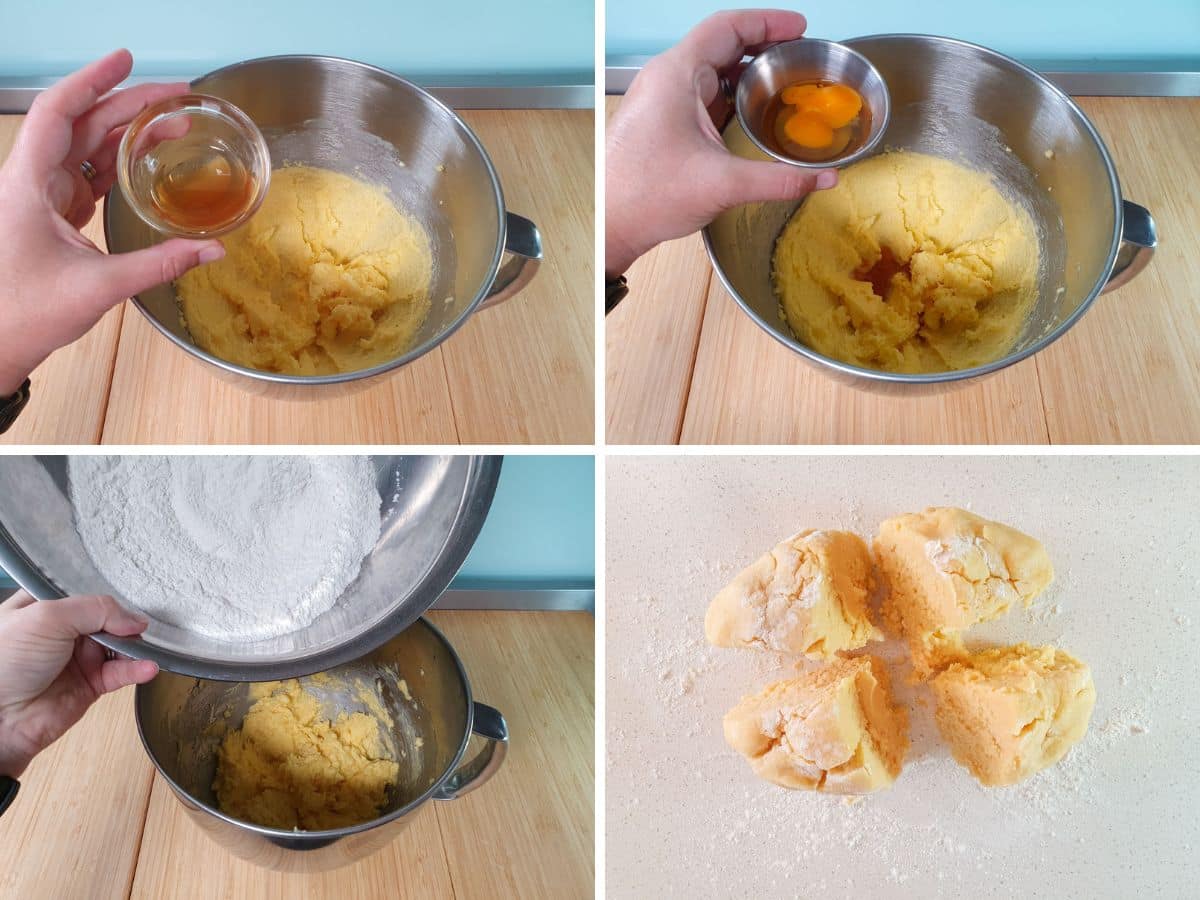
Add about a third of the dry ingredients and gently mix in. Repeat with remaining dry ingredients, adding about a third at a time.
Turn the cookie dough onto a floured surface and gently push together. The mix will be quite wet. Divide the dough into quarters.
Hot tip: the dough will be quite sticky. This is normal, and will allow the dough to still be useable by the time you add extra flour with each re-roll when cutting out the cookies. If you find the dough is just to sticky to work with you can chill it in the fridge for thirty minutes before rolling out.
Take one-quarter portion of the dough and roll it out onto a floured surface until it's about ¼ inch thick. Cut out your snowflake cookie shapes, transferring them to the lined baking trays as you go.
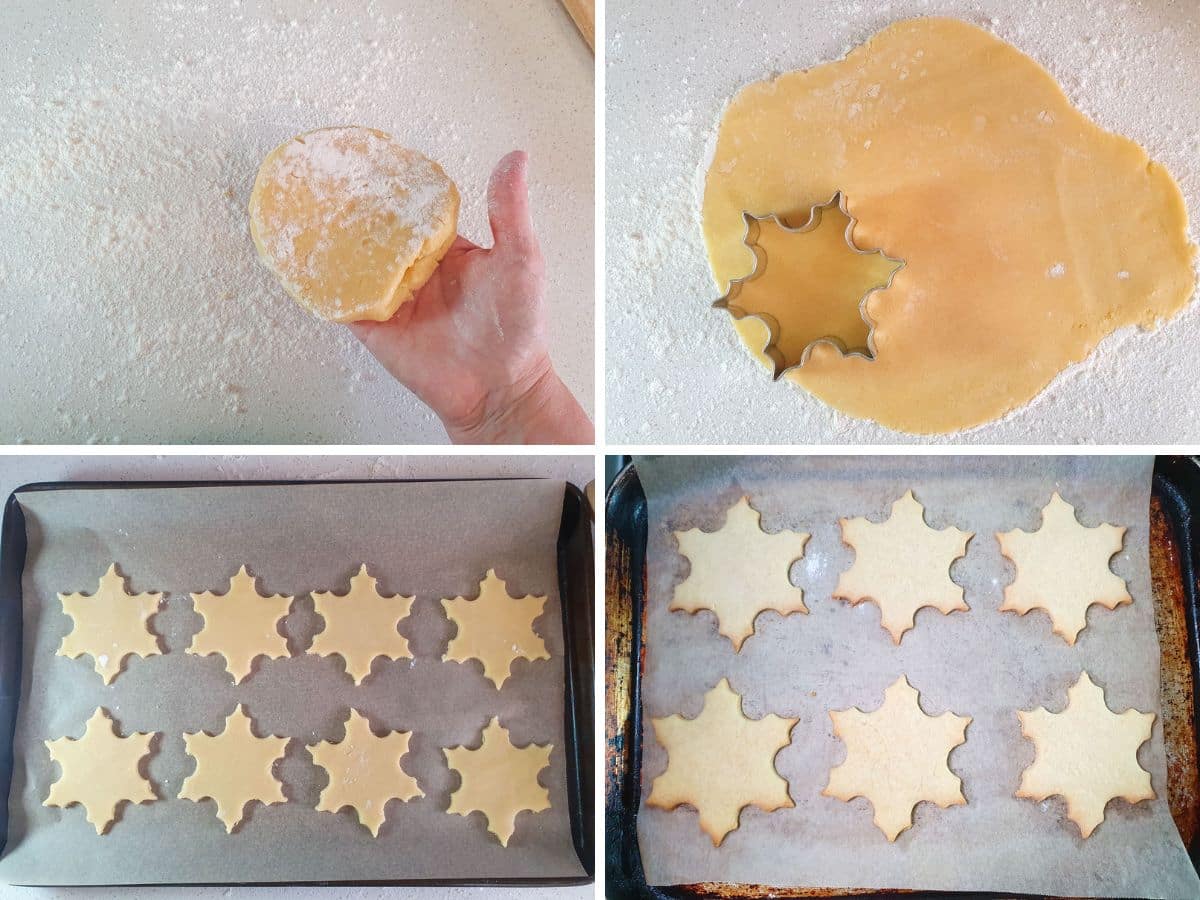
Once you have cut out all the cookies you can from the first quarter of the dough, put the scraps of dough aside into a pile. Repeat with the remaining quarters of the dough. Push the scraps gently together and re-roll until all the dough is used up.
If you run out of room on your baking tray, layer a piece of parchment paper on top, then add more cut-out cookies.
Optional: chill the cookies, trays and all, in the fridge for thirty minutes and up to two hours before baking. This will make the crumb of your cookies finer but I didn't notice a huge difference between chilled vs non chilled dough.
If you have stacked multiple layers of cut-out cookies on parchment paper on each tray remove the top layers so only one layer of cookies remains on each tray. Bake for ten to twelve minutes, or until cookies are just starting to color around the edges.
Remove from oven and allow to cook, then transfer to cooling racks to cool completely before decorating.
To decorate snowflake cookies
With fondant
Add the glucose syrup with a splash of water to a small bowl and mix well.
Divide the fondant into quarters. Put a large piece of glade wrap down on a clean dry bench or chopping board. Put one piece of fondant down. Top with another piece of glad wrap. This will stop the fondant from sticking to the workbench or rolling pin and make it easier to work with.
Use a rolling pin to carefully roll out the fondant until it's quite thin. Remove the top layer of glad wrap.

Brush one of the cookies lightly with the glucose syrup mix. Use the same-sized snowflake cookie cutter to cut out a snowflake shape in the fondant.
Carefully pick up the cut-out shape and place it onto the brushed cookie. Start at one edge then smooth it into the rest of the cookie, lining up the snowflake points on the fondant and cookie as you go. Try not to stretch the fondant out of shape.
Once the fondant shape is in place on the cookies gently smooth it down.
Use a small, fine skewer to create the pattern on top of the fondant. Line up the skewer across the cookie from point to point of the snowflake shape.

Gently push down to create a line indent in the fondant. Repeat twice more, linking the lines through the point in the center of the cookie. You should now have a symmetrical star pattern of lines on the cookie radiating out from the center.
Use a very small dot of glucose syrup in the center of the cookie to stick on a star sprinkle.
Use a fine brush to lightly sprinkle the cookie with edible glitter.
Repeat the process with the remaining cookies.
With royal icing
Make your royal icing and put it into a small piping bag or zip lock bag. Carefully pipe a straight line across the middle of the cookie from one snowflake point to the other. Repeat twice more, evenly spacing out the lines.

Pipe two to three short straight feathered lines along each side of each arm. Pipe a small in each gape around the central point. Repeat for remaining cookies.
How to serve
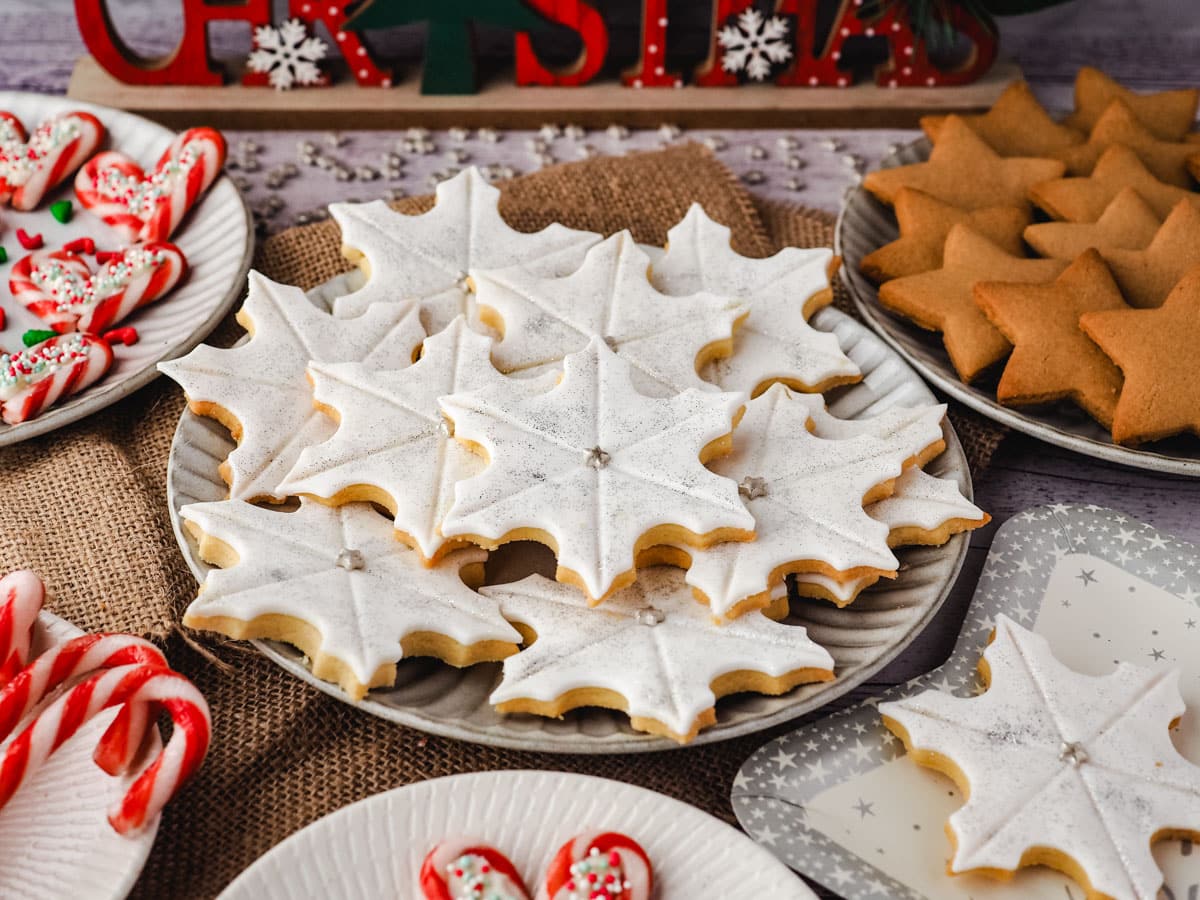
To serve these snowflake decorated cookies pop them onto a plate and enjoy! Perfect for a cookie exchange, wonderful homemade Christmas gifts or a stunning Christmas dessert table.
How to store
These decorated snowflake cookies will store in an airtight container lined with parchment paper at room temperature for up to a week, but I doubt they will last that long! If stacking multiple layers in one container I recommend putting a layer of parchment paper between each layer to help stop them sticking together and protect the beautiful surface of your cookies from crumbs.
Recipe tips and frequently asked questions
Can I make these in different colors?
You sure can. You can color the white fondant yourself by adding a few drops of color and kneading it into the fondant until you get the desired color. Be careful not to stain your worktops if you choose to do this. Alternatively, you can purchase colored fondant. Some fun festive options include pretty blues for that frosted icy look or match them to your Christmas color scheme.

Is royal icing or fondant better to decorate these snowflake sugar cookies?
Ah, like many baking questions, the answer to that is, it depends. Sugar cookies decorated with royal icing are certainly the classic look many people know and love. However royal icing can be tricky to make and get the consistency just right for perfectly decorated cookies.
Fondant on the other hand tends to be easier to work with. Plus you can use cutters and tools to get beautiful, consistent results without the steady hand needed for piping work.
Have you made this recipe? Tell me how it went in the comments below and tag me on instagram so I can see your delicious creations! @keep_calm_and_eat_icecream
Looking for more yummy dessert recipes?
Why not try making
- Gingerbread cheesecake
- Canycane hearts
- Peppermint stick ice cream
Follow me on Facebook or Pinterest for many more delicious recipes.

📋 Recipe

Snowflake Cookies
Equipment
- snowflake cookie cutter
- Baking trays
- parchment paper
- Thin wooden skewer
- Cling film
Ingredients
For the cookies
- ⅔ cup (145gms) granulated white sugar
- 2 sticks (1 cup/235gms) unsalted butter
- 1 large egg
- ½ teaspoon baking powder
- 2 cups (300gms) plain flour
- ¼ cup (40 gms) cornstarch
- ½ teaspoon salt
- 2 teaspoons vanilla extract
- ½ teaspoon almond extract
- flour, for dusting the work surface
To decorate the cookies
- ½ teaspoon light corn syrup or glucose syrup *optional
- 1 teaspoon water
- 1 lb (450gms) ready fondant icing
- 1 tablespoon edible star sprinkles
- ¼ teaspoon edible glitter
Instructions
To make the cookies
- Line your baking trays with parchment paper. If you are not going to chill your dough, pre-heat your oven to 350°F (180°C/160°CFan forced).
- Sift together the flour, cornstarch, baking powder and salt and set aside.
- In a seperate bowl cream the butter and sugar together.
- Add the egg, vanilla extract and almond extract and mix well.
- Add the dry ingredients and gently mix in until combined. Do not overwork the dough.
- Turn the mix onto a floured surface and push the dough together. The dough will be reasonably wet to start with. If it's too sticky to work with you can wrap and chill the dough in the fridge for thirty minutes.
- Divide the dough into quarters. Flour your surface well and roll out one quarter of the dough until its approx ¼ inch thick. Use the snowflake cookie cutter to cut our your cookies, transfering them to your baking sheet as your go.
- Leave about ½ inch space between each cookie on the baking sheet. They will expand a little but not much. Continue untill all the cookies from your first roll are cut out. Gather the scraps of dough and set aside.
- Re-flour your work surface and repeat with the remaining quarters of dough.
- Gently push the pile of dough scraps together, then reflour your work surface, re roll and cut out. Repeat until all the dough is used up.
- If you run out of room on your baking tray, layer a piece of parchment a paper on top, then add more cut out cookies.
- Optional: chill the cut out cookies, trays and all, in the fridge for about one to two hours. This will make the crumb of your cookies finer.
- If you have stacked multiple layers of cut out cookies on parchement paper on each tray remove the top layers so only one layer of cookies remains on each tray. Bake for ten to twelve minutes, or untill cookies are just starting to colur around the edges.
- Remove from oven and allow to cook, then transfer to cooling racks to cool completely before decorating.
To decorate the cookies with fondant
- Add the glucose syrup with a splash of water to a small bowl and mix well. The glucose syrup is optional but will help the fondant and decorations stick to your cookies.
- Divide the fondant into quarters. Put a large piece of cling film down on a clean dry bench or chopping board. Put one piece of fondant down. Top with another piece of cling film.
- Use a rolling pin to carefully roll out the fondant until it's quite thin. Remove the top layer of glad wrap.
- Brush one of the cookies lightly with the glucose syrup mix. Use the same-sized snowflake cookie cutter to cut out a snowflake shape in the fondant.
- Pick up the cut-out shape and place it onto the brushed cookie. Start at one edge then smooth it into the rest of the cookie, lining up the snowflake points on the fondant and cookie as you go. Gently smooth down the fondant on the cookie.
- Use a small, fine skewer to create the pattern on top of the fondant. Line up the skewer across the cookie from point to point of the snowflake shape.
- Gently push down to create a line indent in the fondant. Repeat twice more, linking the lines through the point in the center of the cookie.
- Use a very small dot of glucose syrup in the center of the cookie to stick on a star sprinkle. Lightly sprinkle the cookie with edible glitter.
- Repeat the process with the remaining cookies.
To decorate the cookies with royal icing
- Make your royal icing and put it into a small piping bag or zip lock bag. Carefully pipe a straight line across the middle of the cookie from one snowflake point to the other. Repeat twice more, evenly spacing out the lines.
- Pipe two to three short straight feathered lines along each side of each arm. Pipe a small in each gape around the central point. Repeat for remaining cookies.
Nutrition
Nutritional Disclaimer
Nutritional information is an estimate based on an online database. The nutritional content of ingredients may vary by brand. If you require accurate nutritional information, you should calculate this based on the specific brands and products you are using.
Join the community!
Like Keep Calm and Eat Ice Cream on Facebook for more great recipes






Comments
No Comments